

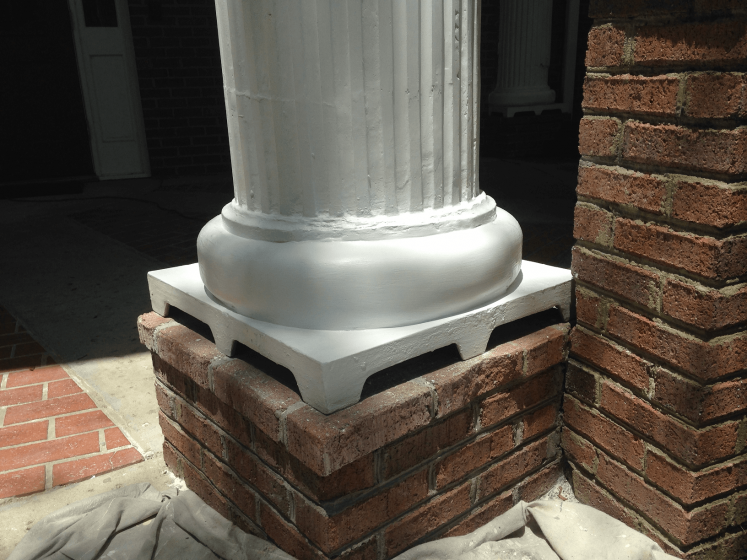
Having problems with your wood column base? After years exposing it to various weather, the wood will start weathering and breaking into pieces.
This problem, of course, need immediate action from you: repairing. As long as the column still stands gloriously, this project should not take more than a day to finish.
See also: Front Door Awning Kit and Design Ideas.

1. Remove the Rotten Base
By using a hammer, slowly tap on the wood until all the broken pieces are cleared. In some cases, you can even use your hands to remove it.
If you notice any termite, ants, or bees, spray proper commercial product to kill them. Don’t forget to wipe clean the base after that.
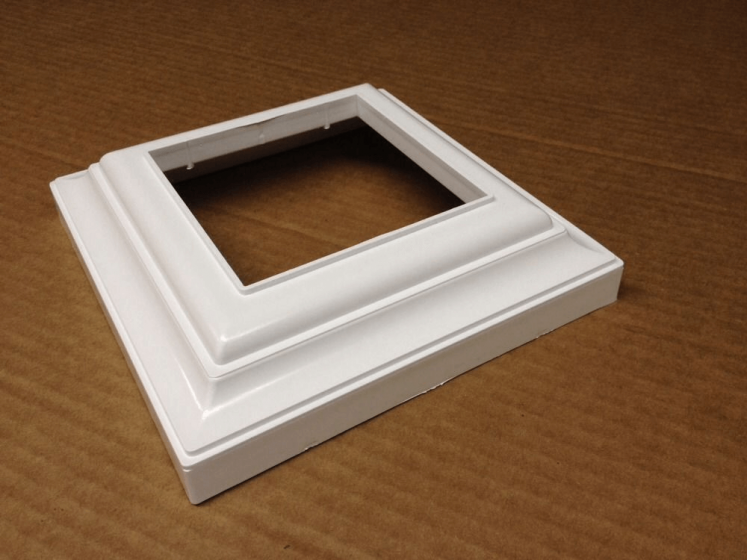
2. Picking the Best Material
The staff in a material shop will tend to recommend these two materials to you: PVC and pressed wood. For sure, PVC could stand any storm and thunder.
However, it could expand and minimize its size in short period. Therefore, pressed wood is better than PVC, if used as the base material.
Take a look at the pressed wood offered by the staff. You need to avoid any splinter and knots. They will be the way for moisture to enter and shortening the base lifetime. The best pressed wood should be clean and smooth.
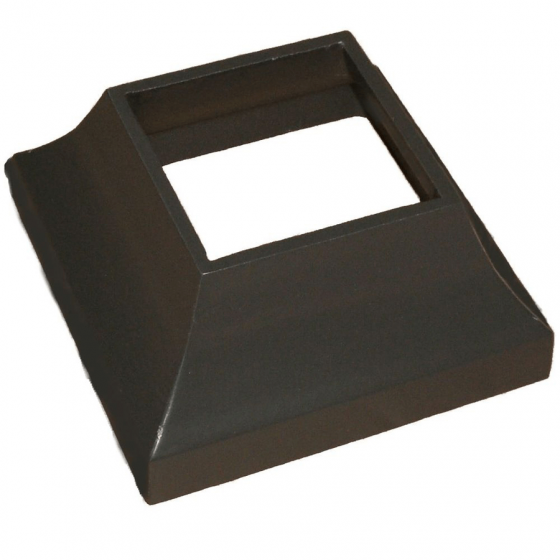
3. Preparing the New Base
After measuring the size of the empty rotten base, you need to cut it to the size. For decoration purpose, you need to make it smaller as you prepare for the middle and top wood. Use miter saw to cut the exact 45 degree. Put the pieces together and test whether they fit tightly.
You could do this step faster if you use the first board as the guide to cut the second and third board. It works especially when you have to replace the base of more than one column. Under fifteen minutes, you already have your new wood base.
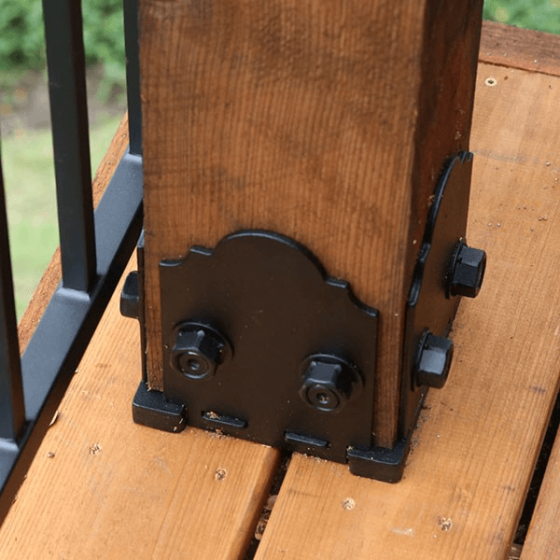
The final step to do is hitting the anti corrosion nail to all the woods. You could purchase the stainless steel or galvanized one. Before that, make sure you make it symmetrical, leaving equal inches on the sides. Take two woods first, nail them, add the top board and nail them again.
4. Finishing
Before you insert the new wood base under the column, think about the decoration. If you prefer to attach cove molding, then go on with the process.
Molding could be easily stuck even after the wood has been installed under the column. However, if you want to carve the woods, it should be done before inserting the base into its place.
In fact, the crafting should take place after board cutting. You could use the machine for this purpose. Then, apply latex caulk to fill the gap between the wood and column. Last but not least, you have to do the painting.
If you have wood as your column base, you need to prepare yourself for the reparation. Sooner or later, you will have to do it. Before starting this one-man project, make sure the column or post is strong enough to stand still without the base support. Then, grab your tools and start working…
Replacing Rotten Porch Columns Base Image gallery


Originally posted 2019-12-12 01:46:11.


