

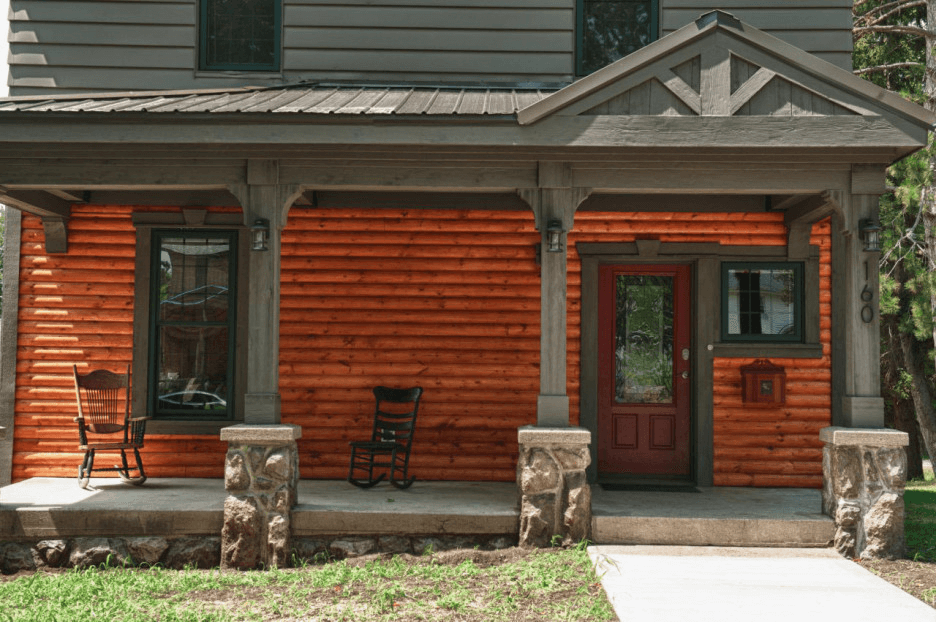
How do you like the look of your porch? Plain PVC will show its boring view sooner or later.
Plan your new project to decorate your porch without replacing the whole posts.
It could be done by creating a faux stone base on your installed posts. Learn the steps to do it.
See also: Small Front Porch Decorating Ideas.
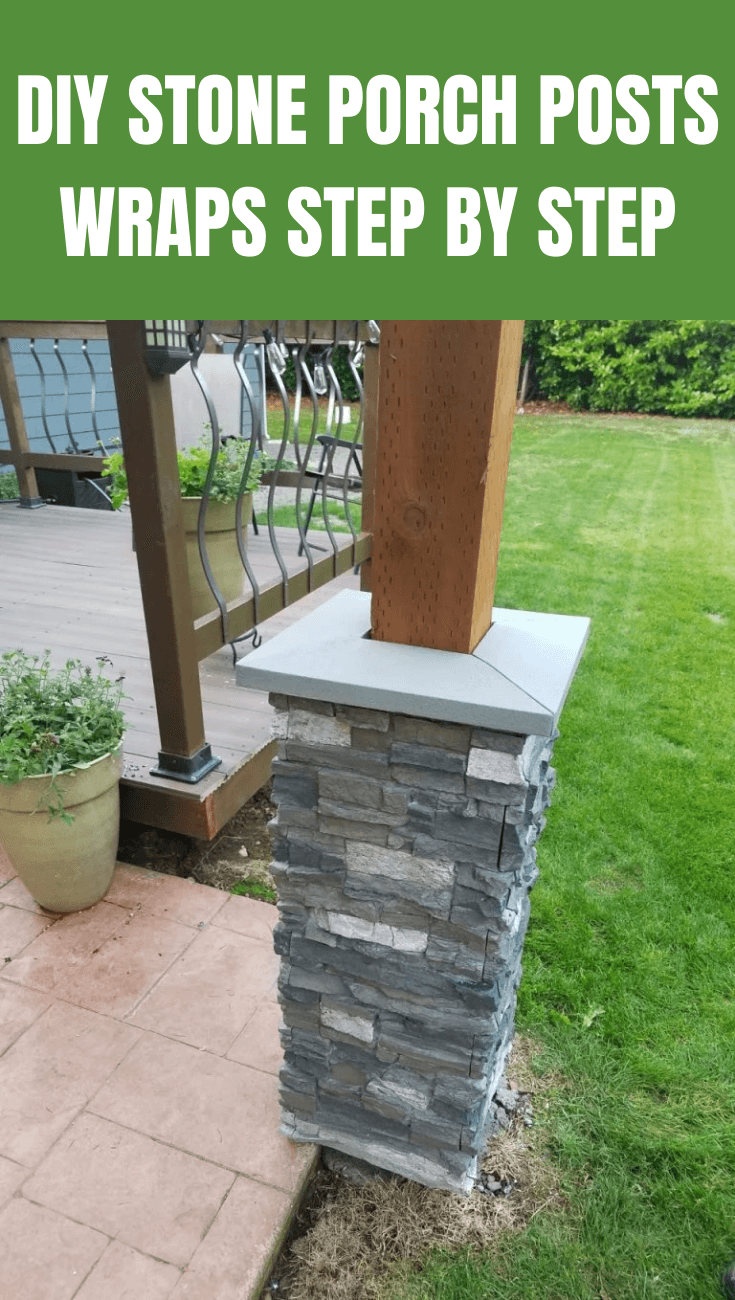
1. Preparing the Base
The first thing to do is to cover the base with plywood, setting the shape of the stone base. Add two layers of ply tar paper around the plywood.
The mortar could not attach well on the ply wood, because it could expand and shrink due to the changing temperature. You will also need a sheet of metal lathe.
It helps the stone to stick tightly to the frame. The ridges side should face to the tar paper and overlap around 4 inches on the horizontal beam. Nail it to the plywood so it will stay on position.
2. Coating with Mortar
The next awaiting job is applying the mortar. While preparing the mortar, it is better to add minimum water, since you can always add more later.
Cake up the base with mortar and tidy up the surface with whisk broom. The wavy and rough surface helps the stone to stick better.
If you have problem with frosting mortar, use finishing trowel and mason trowel to break the frost. Defrost from the inside, then go with circular motion to the outer side. It needs at least two hours to dry again.

3. Placing the Stones
Here it comes the fun part: arranging the stones. You need to start with the corner. Fill up the back of the stone with mortar and set it on its place immediately.
Hold it while fixing its place for around five to ten seconds to get proper adhesion. Repeat the same process for each corner.
Then, you move to the center stone. Set some stones on their places and fill the gap with mortar. If needed, you could use hammer to cut the stones to get the proper size.
Step back and see the final result. Scrape down the excessive mortar with sharp object. If you need to do more trimming on the corner stone, do it with a saw. Remember, you need flat surface on the top.
4. Setting the Top Beam
The last step is to create the top beam of the stone base. You need to cut the stone to 45 degree angle by using a cut-off saw.
Lay a thick mortar bed on the top and place the capstones. Make sure to slightly bend the stone, so water can run off. Bring together the corner with mortar, starting from the bottom to the top.
Proceed by filling the gap with mortar. Leave no space between the capstone and the pillar. Otherwise, the water could slip in and break the bond. Get ready to change the face of your standard porch. Call for help and mark a day in your calendar to finish this project.
With cut stones and mortar, you will do the projects. Follow the instruction above carefully and minimize the errors. Get a fancier style with minimum cost!.
Originally posted 2019-12-15 05:18:32.


