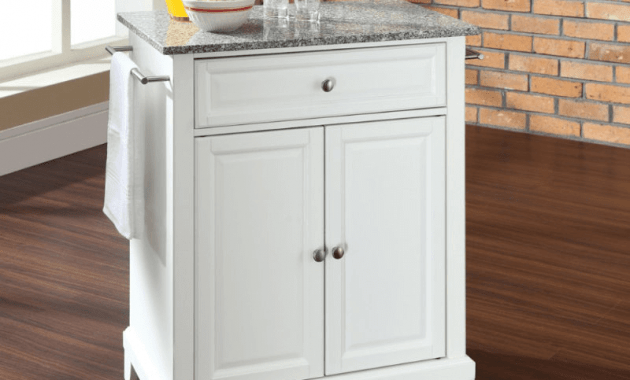
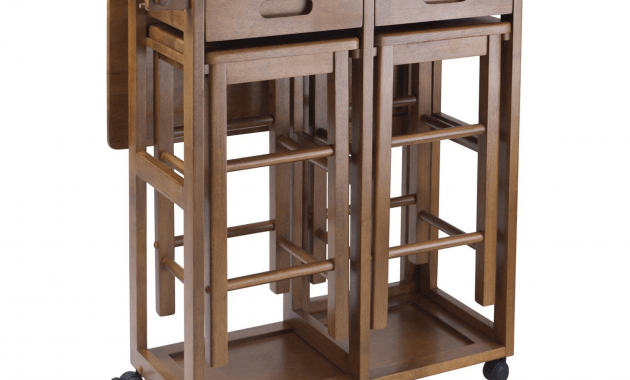
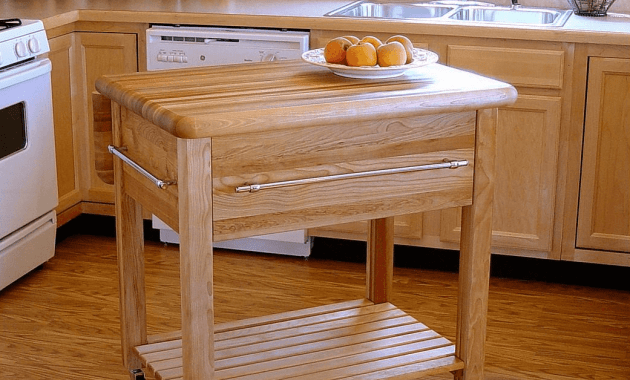
A kitchen island has become a vital part of a kitchen. It provides extra space for you cook and maybe eat as well.
During recent years, the idea of a portable kitchen island is getting really popular. It is not as big as the mainstream one, yet it is as helpful as it is.
If you want to save some money to get this portable option, let’s learn how to build it at home.

1. Cut The Wood As Leg Kitchen Island
For the first step, you need to measure the available wood to make the kitchen island foot. After that, use a saw or cutting device to cut the wood of the appropriate size.
Please make sure not to cut exceeding or even less than the predetermined size. Use a pencil to mark the wood first.
2. Make Notch Inside Leg
After all the wood is cut, then make a notch in the top. You need to measure on the size properly. It is about 10 cm from the end of the timber. This notch is a place where you attach the foot on the island kitchen table.
3. Cut Notch Appropriate The Size
After measuring the size, you can cut the notch. First, cut a little, and do not directly chiseled all.
After that, slowly sculpt the last part. You really need to do this slowly as this is very tricky. Slow cut will make sure you don’t do it wrong.
4. Create Four Leg
Well, if you’re done carving, then start cutting the other leg. Make four legs of the same size with the same notch.
It is extremely essential to pay attention on the measurement and cutting so you can create even legs. Wrong calculation and cut will make the unstable kitchen island.
5. Set the Legs on the Provided Wood
Now, you have four legs for the kitchen island and you are ready to complete it with a countertop. First, make sure that you attach these legs on a thick wooden board that functions as a desk.
Make sure to use the drill to set the screws thick and strong on the desk.
6. Give Additional Shelf
Once the table is mounted firmly, you can give more additional shelf below the table. Approximately 20 cm from the bottom of his feet, add again a thick wooden board as an extra shelf.
7. Install the Wheels on the Leg
As a portable kitchen island, it would be better if there was a wheel on his feet. Therefore, add wheels to the foot so you can move it back and forth. These wheels can be installed by using the drill as well.
8. Add Hanger on the Side Wall
After an additional rack and wheel installation has been completed, you can add hanger on each of the side wall for additional productivity.
The hanger can be used as a place to put a table cloth or napkins. You can buy a pair of handle or make it from wood as well. Place it a little below the upper table or countertop.
9. Paint with Color as you wish
Now, the final step is to paint the kitchen island with a color that matches your wishes. Choose a color that matches the color of your kitchen.
Or maybe, if you want to keep using the original wood color, give it a transparent layer of finish so it displays its natural beauty while it remains a smooth and safe surface.
Read also: Kitchen Island with Base Cabinets.
You can consider adding countertop on this piece. Granite countertop should add the value while it makes a strong surface for all duties. Play with finishes for more attractive look.
Originally posted 2019-08-07 02:31:04.


