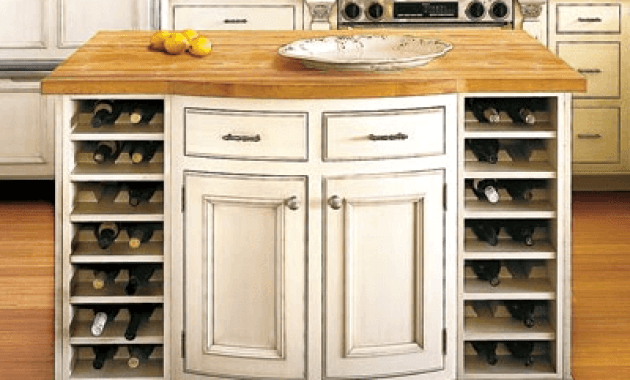
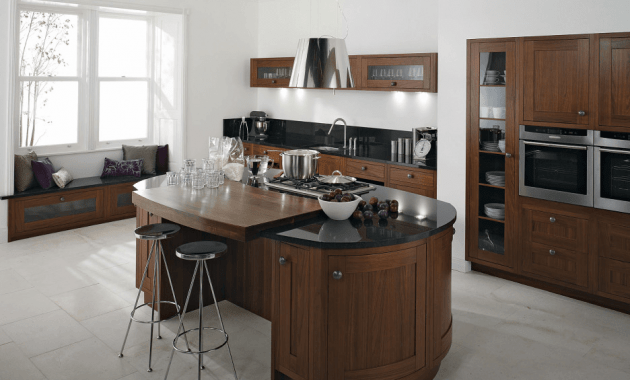
The idea of a kitchen island which is completed with base cabinets is brilliant to improve productivity, to save some more space, and to improve the kitchen and kitchen island value.
If you buy it, it may cost a fortune. Building it yourself is a great alternative for saving more money.
If you need a guide on the project, check out the instruction below.
Read also: Kitchen Island Cart with Trash Bin.

1. Gather the Materials and Tools
The first thing you need to consider is the preparation of the materials and tools. Here are the things that you need to build it:
- Base cabinets with back panels
- 2 x 4 wooden blocks
- Countertops (you can choose the wood, glass, or stone base material as desire)
- Power drill
- Wood nails or screws
- Industrial adhesive.

2. Start with the Base and Back
Before you start building the kitchen island, plan the suitable base for the kitchen. Follow these steps:
- Adjust the size of the cabinets with the empty space of the kitchen
- Measure the length and width of the cabinets
- Gather the wooden blocks to serve for the outside, the shape is adjusted to the base
- Screw the join so it will be strong enough
- Place a bottom piece and also the back to the island
3. Add End Panels
The end panels are the two sides that are smaller than the others. You can make the creative design at these sections. You can add the special racks, such as wines or drinks storage, bookshelf, or towel bar.
Use the wooden blocks to build it. If the panels are ready, screw or nail it to the cabinet. Don’t forget to make sure that the join is strong enough to hold the load.
4. Attach Trim and End Plasters
Place trim to the front and the bottom of the kitchen island to make it looks professional and suitable to be placed in the kitchen.
After that, add the adjusted shape of columns or plasters to the corner of the kitchen island. It is hiding and creating a space for seats under the island.
5. Place the Stock Cabinets
After the cabinets are ready, place it into the kitchen. Adjust its position to the empty space inside the kitchen. The center of the cooking area is often the perfect spot.
Don’t forget to consider and provide enough space for the traffic. You will use the island for cooking and people may need to move around it as well.
6. Final Touch of the Island
Place the center panels for all sides of the island. Then, for the final touch, add the countertops that the material has been chosen before. Stick it with the industrial adhesive.
If you want to add the glass material for the countertops, add the small bases (about 3 inches in diameter) for each side. Then, stick it between the first countertops and the glass countertops. You are done.
Read also: Kitchen Island Cart Stainless Steel Top.
You can maximize the use of cabinetry with this way. It can also improve your productivity while the kitchen island has a real good value.
Moreover, this kind of kitchen island is easy to build and this doesn’t require too much money. In addition to it, you are free to customize the design. So, what are you waiting for?

Originally posted 2019-08-05 05:01:39.


