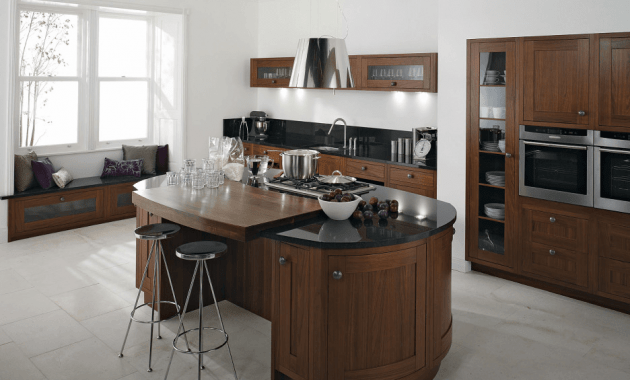
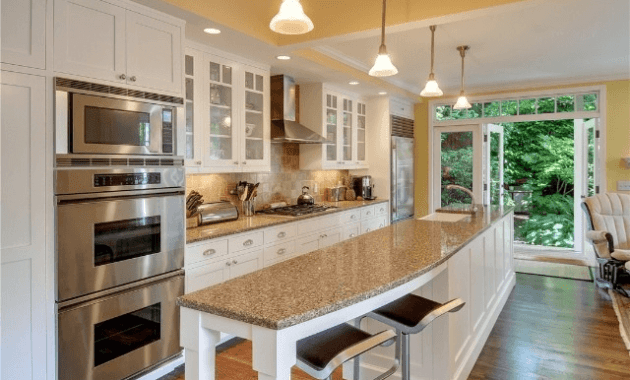
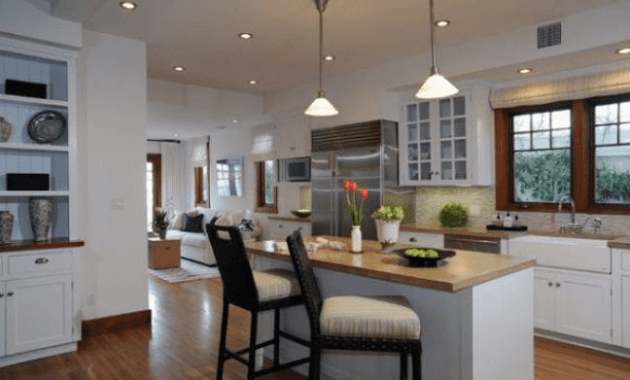
Does your kitchen island only have a small space of countertops for you to eat on it? The additional level of countertops, such as a breakfast bar, is the best solution for it.
You don’t need to buy it in the store because you can build it by yourself.
This is the following list of what you need to build a kitchen island with extra breakfast bar.
Read also: Kitchen Island with Wine Storage.
1. Gather the Materials and Tools
Before you start working on the kitchen island, you should pay attention for the materials and tools preparation. Here is the list of them.
- Base kitchen island with one flat side (without any panels in this side)
- 2 x 4 wooden blocks
- Wooden board
- Countertops (the stone or wooden material that is adjusted as your desire)
- Paint
- Saw
- Power drill
- Screws
- Industrial adhesive

2. Cut the Excess Countertops Parallel to the Island
The next step is to cut the excess countertops in one island side that will be redesigned. Usually, the size (length and width) of the countertops is larger than the island. Cut that excess parallel to the island side with saw.
If the countertop is made of stone material, leave it alone. Later on, the frame will be adjusted to the length of the rest of the countertop.

3. Make the Frame for Sustaining the Breakfast Bar
Make the skeleton frame from the wooden blocks to sustain the breakfast bar. Adjust the width so it is the same as the island, but more in height.
Make it about 5-10 inches higher than the other level. Make also three parts of the frame that will be placed below the countertop to sustain it.
Screw each part as much as the frame strongly enough to hold the countertop over it. Insert two other blocks in the middle to make it stronger.
After that, screw the frame to the island. To make the appearance better, cover the frame with the wooden board alongside the frame.
4. Paint the Island
Because the appearance is still less interesting, you should paint on all sides of the island. Choose the best color that will be suitable to the design of the kitchen.
Give some ornaments or gradation to make it better and awesome. To make the island more durable and shiny, don’t forget to polish it after the paint is dry.
5. Final Touch of the Island
For the final touch of the kitchen island, place the countertop on the frame that has been made before. You can use the stone or wooden base material as the countertop.
If you are confused to choose which one is better, you can choose the same material of the countertop on the other level. Stick it with the industrial adhesive for the good result.
Read also: Kitchen Cabinet Long Island for Wonderful Display.
Here is the list how to build the kitchen island with the breakfast bar for the other level of countertop. You don’t need to buy it at the store. Use things that you already own and materials that are not too expensive. Share your imagination to your island and the kitchen to make them look interesting and fantastic.

Kitchen island with chairs gallery:
Originally posted 2019-08-06 03:11:23.


