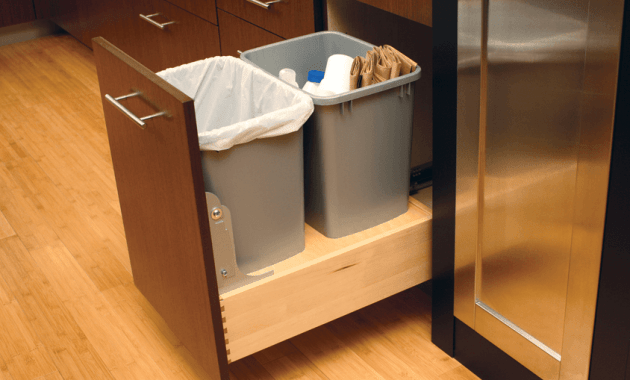
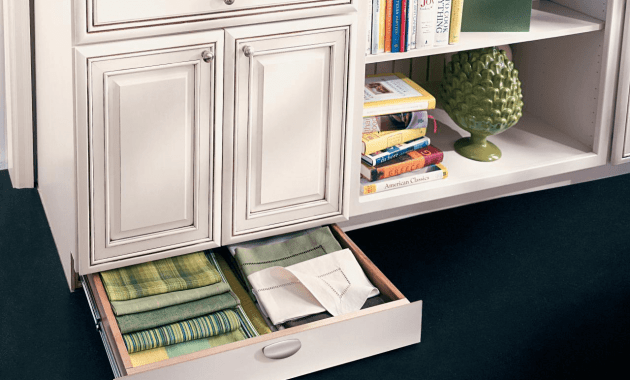
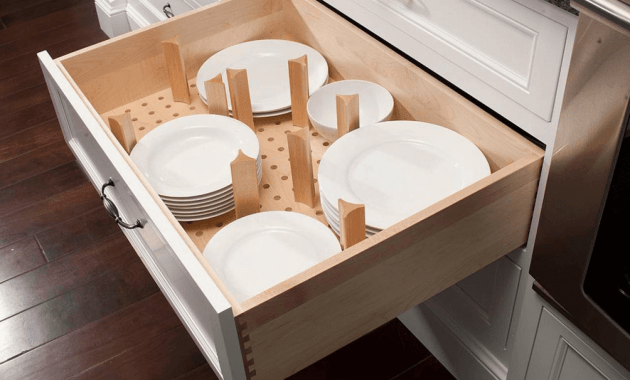
Kitchen cabinets and its drawers need to be in good condition all the time since we use it to keep all kitchen equipment.
When there is something wrong happen to your cabinet drawers, it is time for you to replace it.
For those who still have no idea about how to do it, you may follow the instructions below.
Read also: Kitchen Cabinets Refacing Before and After.
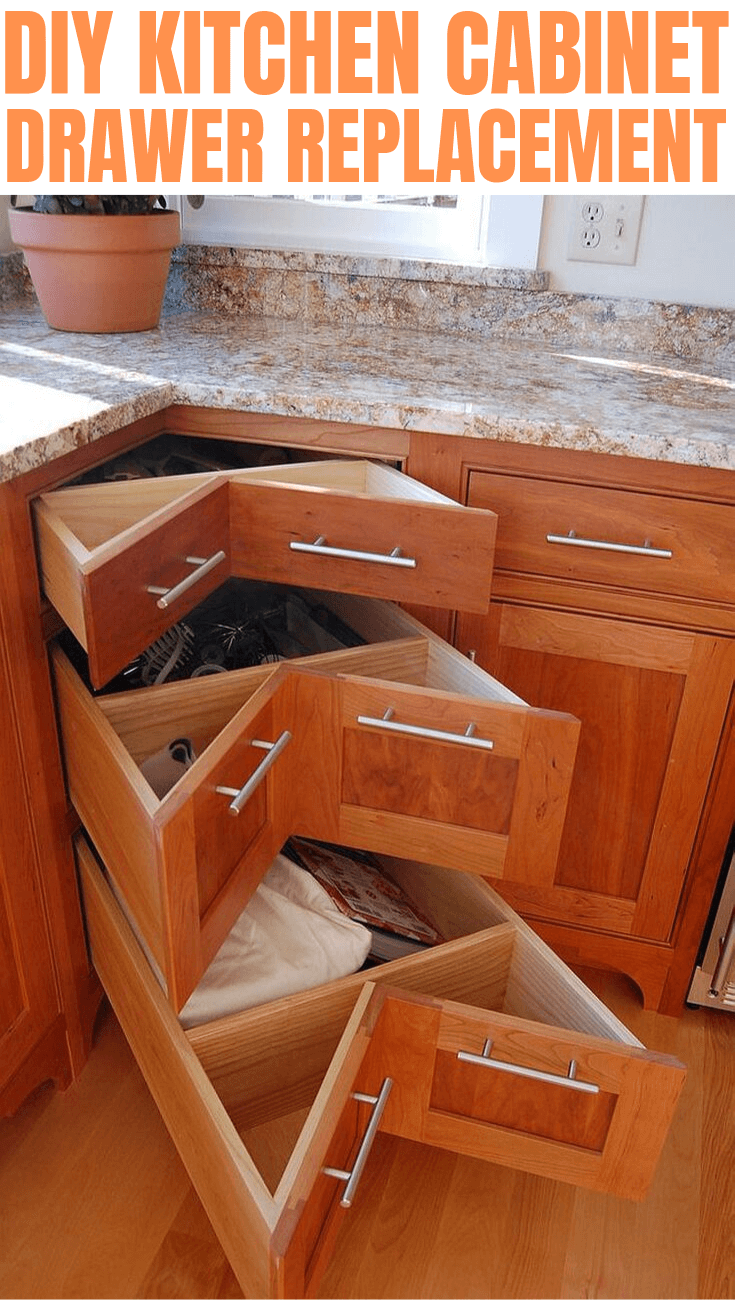
1. Remove All Things Inside Drawers
First of all, surely you need to remove all contents inside your drawers. Pull it out until the maximum limit. Lift the front drawer then pull it free out of the cabinets. Put the drawer on the countertop above the opened drawer.
2. Remove the Drawer Slides
After removing all things inside the drawer, now you have to remove the drawer slides. Unscrew the mounting screw on each slide of the drawer.
With the same manner, remove each glide from the inside of the cabinet. You also need to remove all old drawer slide hardware from the cabinet.
3. Separate Left and Right Drawer Slides
The next step is you need to separate your both slides of drawer then put each half on the surface by following the proper drawer sides.
Using your pencil, make a mark on both rear edges and front side of the drawer halfway up in one side. Use a straight-edge to guide you in drawing a line between the two marks. Do the same steps and process on the opposite side of the drawer.
4. Drill the Drawer
After separating the left and right slides, it is time to center the left drawer. To make it accurate, use the reference line as a guide.
Using a pencil, mark places where you mean to be the locations for the holes to support the mounting screws. Drill the drawer with a proper sized diameter to make a hole for each screw.
Supply wood screw onto the left-side drawer side using drill with a screw bit. Do the same process to the right-side drawer slide.
5. Make It Center
Make a mark on the center point by measuring the height of left-side opened drawer with a tape measure. Center on the mark and place the left cabinet slide into the cabinet. Remove the slide level and mark the holes locations using pencil.
6. Mount the Cabinet Slide
The next step is mounting the left cabinet slide with mounting screws. Do the same mounting to the right-side drawer slide.
7. Lower the Drawer
Place the drawer right in front of opened angle, so the rollers on the rear drawer slides can slip cleanly into cabinet slides. Put the front drawer into lower position and mitigate the drawer into cabinet slides.
8. Put All Back in Position
Try to open and close the drawer to test the sliding. It should open and close easily. Prevent it from being pulled out of the cabinet too.
Read also: Kitchen Cabinets Long Island for Wonderful Display.
Replacing cabinets drawers needs to be done sometime, especially when the old drawers are broken or do not work well. You can easily practice the steps above without spending any cost and surely it takes less energy and time.
Kitchen cabinet drawer design ideas:
Originally posted 2019-09-17 10:09:20.


