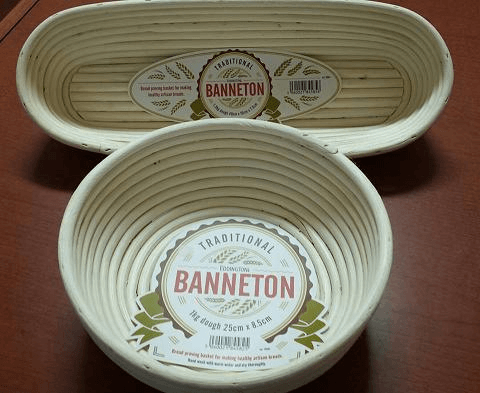
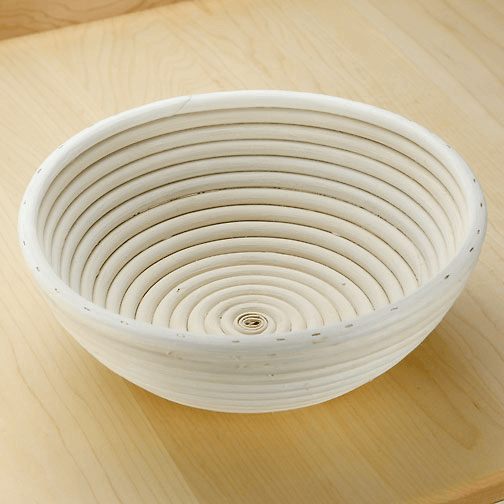
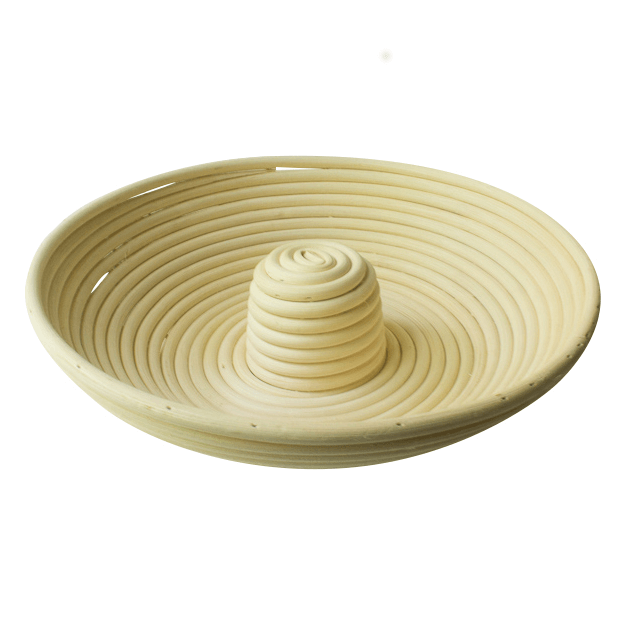
The bread proofing basket is a method used to shape the bread during the proofing.
Proofing itself is the rise of bread dough before the baking process.
This basket is commonly known as brotform and banneton. Due to the function, the proofing basket has some shape and size such as round, oval, and long.
It has a cloth liner to prevent dough from sticking. After knowing what the bread proofing basket is, let’s take a look with the next point.
Do you curious with how to use this basket? Here are the answers.

Tips on How to Apply Bread Proofing Basket
1. Prepare the basket
Before proofing, you should prepare the basket first. Make sure that it is clean. You may sweep the inside part of the basket with your hand or tissue.
After that, rub it with flour so that the dough will not stick on it. You can use wheat flour or brown rice flour as long as it is not rye flour.
2. Put the dough
Firstly, coat or cover the dough with dusting flour. Then, take the dough with your hand by grabbing the top of it and put it in the basket.
After that, check again the dough whether there is wet-looking area or not. If you find any, cover it with the dusting flour.
3. Turn it out
After the dough fills the basket and ready to be baked, you have to turn out the basket to a baking tray. Hold the basket with both of your hands and then put your fingers across the dough.
Then, slowly turn the basket down to the baking tray. Now the cake is ready to be baked.
4. Pay attention to the sticking dough
If the dough sticks in the basket, you can let the gravity to help the stuck released or you can use your finger but do it carefully.

Hmm.. Sounds easy, right? Now you can try to bake your own bread and make a beautiful shape by using the proofing basket. But then, the other questions appeared.
How many times we can use the proofing basket? How to make it long lasting? In order to make it long lasting, you have to follow these tips and tricks.
- After using the proofing basket, you should clean the loose flour and then you can wash it. After washing the basket, let it dry. However, if there are any dough residues left, you should let it dry too, so that you can clean it by using brush or hands. When it’s already dry, you can keep it away.
- If you find some spots of mould inside the proofing basket, you should dry it and clean the mould with the brush. If you want to have a sterile basket, you can put it in the oven (less than 1000C for around half an hour. It can also kill and vanish the insects that may be included after putting the flour.
Read also: Kitchen cleaning checklist
Those are two tips of taking care the proofing basket. Simple, right? You can apply those tips and tricks now. Happy baking!.

Originally posted 2019-07-15 01:13:45.


