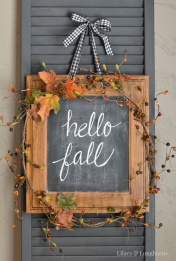
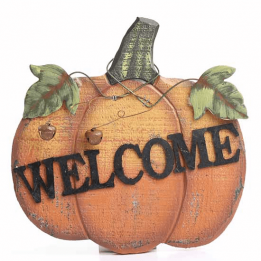
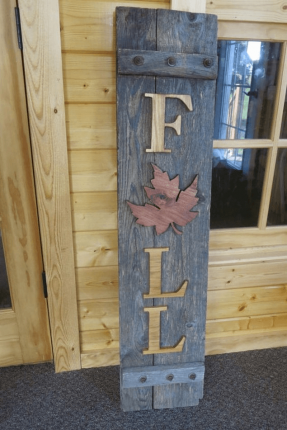
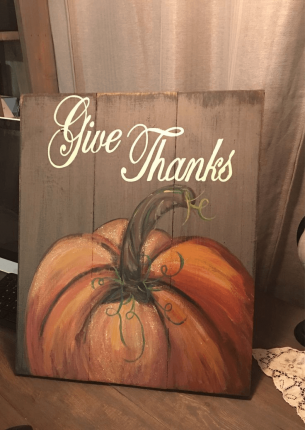
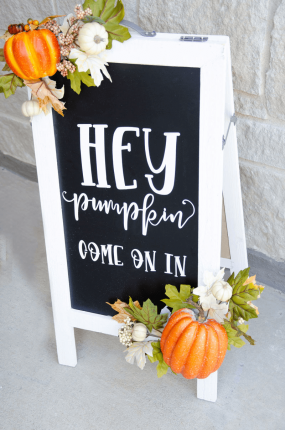
A creative and sign is a perfect addition to your home to welcome fall season. That new piece in your favorite room will infuse a particular vibe when it is properly displayed.
However, what fall sign to display? How if the ones sold in the stores don’t suit your interest? Chill! Why don’t you make one?
Here are some ideas:
1. Watercolor Fall Art
The first idea of DIY fall sign you should try is this watercolor fall art. It is super simple to do. The materials are also easy to find. This fall sign could transition your beloved home for the upcoming fall season.
All you need are a thick art paper. The color of the paper is up to your preference. Besides, you will also need art painting with any color that you like. If you think you can do art painting well, you could search printable fall signs in the internet.
There are plenty of watercolor printable files with many patterns and style. Choose the one that suit your style the most. Then, paint the drawing with the color of your choice. Let the watercolor dry and then hang the fall sign on the door of your bedroom or other rooms.

2. “Gather” Weathered Sign from Wood
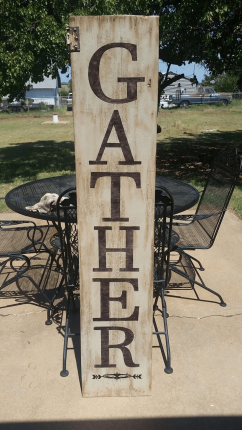
Second idea will be “gather” weathered sign from wood. This fall sign is surely handmade. For this DIY project, you will need to work more with your creativity especially when doing hand lettering. But before going further with the hand lettering, let’s see the materials needed for this project.
What you need to make this wood sign is barn wood in gray color. This kind wood is chosen to create a farmhouse style to the room you place the sign later at. If you cannot find barn wood, you can simply use reclaimed wood. Make most of any left-over wood you can find in your warehouse. If needed, you can paint the wood to meet your color preference.
Once the painting is dry, do the hand lettering by wiring “Gather” on the wood. Let it dry. Now you have an instant and effortless fall sign that can infuse rustic vibe to your favorite room in your house.

3. Giant Distressed Fall Sign
Do you think you want to go big with your fall decoration? Well, you surely need a big fall sign! You can create a large and big distressed sign for welcoming your fall party guests. This distressed sign will give your guests an inviting and warm feeling.
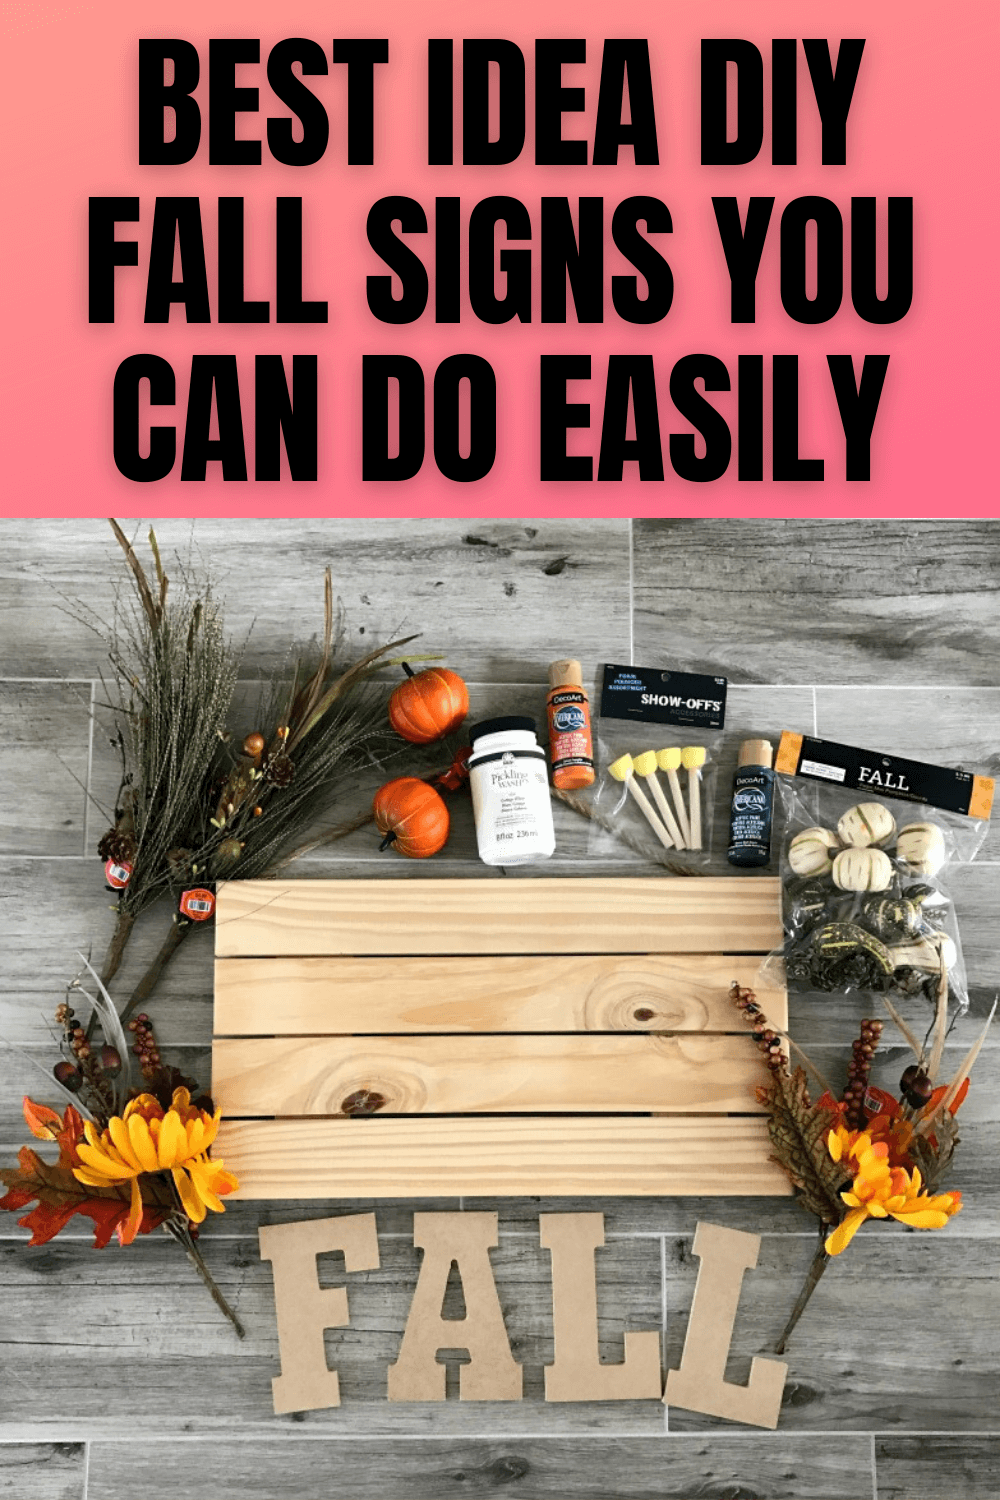
To make your distressed fall sign, all you need to have is white paint, dark walnut stain, and foam brushes. To make it, first, apply the dark walnut layer to the board with your foam brush and let it dry for about 15 to 20 minutes. After that, wipe away all the stain that was not soaked into the wood of the board.
Next, sand the side of the board that will be the front part of your fall sign. This is the prep for the painting. Make sure you sand the board before painting it so that the stain will stick to the board very well.
Once you are done sanding, wipe away all the dust. Then create the vinyl “FALL” lettering using cutting machine. Make sure the size of the letters match the size of the board. Then stick the letters cutting to the board and paint the board in white. It will leave the board with the shape of the letters in black. Give two coats if you think it’s necessary.
Last, sand the board until you get the distressed degree you like. Once you get it, your fall sign is ready to be displayed in your porch. To accompany the fall sign, you can add festive blooms and pumpkins around the fall sign. Now your porch is complete!

4. Fall Harvest Sign
Do you have some pieces of scrap wood that are just left unused in the warehouse? Why don’t make most of them in a DIY project? With those chipped and old pieces of scrap wood, you can repurpose them and make them into a cute sign of fall harvest.
To make the sign, you will need 4 boards of scrap woods. You don’t need to paint them, simply leaving them with their natural color to get the rustic vibe from it. On each of those four boards, you can write some words related to fall harvest. For example, write in black the word “U PICK” on the first board. Then, for the second board, write “APPLES” using white paint. Then for the third board write “PUMPKINS” in white and on the fourth board write “HAYRIDES” in black paint.
If your scrap wood pieces are in white, write the words in black. If the scrap wood pieces are in natural wood color, opt for white paint to write the letters. Once you are done writing the words, you can give any finishing you like. You can even create the shape of the board differently from one another. The next step would be sticking them on the walls. The fall harvest sign is ready to welcome your guests!

5. Pumpkin Spice Print
The last fall sign idea is this pumpkin spice print. This may be the simplest DIY fall sign project ever. All you need are just blackboard and colorful chalks. As October, the month of fall season, is about to come, we need to welcome this season of pumpkin spice latte!
Prepare your blackboard and your creativity to use colorful chalks. Create an art of cozy chalkboard that features some colorful leaves such as in pink, green, and yellow, as well as the illustrations of pumpkins (the big and the small ones). What to hand letter then? Easy! Simply write HAPPY PUMPKIN SPICE SEASON in white and yellow. Then decorate the writing with leaves and pumpkin drawing.
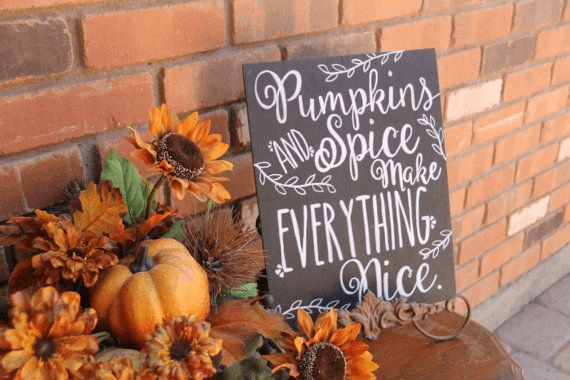
Having a nice and cure fall sign isn’t necessarily buying it from store. Make your own! By doing that, you can always personalize the fall sign. All the materials of the DIY fall sign projects above are also easy to find in the nearest store. Which one is your favorite?
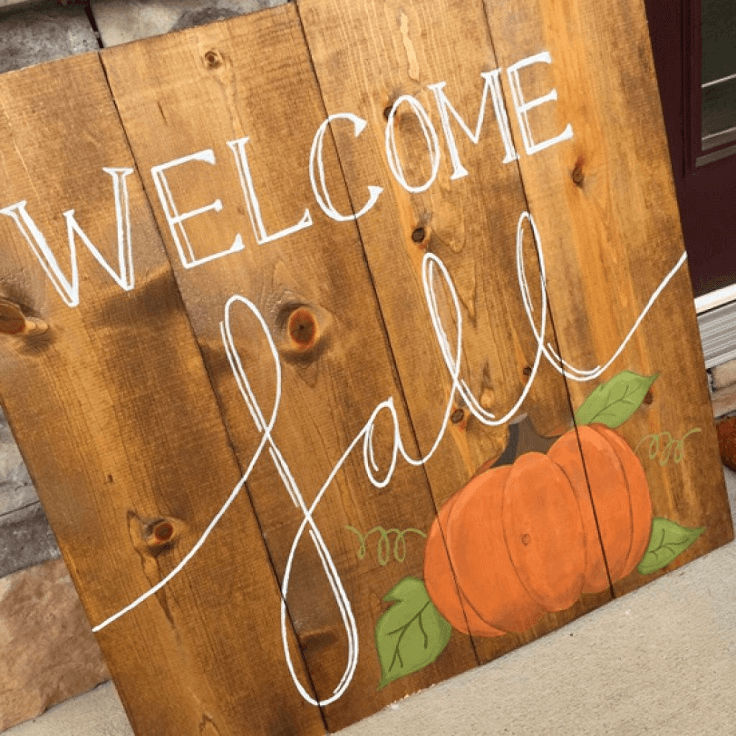
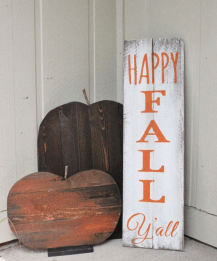
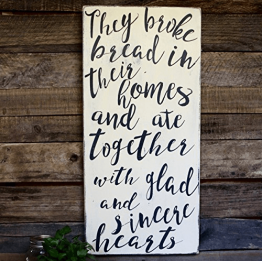
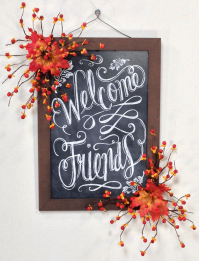
Actually, many ideas that you can make as fall sign. The following are some ideas in the pictures for you. Hopefully it can add to your creativity.
Originally posted 2020-11-21 03:25:01.

