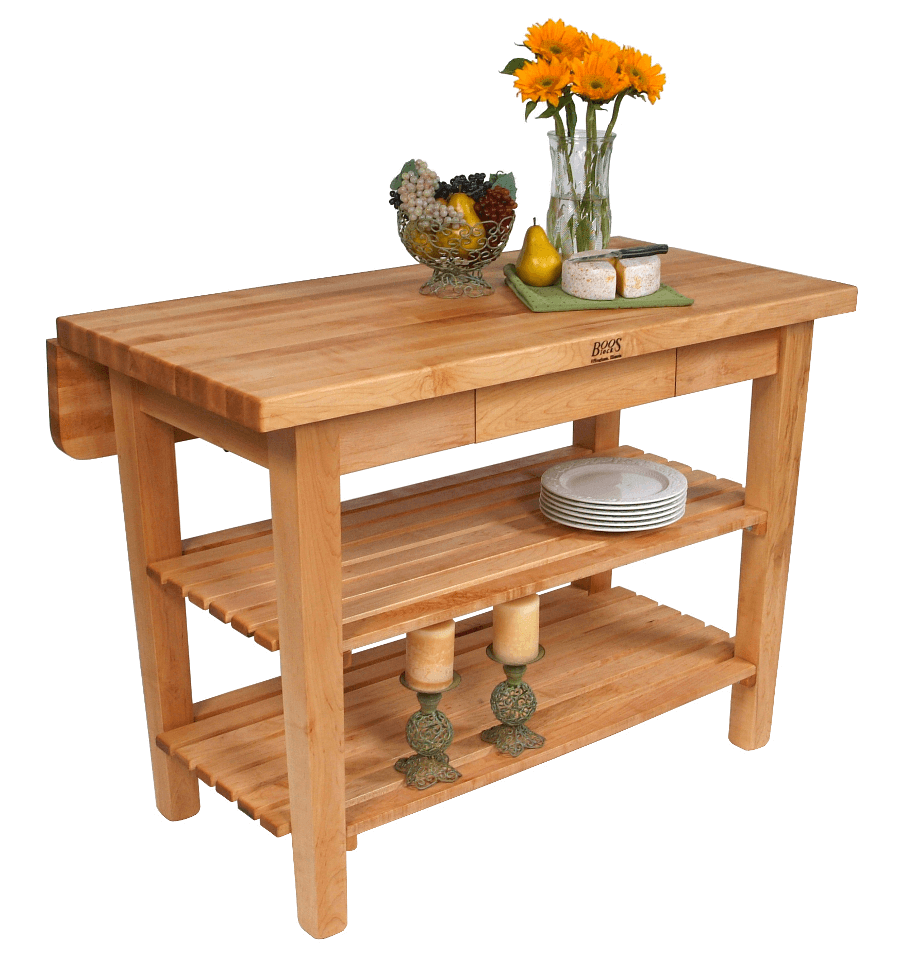
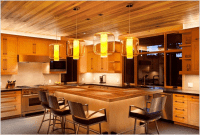
Moving to a new property is sure thrilling and exciting! As you might learn from your past experiences, having a portable and foldable item would bring a great benefit for many occasions.
You could set out a bigger table when holding a house warming party. Then, you could also make it big enough to fit the corner space and provide adequate spaces for personal dinner.
Island kitchen drop leaf sounds just great. What about making one?
Read also: How to Build 2 Tier Kitchen Island.
The Materials
Before jumping into the pleasure moment of cutting and installing, you need to pay a visit to the store and purchase several things: 144 inches of poplars, 212 inches of pine pieces, 612 inches of pine slabs, and 98 inches of three inches pine.
For the finishing touch, you might also need wood conditioner and stain. Don’t forget to buy a corner bracket and screws to support the folding function.
Add the sandpaper and adhesive glue to your shopping list. You will need them later to attach and remove sharp edges.

The Procedure
In the table making, you only need to cut, assemble and paint the prepared materials. Each steps is explained further in the following section.
1. Cutting
Start off with cutting the 144 inches poplars into four pillars. Each of them should measure 36 inches. The 212 inches one is divided into two pieces: four items with 36 inches size, and another four cuts with 17 inches size.
The 612 inches slab should be equal 17 inches cut. If you do it right, the final product should count to thirty six pieces. The 98 inches pine is cut into 4 pieces: two of them is ten inches wide, and the rest is thirty nine inches.
You could use saw to cut the thin pieces, and the electric saw if you need more power to divide the thicker wood. After you finish cutting, eliminate any sharp edges with the sandpaper. The final product should have smooth surface.
2. Assembly
The first part to put together is the frame. Create two squares with thirty six times seventeen inches. These rectangles would fill the bars inside the leaf table. Attach them together with glue and apply pressure for several minutes to let the glue works.
Then, take the seventeen inches wide pine to make the bars. One rectangle could fit up to eighteen pines. Next, you can start assembly the rest of the poplars for a standing frame. Then, you can assembly the wood to fit the countertops and side skirts.
Attach the top butcher with long screws to the frame. The drop leaf wings are then screwed to this main frame with shorter screw. Don’t forget to install the drop bracket under the main countertop.
3. Paint and Stain
Here comes the most fun part. You could pick any colors you want, but never forget the layer to prevent any termite. This layer should come first, before applying the layer of vibrant colors.
The most favored color is dark brown: it emits the natural beauty of the wood itself. Also, it suits in any wall decorations. You might have to give several layers to the wood to get the right shade.
Read also: Kitchen Island with Cooktop.
In most cases, things you see in online shop do not fit your personal imagination of a practical item. Instead of remodeling things, it would be less problematic to build one from scratch! The materials are easy to find, and you only need to borrow few architect trick to finish the project. So, what are you waiting for?

Kitchen island with drop leaf gallery:

Originally posted 2019-09-08 01:28:05.


