

Kitchen island is a place that we usually use to prepare meal for all family members or visitors. Thus, it needs to be designed as well as possible.
Some people are comfortable having kitchen island with one tier. While in other condition, some people prefer to apply 2 tiers for kitchen in their house.
For those who like using 2 tiers, here are some tips you can apply to your kitchen island.
Read also: Modern Kitchen Island Chairs Design.
1. Materials and Tools You Will Need
These tips will be useful especially for those who use wood as their main material in designing the kitchen island. First of all, you are going to need lot pieces of wood or plywood in any various dimensions.
To make it simple for you, here is the list of materials and tools you need to prepare.
- Jig Saw
- Framing Square
- Wood Glue
- 2D Box Nails
- 4D Finishing Nails
- Corrugated Fasteners
- Hinges
- 3 Wood Shelf Supports
- Wood and Plywood in any dimensions

2. Building the Box
The first step you need to do is to make two 35×23 3/4×1/4-inch pieces of plywood, and then make a 4 inch mark from one edge near the corner. Do the same thing to the other edge at the same corner.
After that, draw lines to make a 4-inch square at the corner of the plywood using framing square, and then cut it using the jigsaw.
Make four 4×19-inch pieces of plywood, then use the wood glue to stick them with the 2D box nails. Make sure those materials are nailed strongly as you will use it as the cleats.
Next, make a 23×34 ½-inch piece of plywood and put it on the top of the cleats, and then secure it through the end panels with 4D finished nails.

3. Building the Face and Tops
In making the face and tops, you need to start with two 2×32-inch pieces of plywood. Put them into a form of frame that is 32-36 inches tall, and secure them with the corrugated fasteners as the face frame.
After that, apply the wood glue to the front side of ¾-inch edge of the cabinet and secure it with the 4D finished nails.
Apply the wood glue again to the all sides of 3 wood shelf support and secure the end panels and the backside of framing face with the 4D finished nails.
To make the doors, make two 17 ½x29-inch pieces of plywood and use the hinges on them as you will attach the doors to the cabinet. Finally, make a 36×12-inch piece of plywood to the top of your second tier supports with the 4D finished nails.
Read also: Rustic Kitchen Island on Wheels.
A kitchen island with 2 tiers will surely allow you to do many things. You will have more space to cook, and to prepare or serve the meal. Having 2 tier kitchen island also needs more maintenance as there will be more mess caused by the meal on the tier. Once you decide to have 2 tier kitchen island, make sure you are also ready with the maintenance.
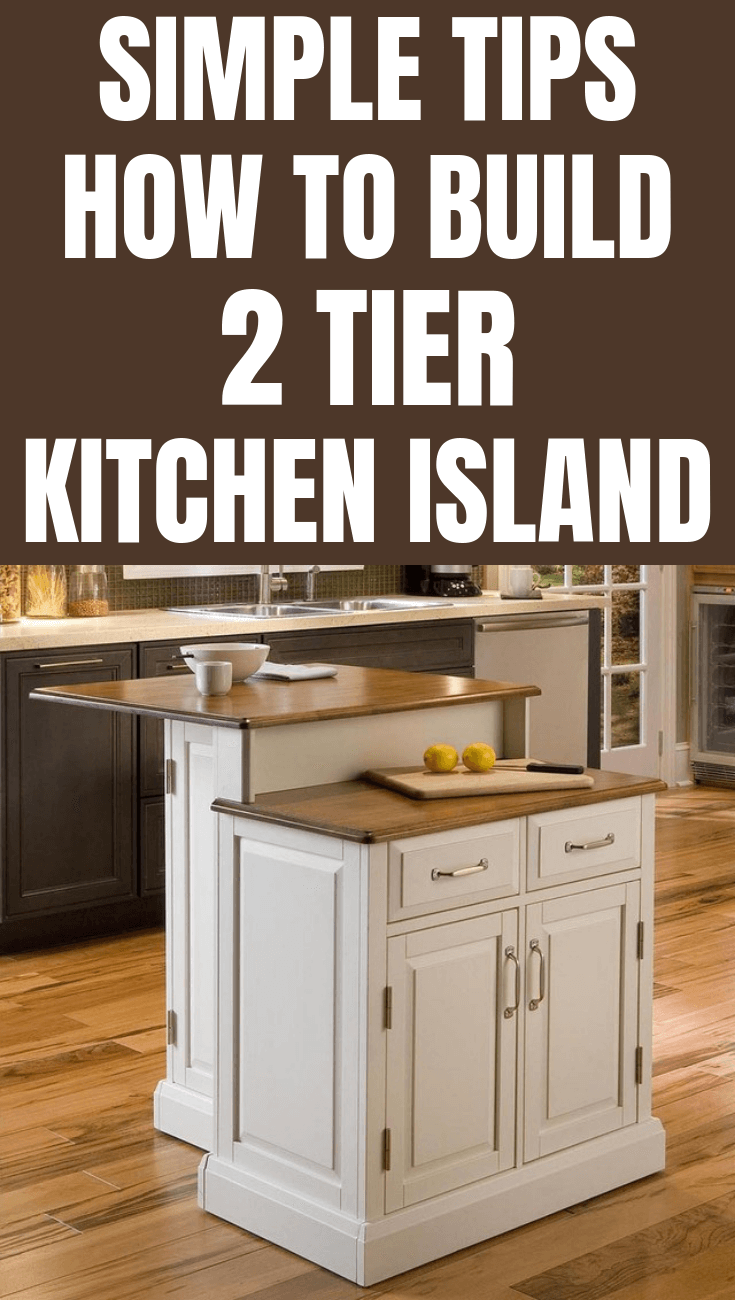
2 tier kitchen island picture gallery:


Originally posted 2019-09-03 01:37:08.


