

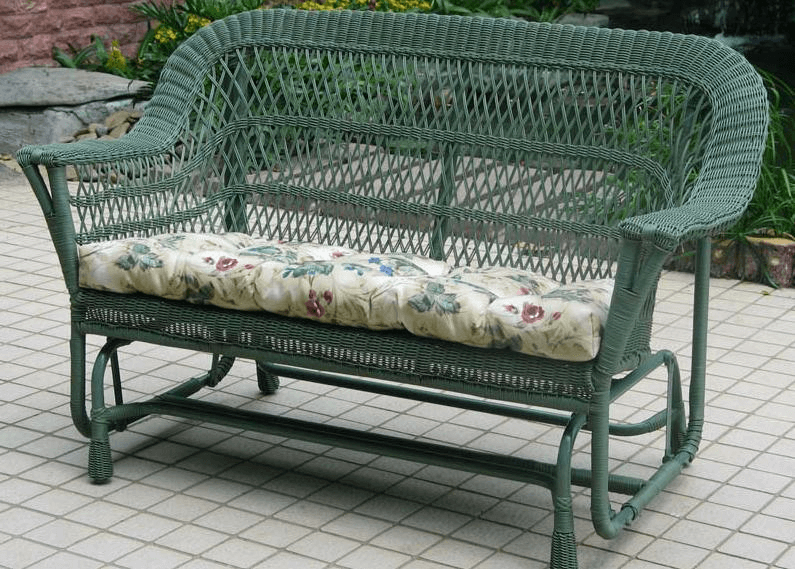
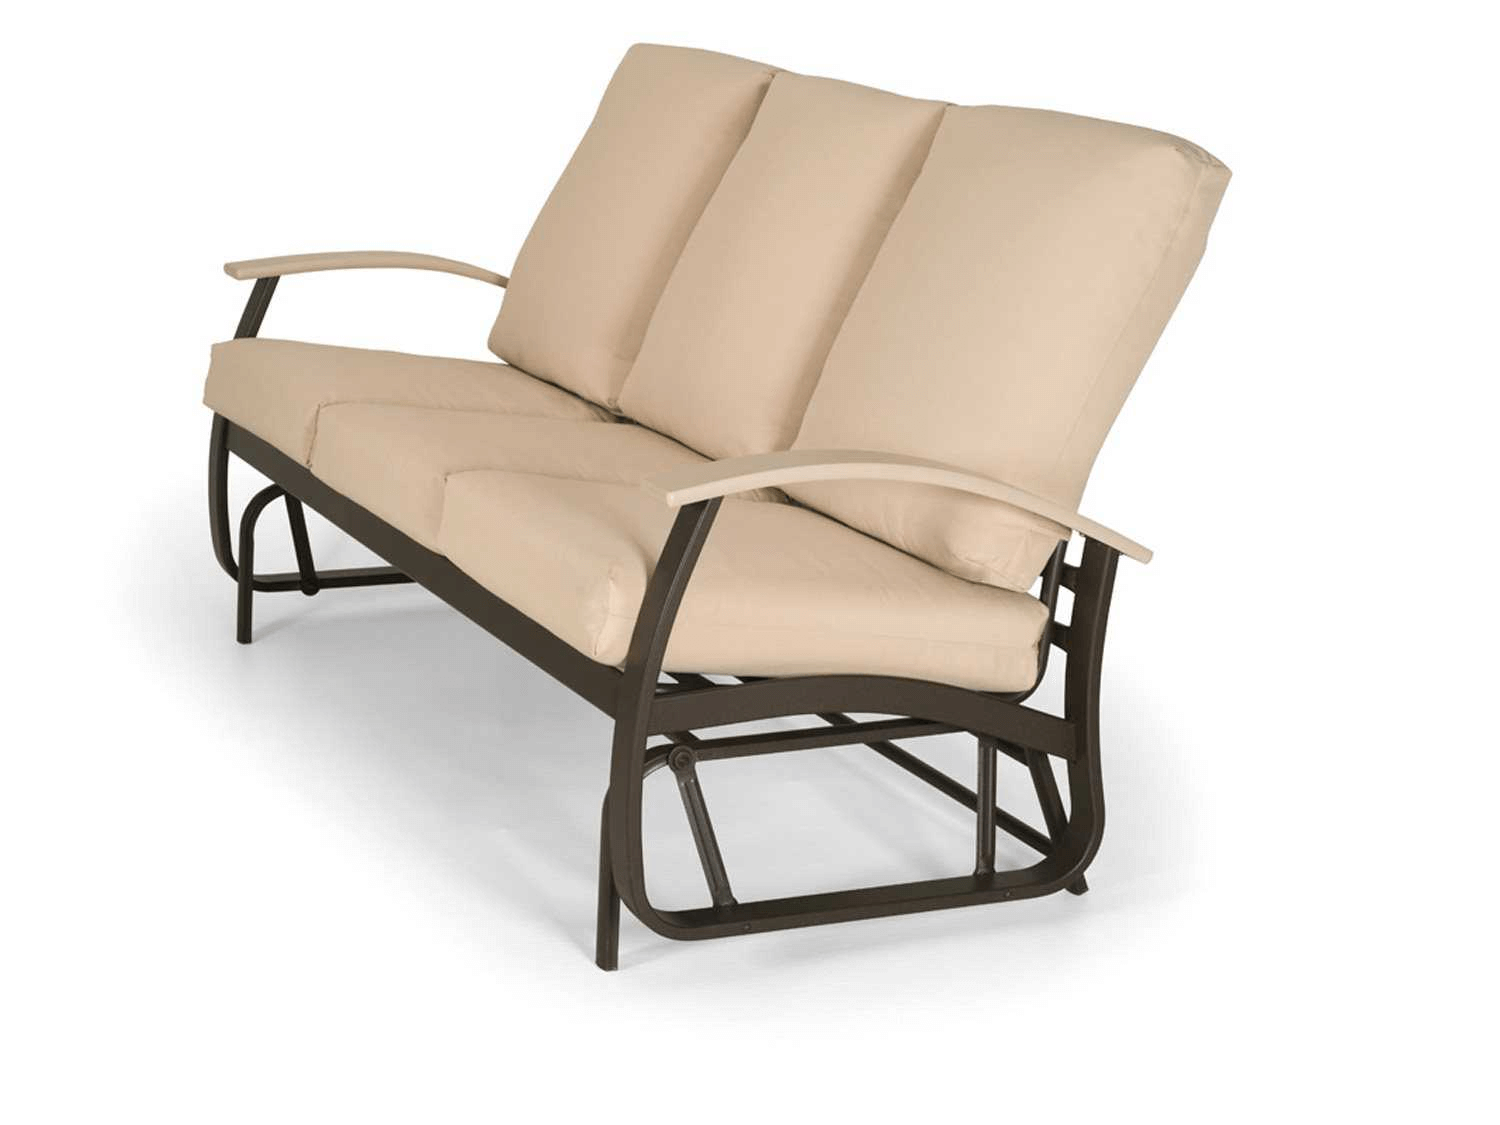
For those who love to relaxing should love to spend their time sitting on their porch glider.
The glider will be more comfortable if it has glider cushions add-on. Cushions will provide comfort and style as well to your glider.
While they are can be quite expensive to buy, you can actually make them by yourself.
Read also: Maintaining Porch Glider Swings.

1. Measure the Area of Your Glider
First of all, you need to measure the area of your glider, so that you can know the exact size of fabric and how much foam to purchase.
Moreover, you should do this by measuring separate seat area as well as the back of the glider if you need to make cushions up to the back of the chair. Measure the width by length to get exact measurements.
2. Select the Fabric You Want to Use
After that, head to fabric supplier to purchase the fabric that you want to use. Select the fabric according to your preference and don’t forget about the thickness of the foam.
The thicker the foam, the more comfortable the cushions will be. Thick cushions take longer to dry than thinner ones as well. So, decide wisely!
3. Measure and Cut the Fabric
After you get all the materials you need, you need to measure and cut the fabric. To do this, lay down the fabric over the foam and add a half inch to one inch clearance for the seams on each side of the fabric.
You have to make sure to keep in mind about the thickness of the sides of the foam as well.
4. Sewing Time!
Then, it comes to sewing time. The two sides for the back and front of the cushion need to be sewn together.
Make sure to sew them inside out on three sides and leave a seam allowance of a half inch to one inch, just like you sew a pillow. To complete the cushions, you also need to sew the zipper.
The zipper gives benefit from double stitching the seams and to add durability because the cushions often take a lot of tear and wear.
5. Stuff the Foam into the Cover
Finally, it comes to the final step which is stuffing the foam into the cover. To do this, you need to turn the fabric right-side out, then fill it with the foam.
You may need to use a long object as well in order to make sure the corners of the covers are pushed, so that the foam can fill each side of the covers.
Moreover, you may need to make clean edges on the corners by cutting off some of the seam allowance. Then, zip up the open side.
Making your own glider cushions can actually be the most fun and rewarding experience. Besides, you can choose your own materials according to your likeness, such as the fabric style, the thickness or thinness of the foam, and etc. Moreover, by following this tutorial you don’t have to look somewhere else to make your own porch glider cushions.
Originally posted 2019-12-27 01:43:10.


