Tag: Electronic

  • How to Get Rid of Smell in Fridge

    How to Get Rid of Smell in Fridge

    There is nothing more disturbing than getting ready to prepare a meal for the family and you open the fridge and smell that stinky odor.

    Your appetite quickly disappears and it takes a long time to find out what can cause the smell.

    Check out the following three simple ways you can try to remove the smell.

    HOW TO GET RID OF SMELL IN FRIDGE

    1. Clean up the Entire Fridge

    This can sound very tiring but you need to take out all you keep that may be rotten. You also need to take out all food that you won’t need for the next few days.

    Put all the remaining food in a cooler to keep its good condition, and unplug your fridge. Throw away all rotten foods and label the entire leftovers you have. Rearrange them on air tight seal and put the label on it.

    Next you will need to clean the fridge. Wipe the entire surfaces of the fridge and areas under the shelves. Take out the drawers and soak in the sink.

    Make sure to wipe the inside of the drawers as well. The outside surfaces and door seal need to be wiped as well.

    Read also: How to remove burnt smell from microwave?

    2. Work with Natural Cleaning Solutions

    Why do we use natural cleaning solution? Several solutions may mention they use minimal chemical in it.

    However, it is never safe to use chemical in areas where you place your food on. It’s a little iffy and it can be toxic. You should opt for natural cleaning solution, in which you get effective effect with minimal risks.

    Dissolve a cup of baking soda with warm water and stir until everything mixes well. Scrub the entire fridge surfaces with this solution will remove odor, stain, and bacteria.

    In alternative to dissolved baking soda, you can also combine one part water and one part vinegar. Use this mixture to scrub and wipe the fridge. It should bring back your fridge natural shine too.

    See also: Kitchen cleaning checklist for your home.

    3. Use Odor Remover on the Fridge Shelves

    An open box of baking soda can actually take away all the odors. You can also spread it on a cooking tray and leave it in the fridge after cleaning. It absorbs the entire smell very quickly.

    Remove it before stuffing in your food. Tougher smell can be handled with a little vanilla on your baking soda.

    There are other natural odor removers that you can leave in the fridge for longer time. Your options include a bowl of oats, charcoal briquettes, a cup of white vinegar, dried coffee grounds.

    A dish of dried coffee grounds can create smell as well but the smell disappears very quickly. The best thing is the coffee smell takes away other smell with it too. This is a great alternative for those who like keeping a lot of stuffs in the fridge.

    Don’t let the smell lingers any longer. It affects a lot of things including your family health. Immediately apply those methods and get rid of things that shouldn’t be there. They are easy to do and they remove your issue fast.

    How to use coffee grounds to remove smells in fridge

    Originally posted 2020-03-14 00:57:13.

  • The Benefits of Using KitchenAid Mixer Glass Bowl

    The Benefits of Using KitchenAid Mixer Glass Bowl

    As one of kitchen equipments, kitchen aid mixer has some crucial parts in preparing your meal or food.

    The problem is when you need to decide whether you are going to use glass or stainless mixer bowl.

    Here are some comparisons that you need to consider before you choose between glass and stainless mixer bowls.

    Read also: Kitchenaid Mixer Care Guide.

    THE BENEFITS OF USING KITCHENAID MIXER GLASS BOWLS

    1. Practical Uses

    Even a kitchen aid mixer can be made of some materials, and each kind of mixer has to be handled differently. In this case, glass mixer will be heavier than the stainless one when you are about to pour ingredients from the bowl.

    However, you can see the ingredient quantity by marking the bowl since you can see through the glass while you will not be able to do the marking on the stainless one because you cannot see through it. That is why you will find glass bowl is more practical than stainless bowl.

    Kitchenaid mixer glass bowl replacement

    2. Expense

    It is not a secret that usually kitchen aid mixer glass bowl is more expensive than the stainless one. As you will find any kind of price range, stainless mixer bowl is still less expensive than the glass.

    Even the most expensive stainless mixer bowl sometime has the same price tag with an ordinary glass mixer bowl which is not categorized as an expensive one.

    There are some reasons behind this price tag. One of them is because glass mixer bowl will match with any design of kitchen. The fact that we can see through glass make it perfect in any design of kitchen interior.

    3. Aesthetics

    Correlating with the previous factors, glass mixer bowl also has an aesthetics point that stainless do not have. Usually stainless mixer bowls are only match with kitchen with vintage style, but it will be strange if you have it in your rustic kitchen for example.

    Meanwhile, glass mixer bowls will match with almost all design of the kitchen because of its transparency. Its transparency will not ruin the design of kitchen that you already have.

    4. Useful Features

    The last but not least, glass mixer bowls have some useful features that stainless mixer bowls do not have. Even some stainless mixer bowls are made with measuring lines that will ease you to follow a recipe. Sometime, the measuring lines do not work really well.

    A different recipe will affect the taste of your meal or food. If you use glass, the measuring lines will work perfectly since you can also see the ingredients through glass.

    Glass mixer bowls provide more various levels of measuring lines which will help you to be more accurate. Glass bowl can also be put into microwave to heat chocolate or butter. It is clearly something that you cannot do with stainless bowl.

    Kitchenaid mixer stainless steel bowl

    Read also: Kitchenaid Mixer Recipes.

    Basically, each type of bowl has its benefits. Being sure of what meal you are going to cook and prepare is actually more important than thinking about what style that will match with your kitchen. It will be much better if you can get and combine both factors.

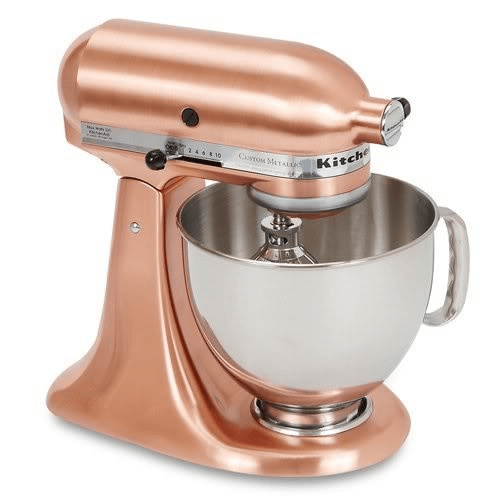
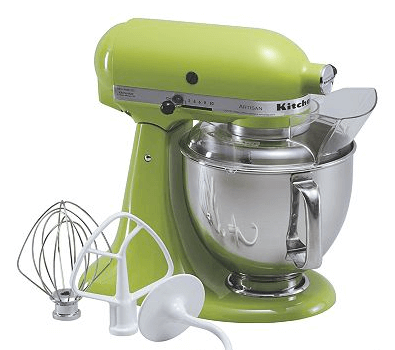
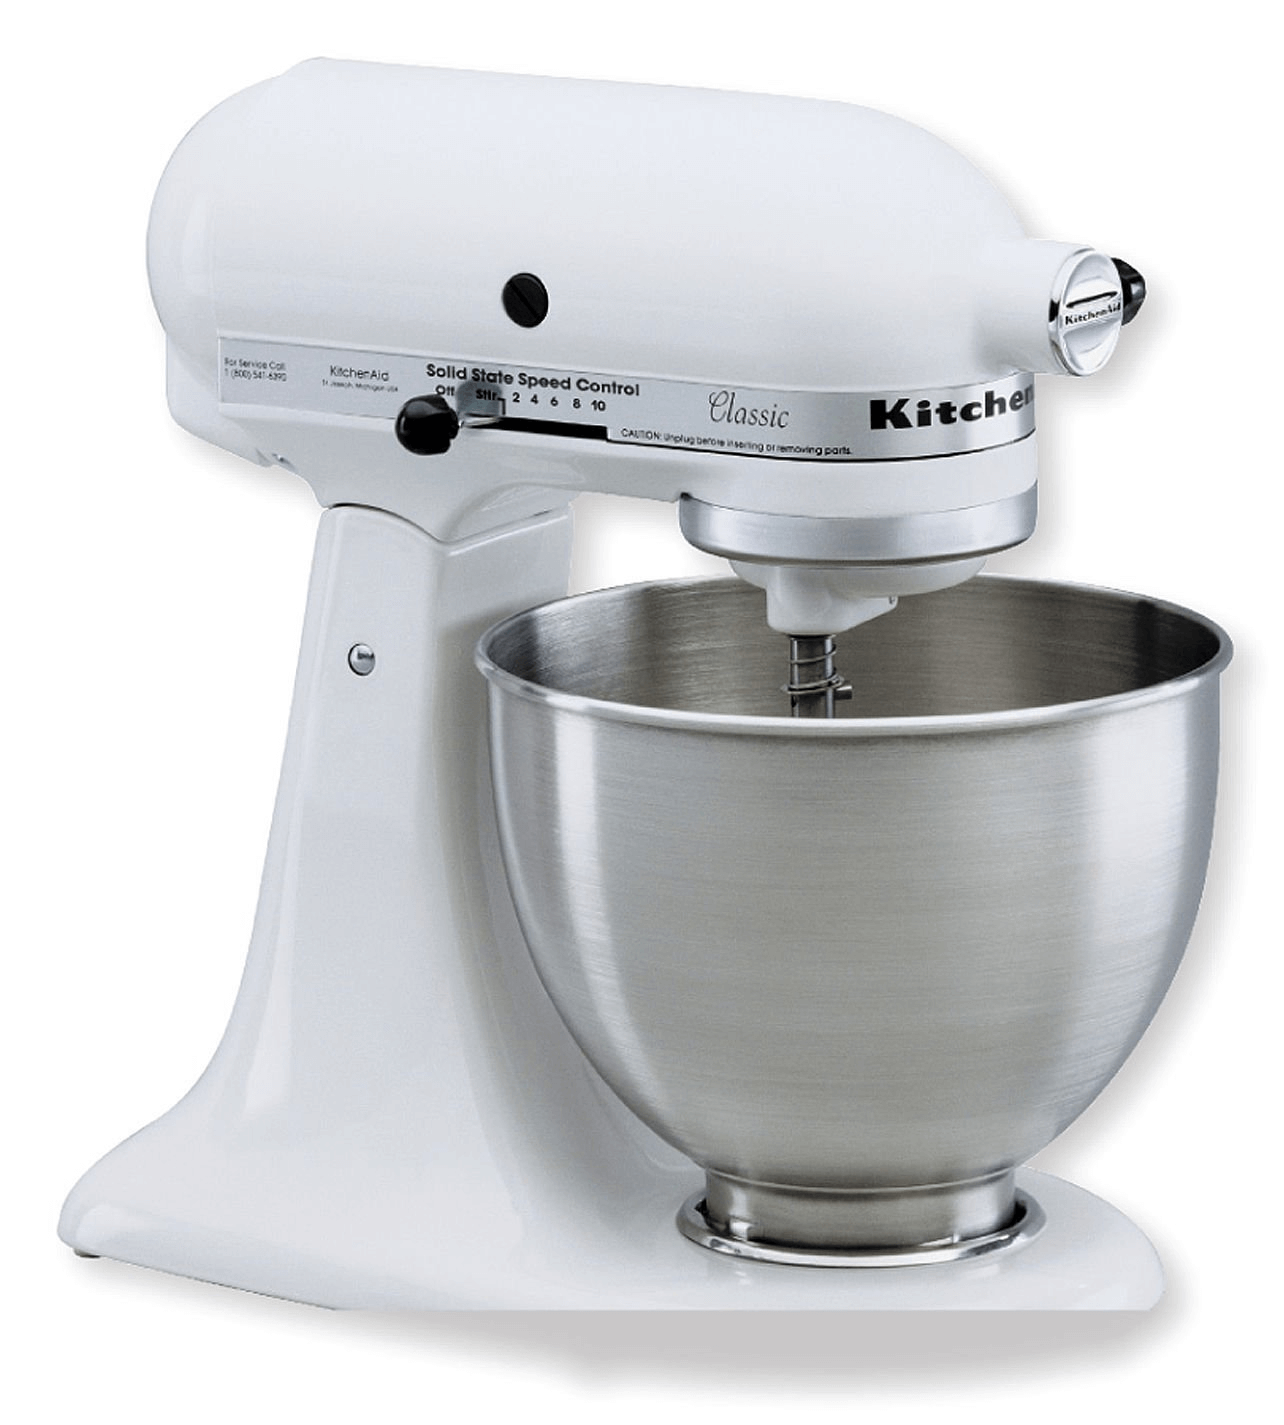
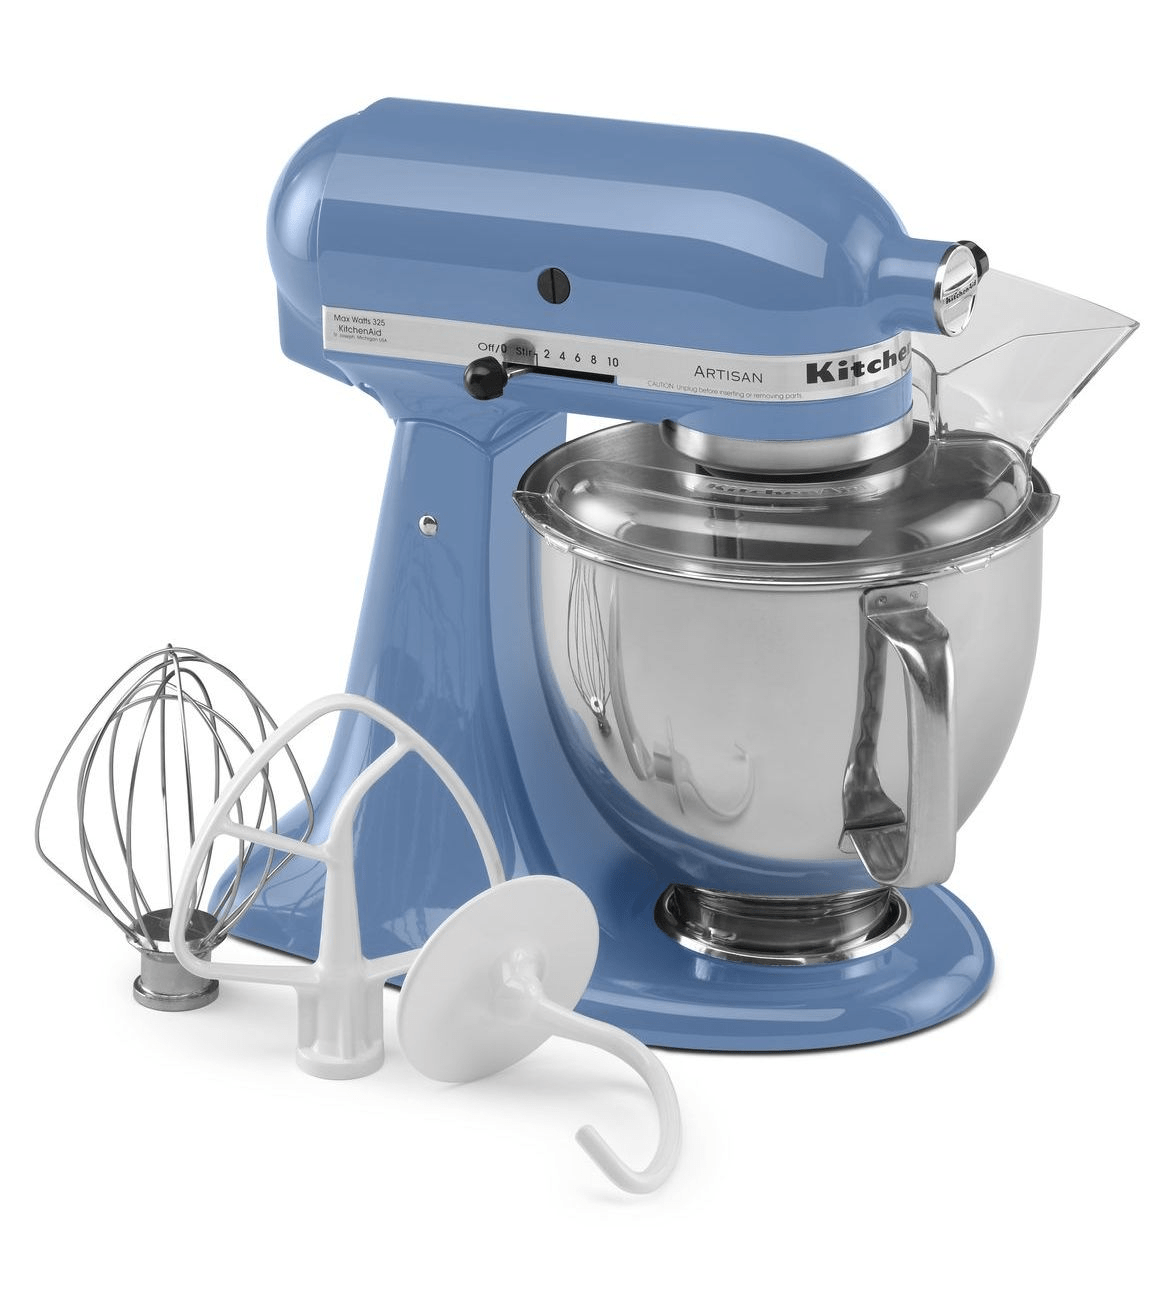
    Kitchenaid Mixer pictures gallery:


    Originally posted 2019-09-14 05:20:46.

  • Which Kitchen Aid Mixer Size/Dimensions You Like to Use?

    Which Kitchen Aid Mixer Size/Dimensions You Like to Use?

    As one of kitchen aid, mixers are really useful in helping our kitchen’s daily job. We can almost prepare any kind of meal with this kind of kitchen aid.

    To specialize their function, there are some size or dimensions of mixer based on their utility.

    Here are the common dimensions you usually find.

    Read also: DIY Kitchen Island Drop Leaf.

    MOST POPULAR KITCHENAID SIZE AND DIMENSIONS

    3.5 Quart Kitchen Aid Mixer

    The smallest size of a mixer that you will find is a 3.5 quart kitchen aid mixer. With the 3.5 quart size, this mixer is usually used to mix at least 5 dozen cookies in a single batch.

    This size of mixer has 10 optimized speeds that you can control depends on what kind of food you want to mix inside it. Avoid putting too much food because 3.5 quarts are the smallest size of the mixer.

    3.5 kitchenaid mixer dimension mini

    4.5 Quart Kitchen Aid Mixer

    Move to the bigger size, there is a 4.5 kitchen aid mixer. Basically, this size is just a little bit bigger than the previous one.

    This size of mixer will allow you to mix for about 6 dozen of cookies or any other ingredients in a single process. A 4.5 quart kitchen aid mixer also has 10 optimized speeds that you can control in the mixing process.

    5 Quart Kitchen Aid Mixer

    Even it only has 0.5 quart gaps with the previous size, a 5 quart kitchen aid mixer gives a significant difference in the quantity of ingredients you can mix inside it.

    This size of mixer can cook until 9 dozen of cookies or any other food ingredients in a single mixing process. It also has 10 optimized speed control depending on what ingredients you mix.

    Read also: Kitchenaid mixer recipes

    6 Quart Kitchen Aid Mixer

    The next one is 6 quart kitchen aid mixer. With this kind of dimension, you will able to mix for about 13 dozen of cookies and any food ingredients in a single batch.

    Still with 10 optimized speeds, 6 quart kitchen aid mixer also has 10 optional powered attachments to be mixed inside this mixer. It will allow you to mix a lot of food ingredients.

    7 Quart Kitchen Aid Mixer

    With 1.3 powerful horsepower motor, this kind of mixer can handle until 18 dozen of cookies and any other food ingredients in a single mixing. The 10 optimized speeds are supported with more than 10 optional attachments that you can mix inside this mixer.

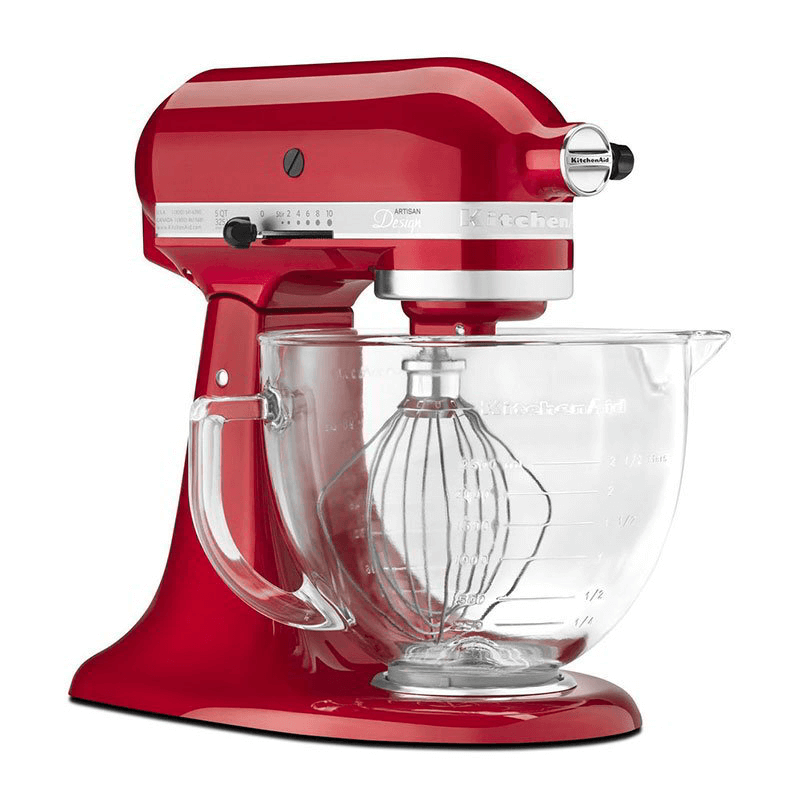
    7 kitchenaid mixer KSM7586PCA candy aple red

    8 Quart Kitchen Aid Mixer

    The biggest size of a mixer is 8 quart kitchen aid mixer. With this kind of dimension, you will able to mix more than 20 dozen of cookies and any other food ingredients in a single time. 8 quart kitchen aid mixer is also supported with 1.3 horsepower motor and allow you to mix more food ingredients inside it.

    Read also: How to Install Kitchen Island Hood.

    Choosing a kitchen aid mixer that you are going to use will be easier when you are definitely sure about what meal or food you are going to prepare. The most important thing is the quantity of your food ingredients. As long as you count it well, any kind of mixer will support your process.

    Kitchenaid mixer gallery:

    Originally posted 2019-09-14 01:52:47.

  • Artisan Kitchenaid Mixer Mini

    Artisan Kitchenaid Mixer Mini

    Kitchenaid is a mixer and kitchen appliances manufacturer. Kitchenaid mixers are often get great reviews because of the outstanding features and quality.

    Beside the usual mixers, Kitchenaid also offers the mini version of the mixers called Artisan Mini Mixer.

    To find out more about it, check out these following explanations below:

    Read also: Most Popular Kitchen Knife Types.

    Comparison with the Regular

    This mixer is more like the mini version of the Artisan Series 5 Quart Tilt-Head Stand Mixer from Kitchenaid with code KSM150PSER. While the design of this mixer is almost the same as the regular one, it still has some differences.

    The first one is the size. While the regular size has height of 35 cm, width of 22 cm, and length of 35 cm, the mini one has height of 31 cm, width of 19 cm, and depth of 31 cm.

    Also while the regular one is 26 kg, the mini version is only 6.5 kg. Even so, both the regular and mini version has the same speed adjustment of 10-speed modes.

    It means that even if you are using the mini version, you can make your cake with the same speed as the regular one.

    The Specification and Features

    Even if Kitchenaid’s Artisan Mini Mixer has smaller and lighter design than the regular one, it still has awesome specification and features.

    First of all, it is made of durable full die cast metal that promises long-term uses. It also has some colors like black, red, blue, grey, silver, orange, etc.

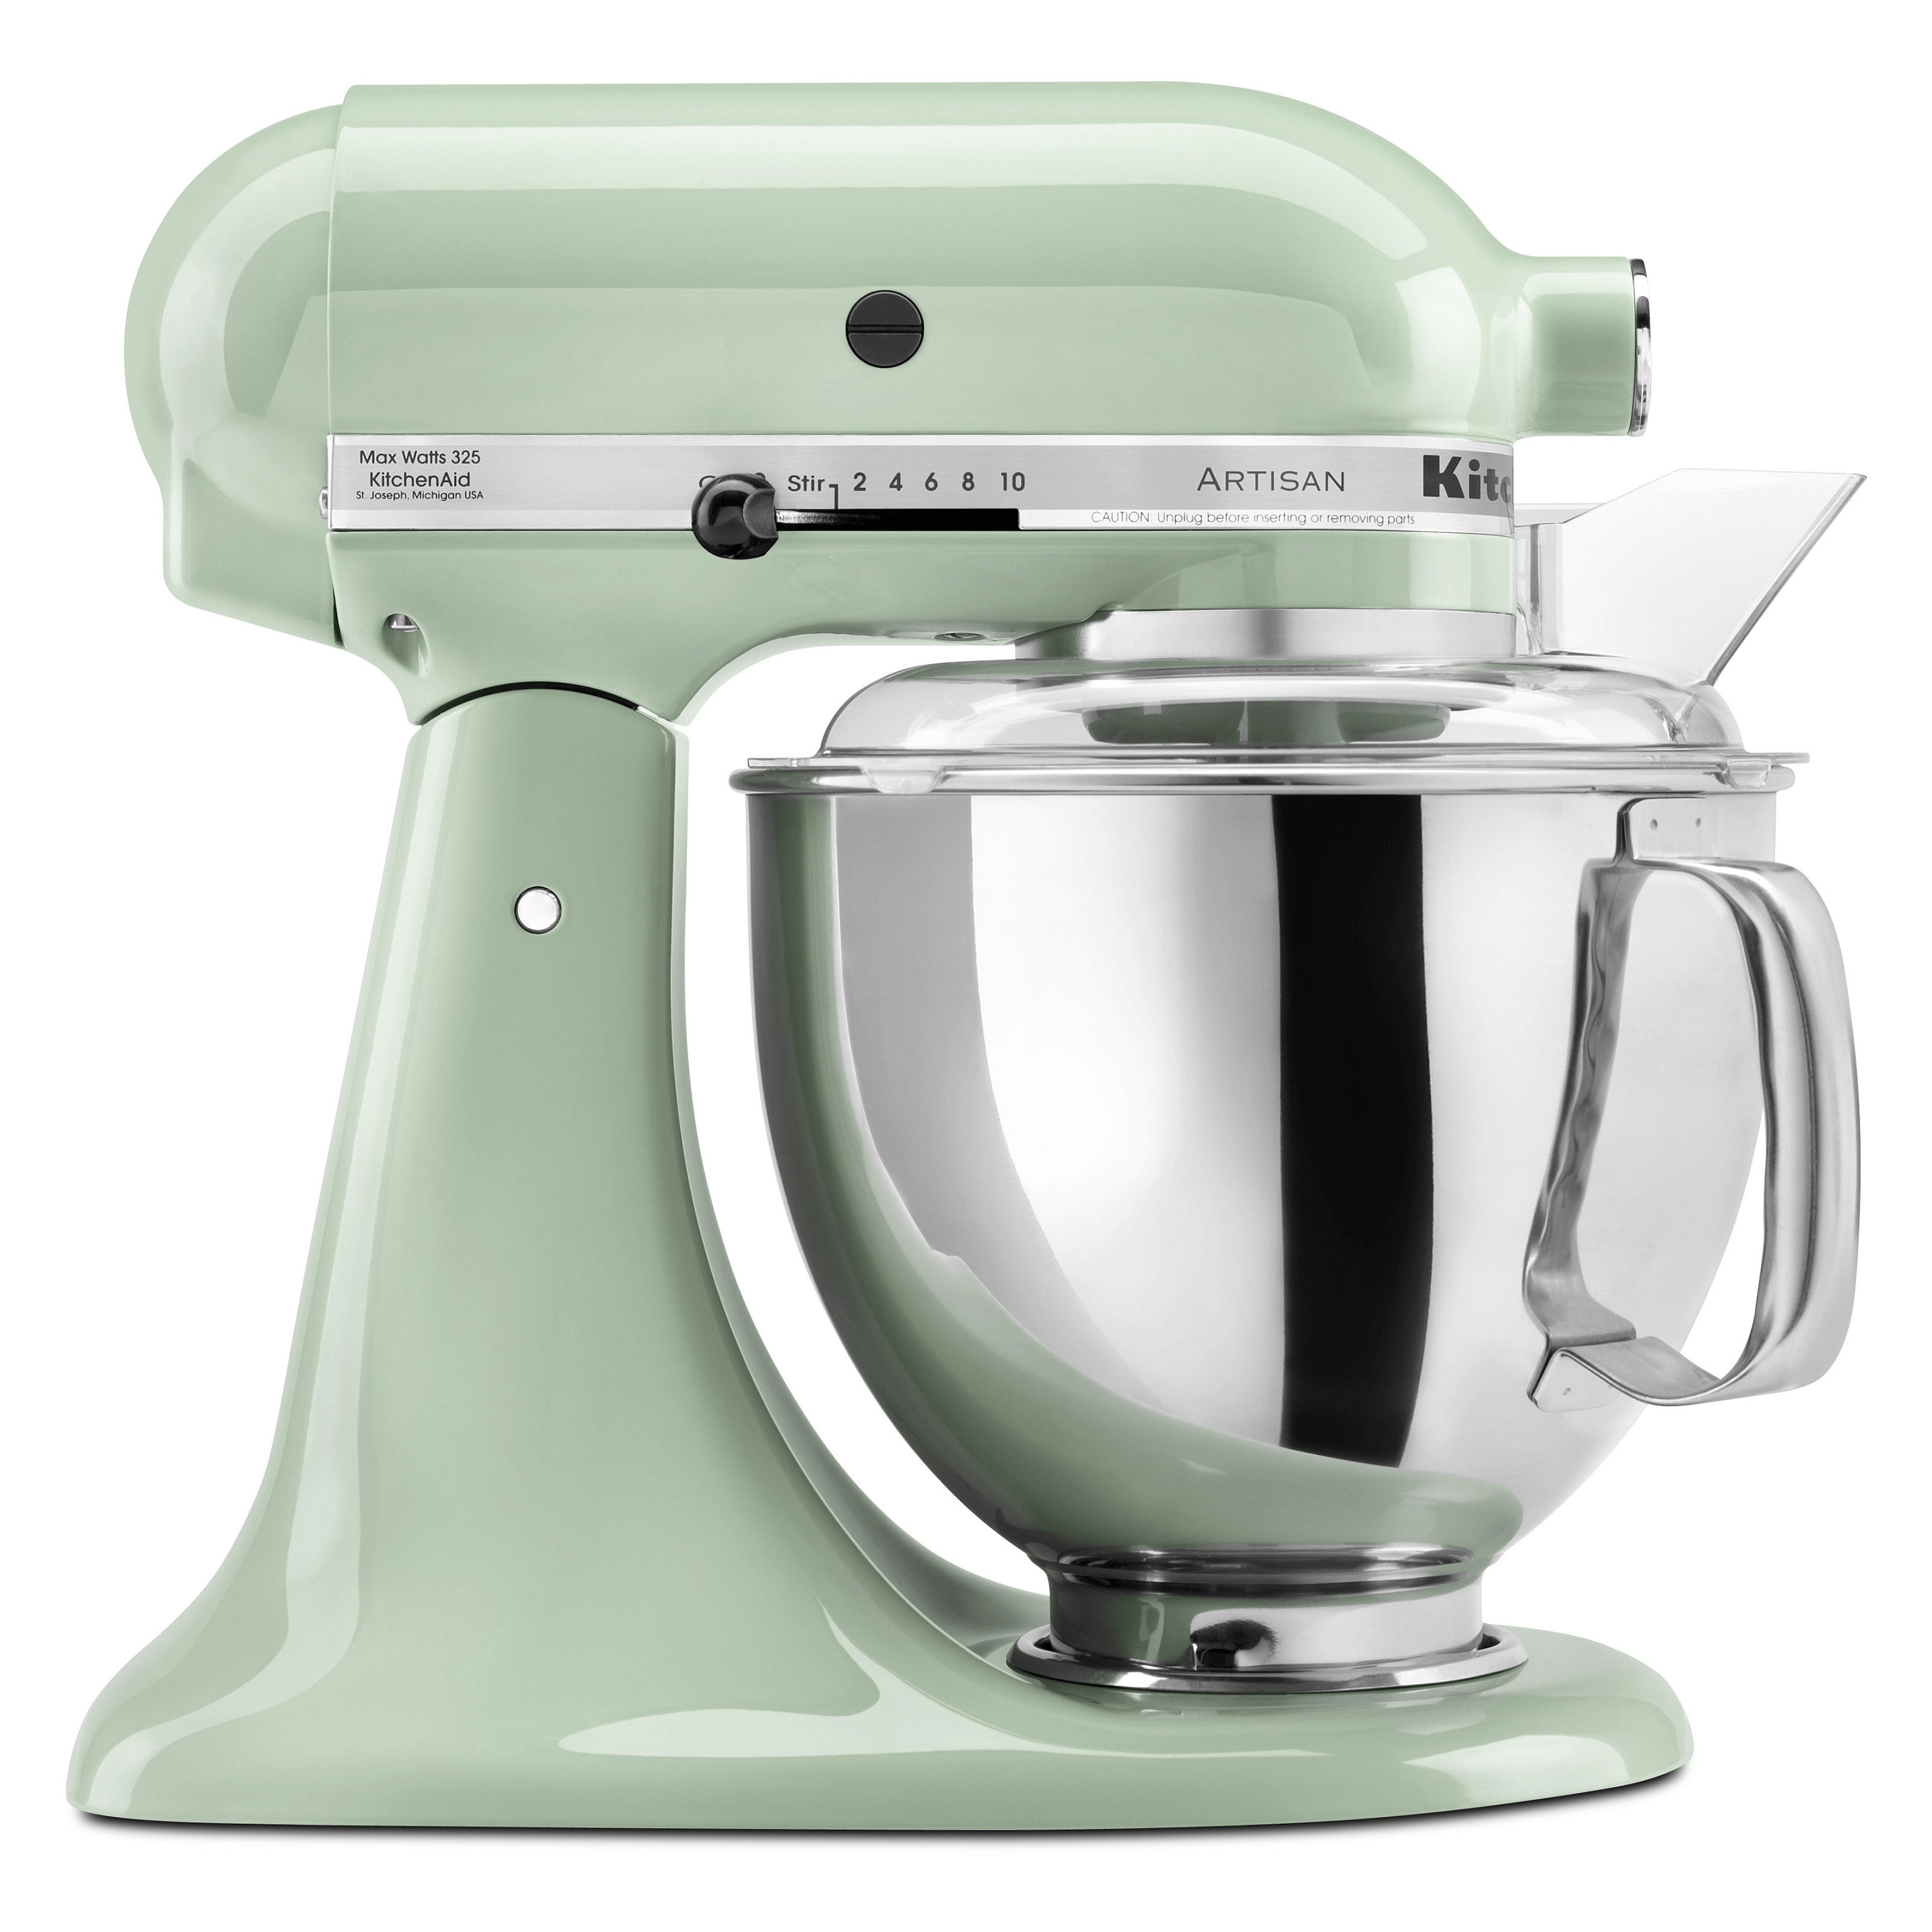
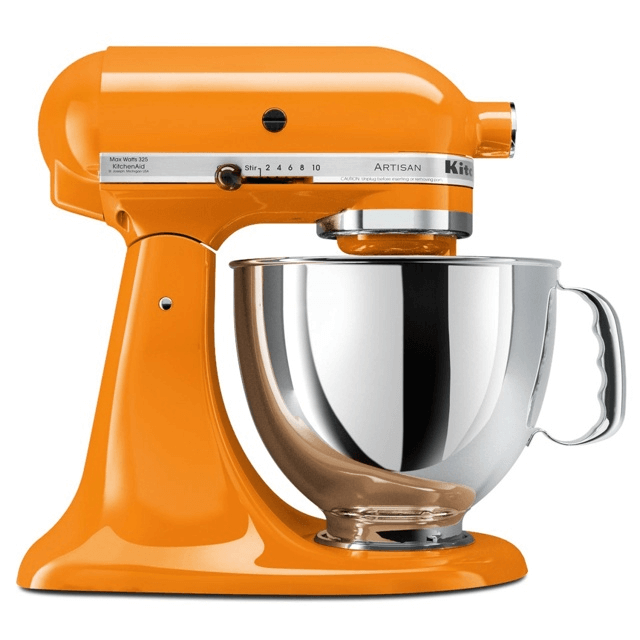
    Artisan Kitchenaid Mixer Mini - variant of colors

    Read also: Most popular kitchenaid mixer

    The design is simple and elegant, yet it also brings retro atmosphere to the kitchen due to its old-school shape. Like the other Kitchenaid mixers; it comes with a bowl. The bowl can be placed tightly on its place to support steady whisking and kneading.

    The bowl itself is made of brushed stainless steel and it has no handle on it. Even so, the bowl can hold up to 3.3 liters and it can help the mini mixer to mix 8 egg whites and 680 grams of all-purpose flour.

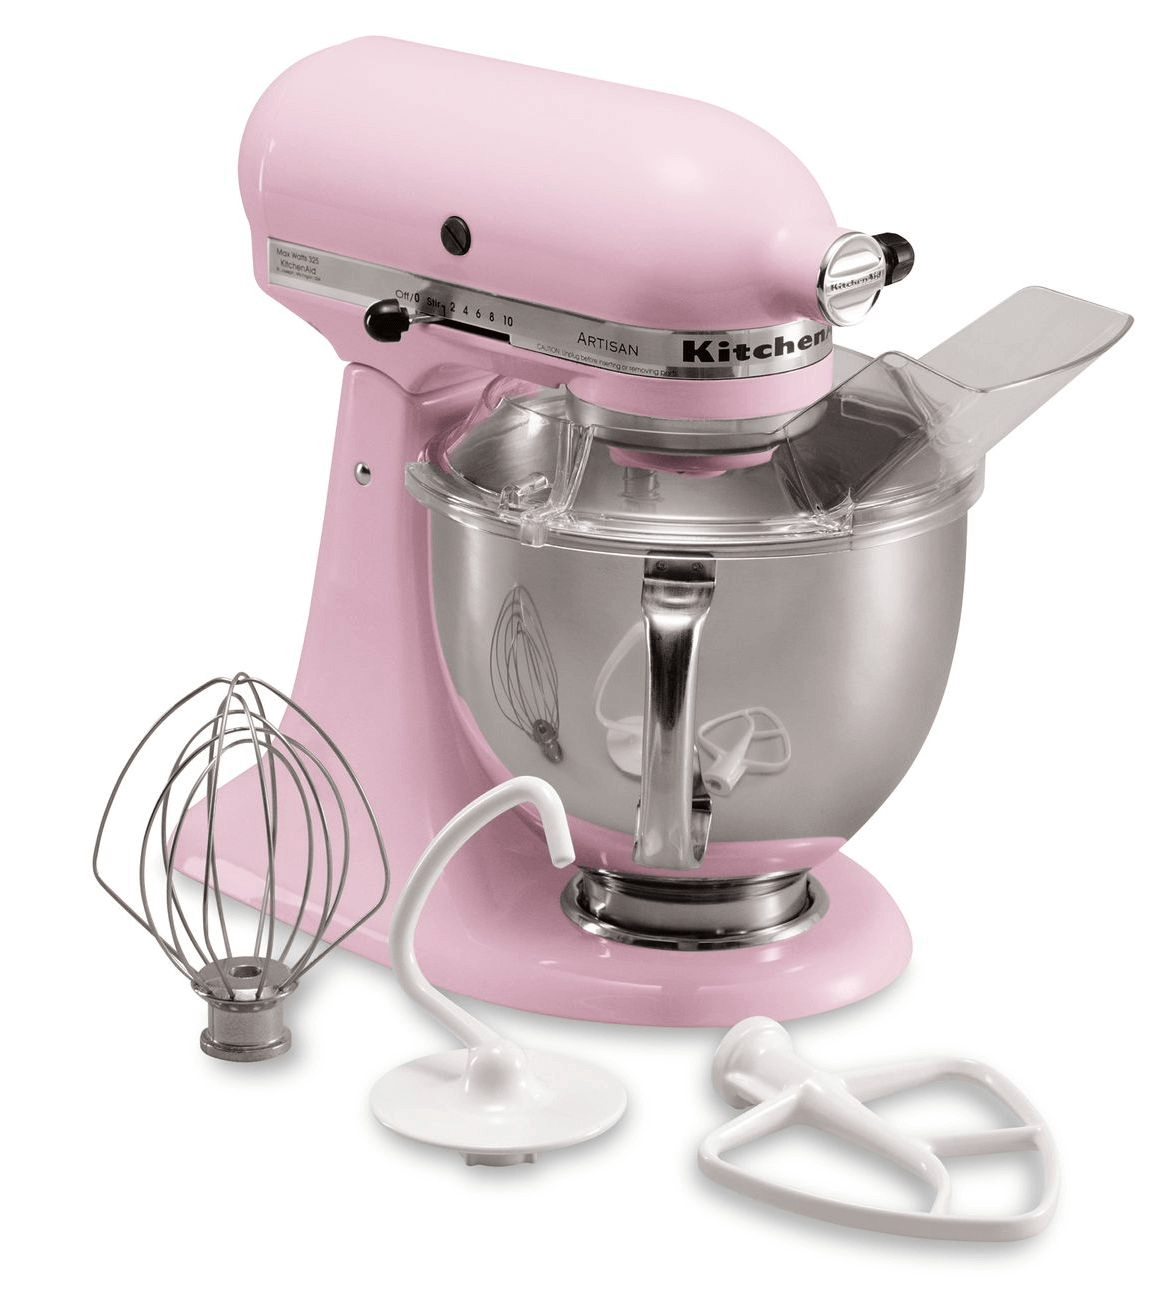
    The hub can also be removed so it can be replaced with the attachment parts like fruit slicer or pasta cutter. This mixer also comes with a mini coated dough hook, a mini flat beater, and a mini wire whisk. It is indeed small, yet it has powerful output of 250 watts.

    The Disadvantages

    If you have never bought the regular ones, then this mixer is worth the shot. But if you have, then you may see some disadvantages right away which is the bowl. It has no measurement marks and there is no handle attached on the bowl.

    The measurement marks are important to measure the amount of water or dough that needs to be put in while the handle is needed to grab the bowl so it will be comfortable to move the bowl around. Also, the beater, hook, and whisk are small. It would be rather tricky if you need replacements due to its size; you cannot replace with the regular ones.

    Kitchenaid’s Artisan Mini Mixer is surely a great mixer even when it is compared with its regular one. it is lighter, smaller, yet it is still powerful. The bowl and the mixer tool size are the only disadvantages of this mixer. Yet, this mixer is surely an excellent choice for your baking experience.

    WHY USE ARTISAN KITCHENAID MIXER MINI

    Originally posted 2019-09-12 02:38:32.

  • Kitchenaid Mixer Parts, Cover, Use and Care Guide

    Kitchenaid Mixer Parts, Cover, Use and Care Guide

    Kitchenaid is a famous brand that manufactures mixer and cutlery hardware.

    What is great from Kitchenaid is that the stand mixers have removable hub that can be replaced with other parts with different uses. The parts are sold separately.

    Therefore, these are the parts and other information of cover, use and care guide from Kitchenaid:

    Read also: Artisan Kitchenaid Mixer Mini.

    The Best Mixer Attachment Parts

    There are many attachment parts for Kitchenaid stand mixers. The parts can be installed by replacing the hub with the attachment part. Among all of the attachment parts, these are the best reviewed parts.

    The first attachment part is Blade Spiralizer with 5 blades which use is to core, peel, and slice fruits and vegetables.

    The second part is a pack of food grinder, sausage maker, and juicer. Simply attach it into the mixer hub and it is ready to be used. The food grinder and sausage maker is provided with food tray on top; makes it easier to process your food.

    The third one is juicer and sauce maker. It is provided with a wide tube; even half-sliced apples can get in easily. It comes with 3 pulp screens; sauce maker, jam maker, low and high pulp juice maker.

    Fourth, there is a grinder called All Metal Grain Mill. This grinder is used to grind low-moisture grains like corn, buckwheat, oats, wheat, rye, and rice. The result texture can also be adjustable; whether you want it cracked or fine-grinded.

    Lastly, there is Pasta Rollers and Cutter Set. This attachment part is consisted of a spaghetti cutter, a pasta roller, a fettuccine cutter, and a cleaning brush for cleaning the pasta remains on the parts.

    Kitchenaid mixer parts diagram

    The Best Mixer Cover

    The best mixer cover is the ones that have great reviews from the buyers. There are some Kitchenaid mixer covers that are considered as bad products due to its size.

    Among all of the covers, there are some that are considered as great covers because they have quality.

    The first one is called Cloth Cover. This cover is made especially for any type of tilt-head stand mixers and it has four choices of color; red, black, grey, and white. It also has pocket on the side to store cards, small book, or even mixer parts.

    The other best cover is called Fitted Stand Mixer Cover. This cover is made of 100% cotton and any tilt-headed stand mixers can fit into this cover perfectly.

    Kitchenaid mixer covers pattern

    Kitchenaid Mixer Use and Care Guide

    Before using the mixer, make sure you read the manual first that there are things you need to pay attention to. The most important thing is the electrical requirement.

    The plug of the mixer has 3 prongs and it has to be plugged into a grounded 3-prong outlet. Removing the ground prong is prohibited. Also, using an adapter and extension cord is also prohibited.

    Violating these guides may lead to electrical shock, fire, and even death. Also, if the plug is damaged, do not plug it into the outlet. Instead, you should call the customer service for help and more information.

    Kitchenaid manufactures many kinds of mixer and other kitchen appliances. It also provides the mixers with attachment parts for other uses and covers for easy-storage purpose. Not only that, Kitchenaid also cares for the customers by giving detailed use and care guide. Kitchenaid is surely one of the best kitchen appliance manufacturers.

    Kitchen equipment gallery pictures:

    KITCHENAID MIXER PARTS, COVER, AND HOW TO USE AND CARE GUIDE

    Originally posted 2019-09-11 05:06:32.

  • How to Clean Instant Pot the Thorough Way

    How to Clean Instant Pot the Thorough Way

    Instant pot can bring a lot of use for everyone especially during the holiday.

    However, after using a lot of time, it is time for your pot to get a little cleaning touch.

    Here, you will find out how to keep it clean for everyday use. You will also learn how to deep clean it too. Check out here.

    Read also: How to Clean Oven Quickly and Easily?

    HOW TO CLEAN INSTANT POT THE THOROUGH WAY

    A. How to Clean Instant Pot Every Day

    The following steps are the way to clean the instant pot after you use it every time.

    1. Wash the Inner Pot First

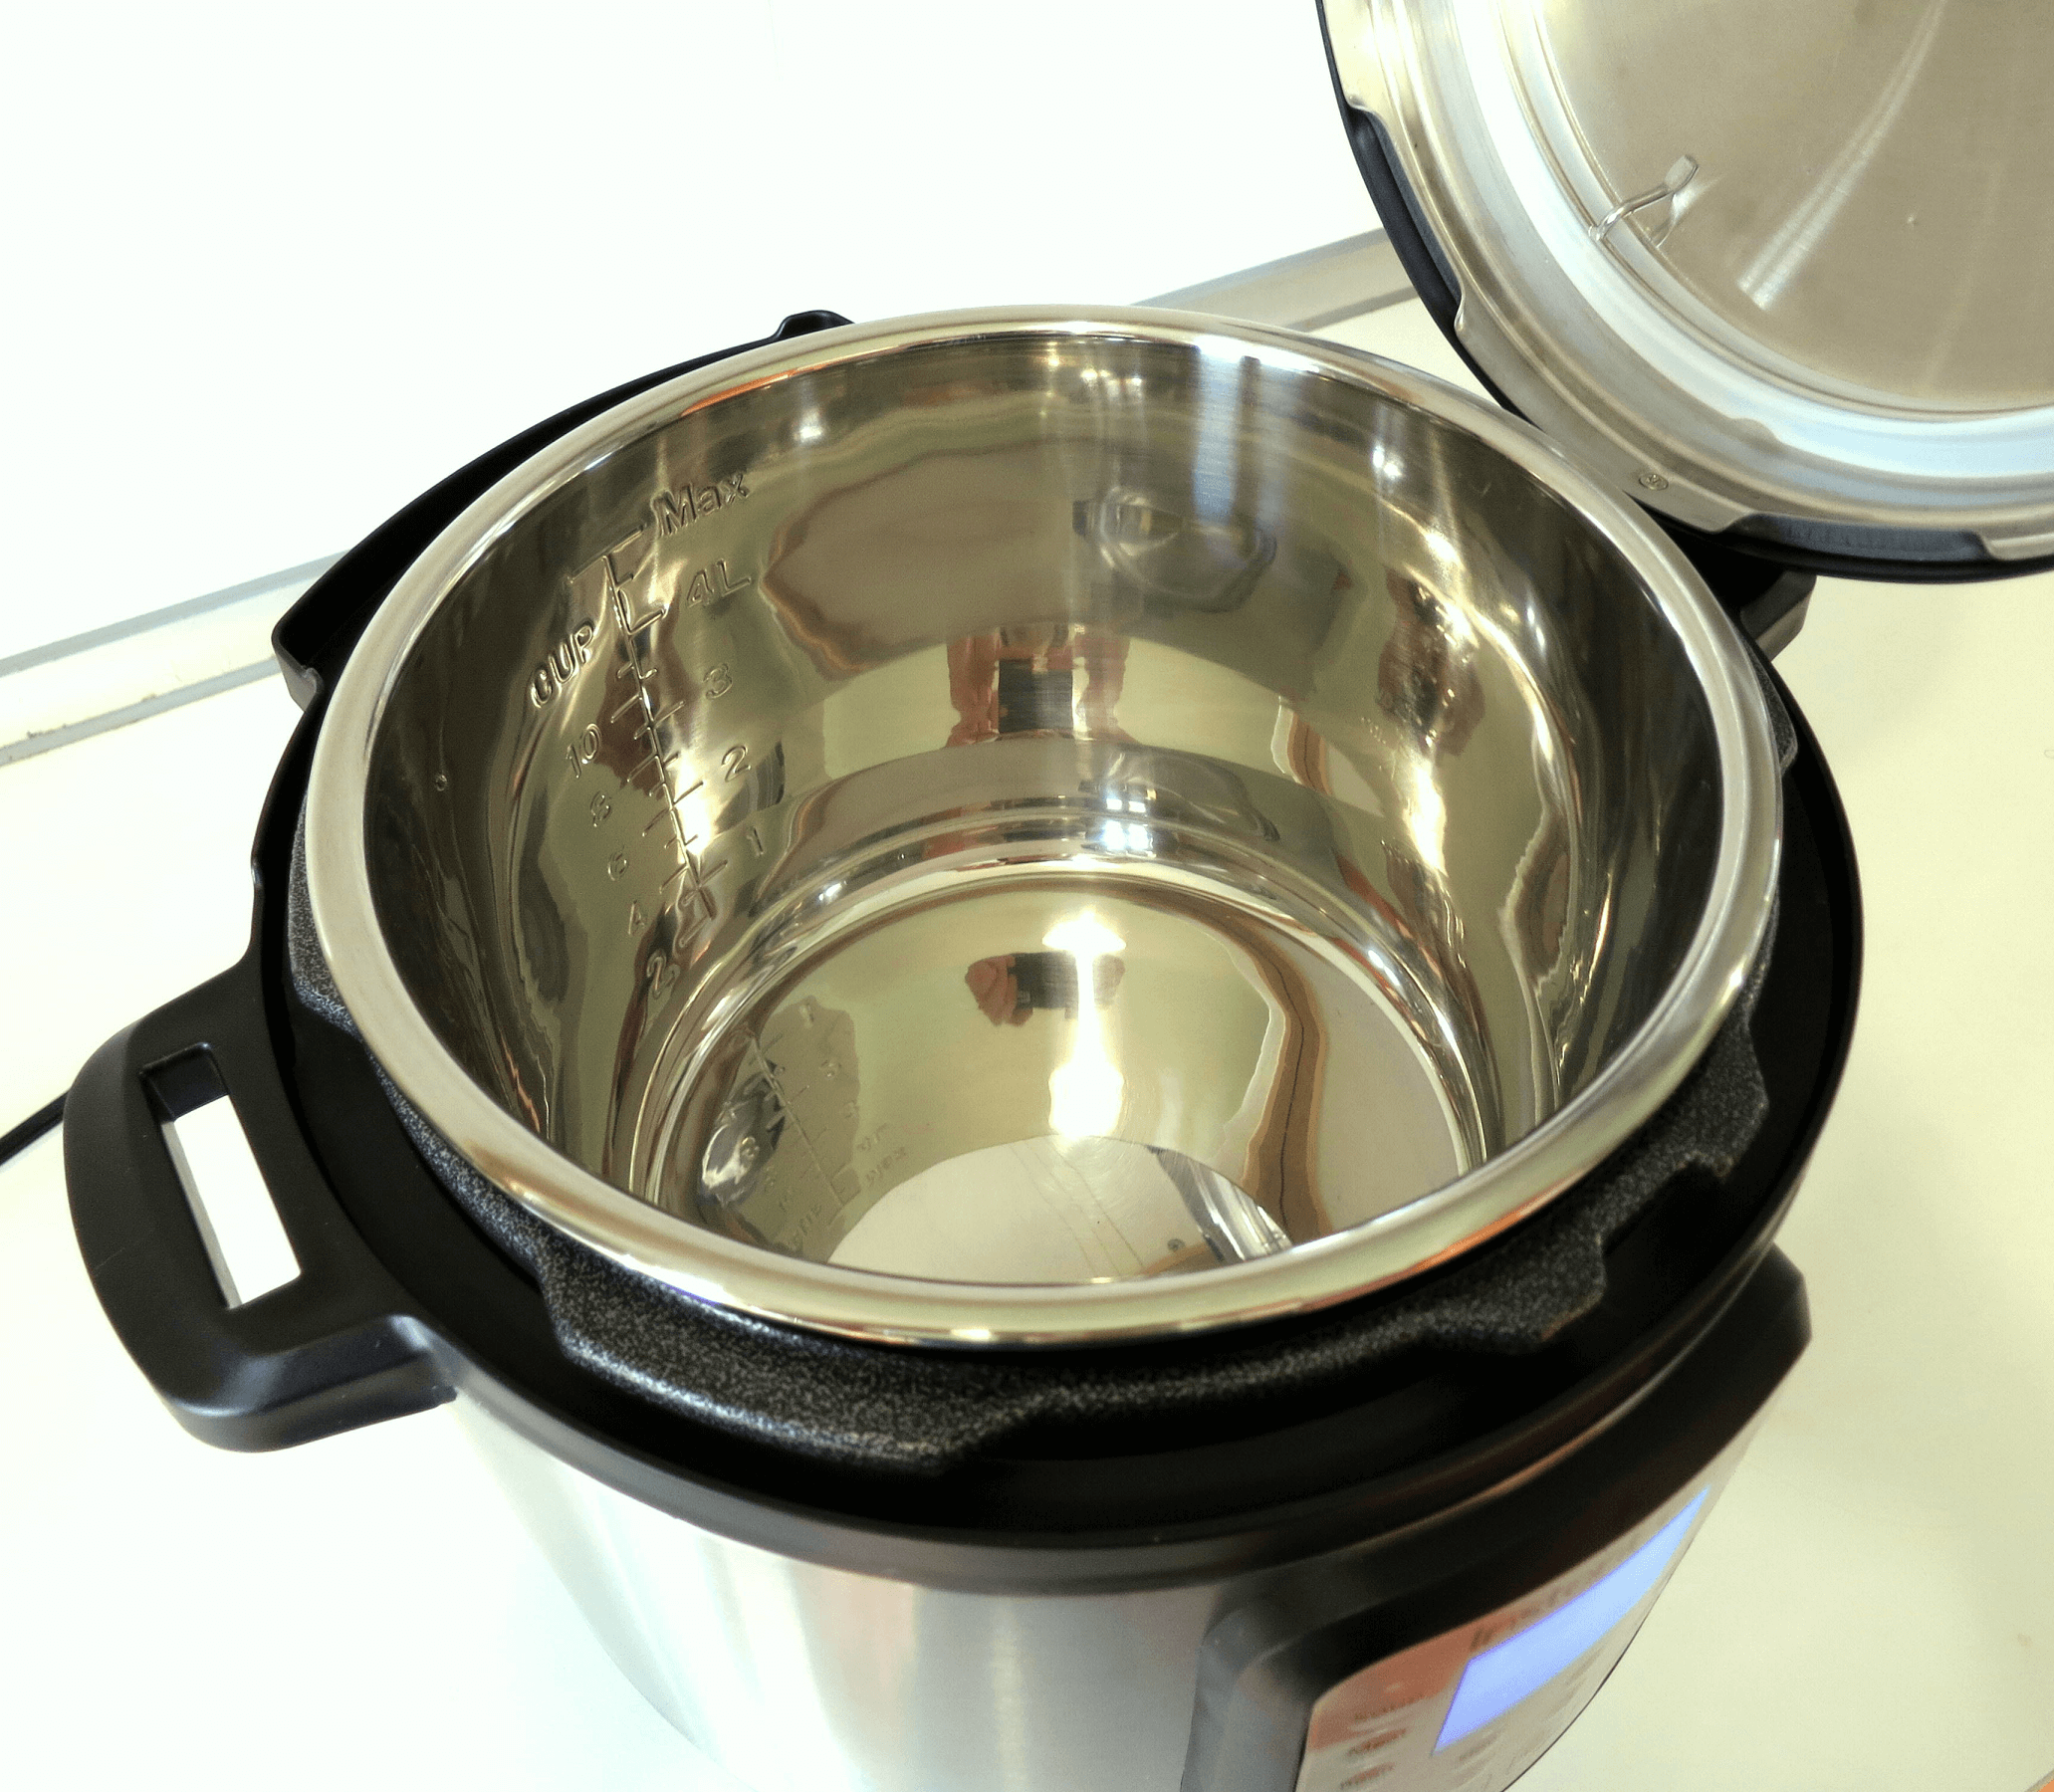
    This is the first part of the pot that you need to clean. Simply remove the inner pot from the hardware and toss it into your sink. If it has burnt food on the bottom, make sure to soak it in water first. It helps in removing the sticking.

    When it is ready, wash the pot as usual. Use the dishwashing liquid to clean the entire surface of the inner pot, both inside and outside part. Then, rinse with water to clean the detergent. Put it on the rack to dry.

    2. Wipe the Inner Pot Clean

    When it is dry, take a clean cloth and wipe the inner pot. Make sure to use soft cloth so you don’t scratch the inner pot surface. Scratched surface of the pot can be dangerous for your health if you use it for cooking. Wipe the inside and outside of the inner pot before storing or setting it up again.

    3. Wash the Sealing Ring

    In addition to the function, the sealing ring tends to absorb your food color and odor through time. The only way to preventing from happen, you need to remove and wash it as well. It can be a little tricky to remove the sealing ring, but it is possible. Simply use your finger to take it out.

    Then, wash the silicon ring as usual. Use the liquid dishwashing soap, and wash it. Rub a little so it shows back its original color, which is a little transparent. Put it on the rack to dry and make sure not to lose it because it is pretty small.

    4. Wipe the Inside Lid Too

    The inner pot has a lid attach to your instant pot cover.  You can remove it and wash it as you wash the inner pot. Do the same procedure and make sure you get to remove the entire food remaining on it.

    It can be surprising for you, but the lid can be the part that gets the dirtiest. It is also recommended to soak it in water first if the remaining food stick and it is too dry.

    Related article: How to Clean a Burnt Pressure Cooker Pot Without Scrubbing?

    B. How to Clean Instant Pot Deeply

    If you like cooking and you use your instant pot pretty frequently, it is suggested to deep clean it every month at least. It prevents the pot from clogging. It also prevents smelling and stubborn food residue as well.

    1. Don’t Forget to Unplug First

    It is extremely important to do. You need to make sure your instant pot has been unplugged before. If you just used it for cooking, it is also important to let it cool for awhile. The inner pot is hot when you are just done cooking. You can harm your skin if you insist cleaning it right away. Unplug the entire cable so it doesn’t have a tail anymore when you wash it.

    In some cases, there are instant pots that are completed with permanent cable for power. You can’t remove it without ruining it. In this case, don’t unplug the tip that sticks to the pan. Just unplug the one that gets into the socket.

    2. Start with the Housing

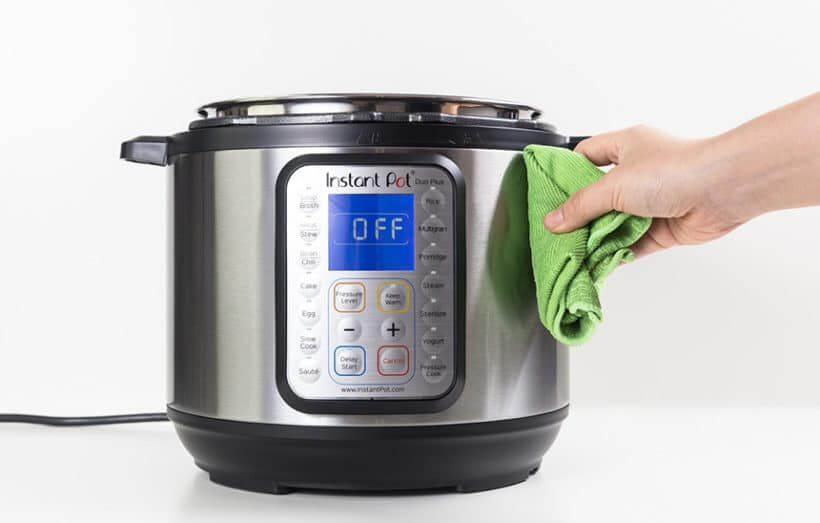
    When cleaning the housing unit, we don’t need the dishwashing liquid or other products. We only need a clean cloth and some clean water to keep the cloth damp. When you are ready, wipe the entire unit slowly. If you get sticky residue somewhere on the unit, wipe and wipe again. The moisture will helps solving the sticking.

    It is important to keep the cloth damp, not wet. Several part of the house is connected to electrical panel, which can be ruined by water. Reach tricky corner and nook to make sure all surface is clean.

    You also need to clean the bottom part. This time, use a brush. A brush allows you to reach sneaky nooks and corners. If you get sticky food residue on it, use the damp cloth to help.

    3. Let’s Wash the Inner Pot Lid

    The inner pot lid is often the first part to get the dirtiest, as mentioned before. Therefore, it is important to wash it. It prevents sticky food residue from sticking there permanently, and bed smell when you cook

    Simply wash the lid with warm soap water and sponge. Wipe with sponge when washing and you are basically done. Leave it on the rack to dry.

    4. Clean the Smaller Parts

    You commonly have extra of small parts when you buy the instant pot. It includes the quick and release handle, the shield, and condensation collection cup on the side. They tend to get the food residue and create bad smell.

    Remove them from the place and wash them with warm soap water and rinse clean. If you still have the extras, replace these with the extras.

    5. Wash the Silicon Ring

    This silicon ring is a part of the sealing. It often gets the food residue and odor as well. In this case, remove the silicon ring from its position and wash it in regular way. IF you get stubborn residue, try steam cleaning. This method should help in removing possible odors remained as well. If there is crack, replace with a new one you can buy online or at local store.

    6. Don’t Forget the Inner Pot and Its Accessories

    Gather your inner pot as well as the entire accessories you often use for cooking. Then wash them as usual. Most products make inner pots and accessories that are safe for dishwasher, but manual washing is easy too. Rinse and let it dry.

    For extra touch, wiping them with clean cloth and vinegar will remove remaining detergent and it keeps them shine.

    7. Assemble!

    Finally, you are done washing your instant pot. Now, assemble the entire part as it is originally. Make sure to wipe it clean and dry first.

    How to Clean Instant Pot the Thorough Way

    Originally posted 2021-06-12 04:06:00.

  • Simple Ways to Clean Ninja Coffee Maker

    Simple Ways to Clean Ninja Coffee Maker

    It is impossible for you to have fresh and tasty coffee in every single brew without clean our Ninja Coffee Maker.

    Therefore, it is important for you to wash your coffee maker and keep it in good performance.

    If you do not clean it regularly and correctly, you will find some calcium and minerals remain in your coffee maker.

    Moreover, you will drink your coffee along with those calcium and minerals.

    Actually, you can use our free time to clean your Ninja Coffee Maker. It will only take a few minutes.

    Read also: How to Clean a Burnt Pressure Cooker Pot without Scrubbing. Some Powerful Ways!

    Simple Ways to Clean Ninja Coffee Maker

    1. Clean the Ninja Coffee Maker with White Vinegar

    Vinegar is known as substance that can help us to dissolve and clean some deposits on our coffee maker. Therefore, it is important for you to make sure that you have it at home. Do not let your coffee maker full of deposit and cannot brew the coffee well.

    • First thing you should do is to prepare vinegar mixture. The mixture is depends on the calcium that you have in your coffee maker. It means, if you see that there are alt of deposits there, you can add more vinegar. However, some coffee maker prefer to use a ratio of 1:1.
    • The next step is to clean the machine with water. Before you use the vinegar to dissolve the deposit, it is better for you to clean it with some water. After using the coffee maker, pour some water into the reservoir and run the machine. This can help you to get rid of the debris from the previous brewing activity.
    • Then, after you clean it with water, you can pour the vinegar mixture that you have made before. In this session, you have to make sure that you pour it up to the maximum fill line. Then, press the brew button.
    • After 1-2 minutes, turn the machine off and let the mixture still inside the coffee maker for about 30 minutes. It will help you to destroy the calcium deposit in the coffee maker.
    • After 30 minutes, turn the machine on again without removing the mixture. Do it in 1-2 minutes again after that, you can pour out the mixture.
    • The last step is to rinse out the vinegar. You should use water to get rid of the vinegar smell.

    How to clean ninja coffee maker with vinegar

    2. Using Lemon Mixture

    Usually, people tend to use white vinegar to clean their coffee maker. However, there is still another way to do it.  Using lemon juice can also help you to clean the calcium deposits in your coffee maker. There are some simple steps to do it.

    • The first thing you must do is to make the lemon juice. You have to squeeze the lemons and then mix it with some water. The best ratio for the solution is also 1:1. Make sure that you get the correct ratio to make the cleaning process run well.
    • Before you use the lemon juice to clean the coffee maker, make sure that you have cleaned the debris from the previous brewing process. Use some water to do it. After that, you can pour the lemon juice mixture into the coffee maker up to the maximum line. Then, turn on the machine for about 1 minute. After you do it, let the mixture still in the machine for about 20-30 minutes.
    • After letting the lemon juice to soak the coffee maker, remove the solution and also the old filter. Then, rinse the machine with some clean water. You can do it for couple times until you are sure that you have got rid of the lemon smell.

    3. Using Hot Water and Soap

    Perhaps, this will be one of the simplest ways to clean your coffee maker. You only need soap and some hot water to get rid of the dirt in your coffee maker. However, you can only do it if you are sure that the machine is not too dirty or there are only little calcium deposit in it.

    • You can start the process by removing the brew basket and also the pot. This can help you clean the coffee maker easily.
    • It is better for you to use the top rack of the dishwasher from the cleaning since the glass carafe is dishwasher safe. However, it is only on its safer side.
    • Then, wipe down the outside part of the machine from the remaining coffee by using cotton cloth that has been added some hot water and soap.
    • In this process, you should make sure that the soap residues are not on the machine.

    4. Washing the Coffee Maker Parts

    There is also a way that you can do whenever you finish brewing the coffee. You can wash the parts of the coffee maker. Here are the steps that you need to do:

    • First, of course, unplug the coffee maker from the power source. It is important to let it cool down before you clean and what the coffee maker parts.
    • Then, remove some parts that you can wash. Do not forget to remove the filter and also take out the brew basket.
    • The next step is to clean inside the carafe by using soft cloth or bottlebrush.
    • After you do all of these steps, you can wipe the machine

    Those simple ways can help you to keep your Ninja Coffee Maker clean. There will be no calcium deposit that can damage the freshness of your coffee. By doing those steps, you can make sure that you can get fresh coffee after the brewing process. Those ways also can make the coffee maker durable. You do not need to buy the new one in the near future if you can maintain the machine well.

    In addition, to clean the coffee maker, you have to make sure that all materials you need are in the correct ratio. Beside, you also have to pay attention to all parts of the machine. Do not forget to follow the chronological steps so that you can get the best result of cleaning your Ninja Coffee Maker.

    Originally posted 2020-12-30 02:51:00.

  • How to Clean a Burnt Pressure Cooker Pot without Scrubbing. Some Powerful Ways!

    How to Clean a Burnt Pressure Cooker Pot without Scrubbing. Some Powerful Ways!

    It often happens that behind every wonderful meal is a burnt pressure cooker that disgusts you.

    In this situation, scrubbing is never a solution. It takes forever to clean it this way and it tends to ruin the pot. So what can we do?

    Check out the following ways and see the miracle works.

    Read also:

    1. Use Cream of Tartar

    If you don’t know yet, cream of tartar is actually a mere tartaric acid. When people make wine, tartaric acid is found at the bottom of the barrel in form of powder. Being acidy, it brings even more benefits when used, and it can remove the burnt stain from your pressure cooker.

    To use the cream of tartar, you will also need some water. First, fill the pressure cooker with water. You don’t need to fill it all up. A half of the cooker is enough, and ¾ is more than enough for worse burnt stain. Depending on the condition of the burnt stain, add two or three teaspoon of cream of tartar into the water.

    If you want it to be more powerful and it gets a great smell after the process, add lemons and squeeze it on the water surface. Then, boil the water for several minutes. Soon, you will see the stain is removed. Waste the water and clean the pan with your usual dish soap. Rinse and you will find it like a new.

    How to Clean a Burnt Pressure Cooker Pot without Scrubbing. 6 Best Ways

    2. Use Onions Skin

    This way isn’t very popular but it doesn’t mean it isn’t powerful enough. In fact, it works wonderfully many times. You can use almost any onion you can find, but the red ones are far more powerful to remove burnt stain from your pressure cooker pot.

    Before starting, you need to get the skin of the onion first which is the outer layer of it. Then, set aside. As for the pot, you need to fill it water until the burnt areas are well covered. Add the onion skin into the water and close the pot with its lid.

    Put the pot on the burner and let it boils for several minutes. Last, open the lid and pour the water out. You’ll see the stain coming out along with the onion skin and water. To remove the onion smell, simply wipe the pot with sponge, or you can also rinse it with your scented dish soap.

    3. Hot Water Soaked

    If you just burnt your pressure cooker pot, it is always wise to immediately clean the stain. In this case, you don’t need special trick or substance to remove everything. Instead, you only need hot water. As we know it, burnt food will stick when we leave it for several moments.

    Just as soon as you are finish cooking with the pot, refill the pot with hot water, just enough to soak the burnt part. Then, put back the pot on the burner and heat the water in low heat for around ten to 15 minutes. Heat it a little longer for worse burn.

    After 15 minutes, remove the pot from the burner and remove the entire water. As soon as you open the lid, you can see the food bits are loosen up. Some may get out with the water as well. Last step, rinse the pot and you will see a clean pressure cooker pot.

    4. Use Vinegar

    Vinegar is like a magical potion that brings benefits on so many uses. For the same good reasons, it makes a perfect substance to use to clean burnt stain on your pressure cooker pot. It is not as powerful as other alternatives, but you’ll love it if you like the mild way.

    First, fill the pot with water until the burnt sides are all well covered. Add one cup of vinegar. It is advised to use white vinegar for this process. Stir the water a little so the vinegar is well mixed and let it sits over night. The acidic nature of white vinegar helps in dissolving the entire grime on the burnt stain.

    In the next morning, wash the pot as usual and dry it. You’ll notice that it gets better. If it isn’t clean thoroughly yet, repeat the process. While being effortless, this is far safer for your pot as well.

    5. Use Baking Soda

    Baking soda is a must in every house and kitchen. It works miraculously in many ways including for cleaning. Being mild, baking soda is the best solution to use as your pot won’t be ruined. The process is pretty simple as well.

    Fill the pot with water and add two to three teaspoons of baking soda. Then, set the pot on the burner and simmer the water for several hours until you can see the burnt food getting loose. When you see this, remove the pot from the burner and let it cool.

    When the pot is cool, throw away the water and wash the pot as usual. You can also add a little of the baking soda while washing to make it shinier. This way takes hours, but you will find a new pot in the end.

    6. Try This Magical Mix

    The last alternative will be an easy but magical mix. It needs the combination of baking soda and dish soap or detergent. The process is pretty similar to the previous one. First, add some water on the pot. Make sure the burnt areas are covered with water. Then, add two teaspoons of baking soda and one tea spoon of your dish soap. Stir and mix in the water and then place the pot on the burner.

    Let it simmer for several hours. As soon as you can see a brown or blacklayer floating, remove the pot from the burner. Wait until it is cool, and remove the remaining burnt food with silicone spatula. Wash the pot with dish soap and you are done.

    As you can see, it takes simple stuffs to clean the burnt areas in your pressure cooker pot. Several methods may take hours, but all of the aren’t harmful and guaranteed to be working well. Which one do you one to try first?

    HOW TO CLEAN A BURNT PRESSURE COOKER POT WITHOUT SCRUBBING

    Originally posted 2020-10-04 01:06:34.

  • Best Toe Kick Ideas for Perfect Home

    Best Toe Kick Ideas for Perfect Home

    For there are lots of cabinets in your bathroom and kitchen, you must have seen many toe kicks there.

    If you haven’t known what toe kick is, it’s the recessed area at the bottom of base vanities’ or cabinets’. Toe kick is there to make you more comfortable when working on the counter top.

    Then, what kind of toe kick is best? Find out below:

    BEST TOE KICK IDEAS FOR PERFECT HOME

    1. Pet Center

    If you are a pet owner, making toe kick as your pet center will be a great idea. Make your toe kicks as a place to store your pet-related things such as water bowl and pet food.

    This storage will be out of sight but close to the ground, making it an ideal place for your furry buddies. You can also add small step ladders to this toe kick pet center to enable your pets reach their food easily.

    See also: Kitchen Cabinet Toe Kick Ideas

    2. Toe Kick Lighting

    Who says that toe kick is also for storing things? It can be a decorative thing as well. You can add aesthetics touch to your room by making strip lighting at the underside of your base vanities or base cabinets.

    The light shined from the base of the cabinet will create a fabulous nightlife vibe. One of the examples on how to execute such décor is to choose contemporary pulls color of and plain look of the front cabinets. This will suit house woodwork best!

    Under cabinet toe kick lighting for contemporary modern kitchen design
    Image: Houzz.com

    3. Toe Kick Drawers for Your Bathroom

    If you really want to make most of every inch of storage space in your bathroom, try toe-kick drawers. This drawer will turn that empty space into ad additional storage space that you may need.

    This drawer storage will be a perfect place for less frequently used items such as the backup stash of paper rolls.

    Furthermore, this additional storage space will secure your bathroom supplies from getting wet, while keep them out of sight but still within reach.

    Bathroom vanities toe kick drawer
    Image: houzz.com

    4. Toe Kicks Storage for Your Cooking Hardware

    If you love to cook, you must have known how important it is to have those cooking appliances to be within your reach.

    However, the number of the appliances is just too many and your cabinets cannot afford storing all of them. But, worry not! Let the toe kick of your kitchen cabinets do their job.

    Turn the toe kicks of your kitchen cabinets into cooking station hardware. To do it, you need to maximize your cabinets’ layout and voila! You have more cooking tools that are accessible.

    Kitchen toe kick storage base cabinets
    Image: crown-point.com

    5. Toe Kicks for Your Wine Storage

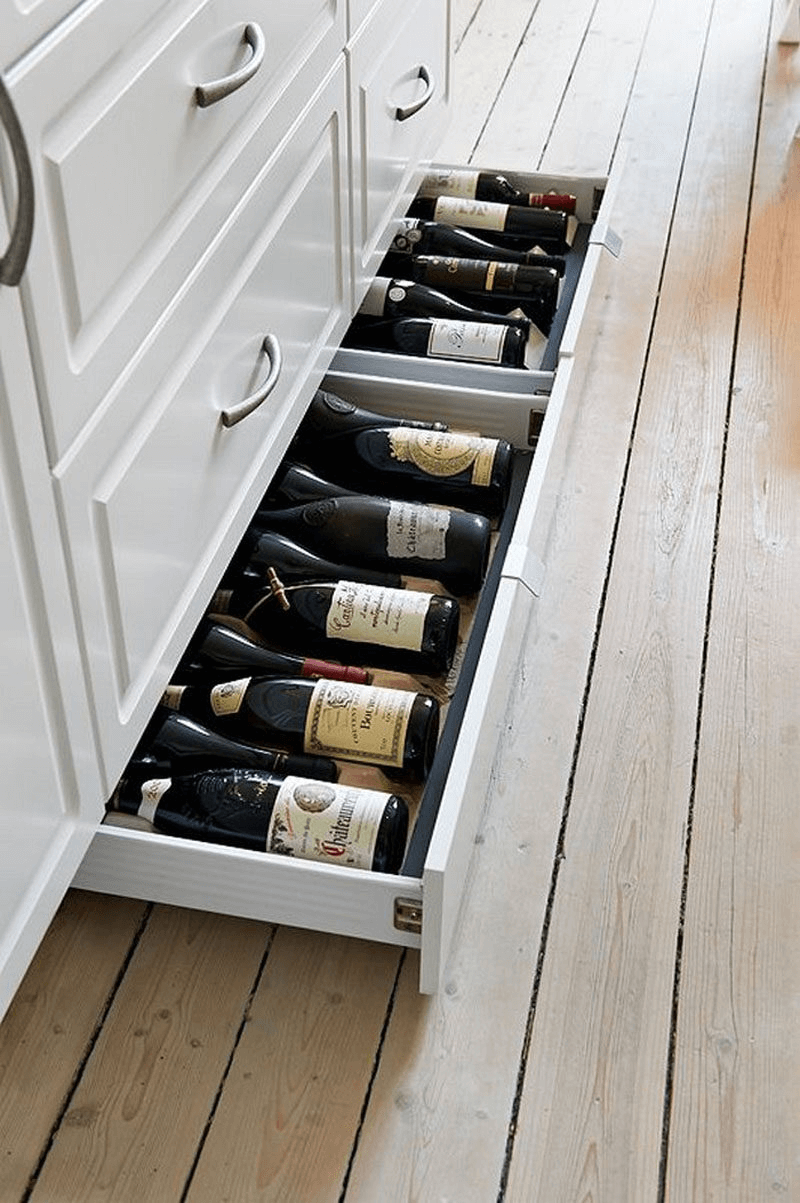
    Don’t have enough space to store your wine? Worry not! Turn one of toe kicks at your home to be a toe-kick drawer for storing wine.

    This’ going to be a perfect place for wine as it’s handy for horizontal wine storage. Toe kick is now where your wine belongs.

    Toe Kick Wine Storage

    In conclusion, you should not neglect your toe kicks at your home. Making most of it will enable you to have more storage for both you yourselves and your pets and for both home appliances and your beverage.

    Originally posted 2020-06-04 00:57:47.