Tag: Cooking

  • Get to Know More about Baking Dish Sizes and Sets

    Get to Know More about Baking Dish Sizes and Sets

    Knowing the baking dish sizes and sets is necessary for people who like to bake a cake.

    It does not have to be a woman or a chef, but it can be anybody.

    In order to bake a cake, you should choose the proper baking dish by considering the type of your cake shape and size.

    Read also: Best Silicone Baking Mat Set.

    1. Baking Pan Sizes

    Because many pan are imported from Asia or Europe, there is a difference in baking dish size.

    However, a small difference in size will not affect the result of your baking. If you change into the different pan while baking, it will affect the baking time, especially if you bake a cake or bread.

    Baking in a wider pan makes the batter will bake quickly rather than in a narrower pan.

    The kind of baking dish is mostly divided into seven which influenced by its shape. There are round cake pans, square pans, rectangular pans, loaf pans, bundt and tube pans, and springform pans.

    Different shape means different size. The size which mentioned below is the most used size.

    • 9 inch round cake pans which the volume is 12 cups
    • 10 inch tube pan which the volume is 16 cups
    • 10 inch bundt pan which the volume is 12 cups
    • 9x13x2 inch rectangular pan which the volume is 15 cups
    • 9 inch springform pan which the volume is 10 cups
    • 9×5 inch loaf pan which the volume is 8 cups
    • 9 inch square baking pan with the volume is 8 cups
    Stainless steel baking pan set
    Stainless steel baking pan set

    2. Measuring the Pan and Determining the Pan’s Volume

    After knowing the common size and volume of each size you can decide which baking pan that you will use.

    However, if you do not know how to measure the pan and determine the volume, you may follow these steps.

    1. You can measure the baking pan across the top not the bottom of the pan.
    2. Use a ruler from the inside edge to inside edge. If you measure from the outside edges, you may measure the thickness too.
    3. If you want to measure the depth of the pan, you should place the ruler on the kitchen counter and do the measurement from the bottom of the pan.
    4. If you want to measure the volume of the pan, you can use a liquid measuring cup by filling the pan with water.

    Read also: Top 5 Tips to Choose Baking Dish with Lid.

    BAKING DISH TYPE AND SIZES

    3. Baking Dish Set

    After knowing the baking shape and size, you have to consider one thing which is baking dish set. Baking dish set is a set of baking dish with a certain shape and size.

    Therefore, if you want to buy the same baking dish, it is better to buy the set at once so that you can have many of it. Baking dish set helps you in minimizing your budget and your need.

    Now, it is your time to consider and decide what your need is and what to buy. Knowing the size of baking dish will be helpful for you so that you can know what kind of baking that you will make and what baking dish that you need.
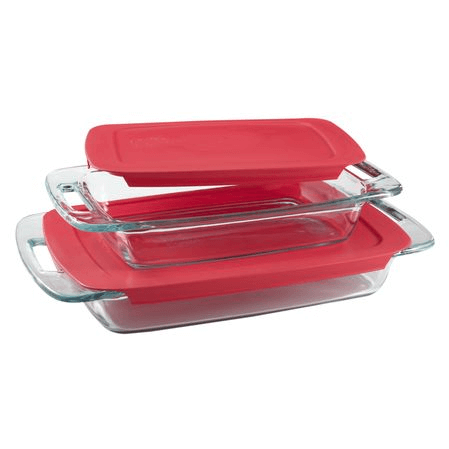
    Pyrex baking dish set with lids

    Originally posted 2019-07-07 03:49:50.

  • Amazing cooking: 3 quart baking dish size

    Amazing cooking: 3 quart baking dish size

    Are you ready for cooking? If you said so, just begin with choosing the correct tools.

    Cooking and baking can be nice by choosing the correct baker.

    The 9 × 13 baker is the perfect choice to start a wonderful time in the kitchen.

    Read also: 2 Quart Baking Dish Dimensions.

    1. Use it for baking

    The first step when you have the correct baking dish is using it to bike the meal. The 9 × 13 measurements is good for dessert.

    The recommended dish for you is no other than the casserole. The yummy recipe is suited in the size of the baker, just put the ingredients inside the baker and bike it.

    This amazing stuff is suitable for oven, freezer, microwave, even for fridge. You can choose many varieties of meal while using it, whether you like it hot or cold. This baker will make the food well cooked and ready to serve nicely

    2. Use it for Tupperware

    Your kitchen needs a good display. Begin with the high class stuff. The Tupperware can be the one; this easy handle baker can be a good Tupperware as well. Yes, the other function of this baker is it can use for storing the food.

    Put the vegetables or meals and display it on the rack. Your guest will impress that your baker change into something useful which fit to keep the food. It is highly recommended to keep the food in it because it can remain the food fresh.

    When you use it to put the food, you can also use this dish to reheat the meal. Simply put it back in the oven, the cold meal will be no waste anymore.

    Read also: How to Choose The Best Lasagna Baking Dishes.

    3. Use it for cooking with easy maintenance

    This dish is made by the strong glass, it is not easily damage. Do not worry about the odor after the cooking session because this lovely dish will absorb it. What about the stain? Never mind, there is no mark that will leave in the stuff.

    Usually this type of this dish has the lid with the different variety of colors; it ranges for the red into blue. The cover itself is easy to wash, if you do not like to wash it with your hand, just put it in the dishwasher hand. It is safe and will not break the dish.

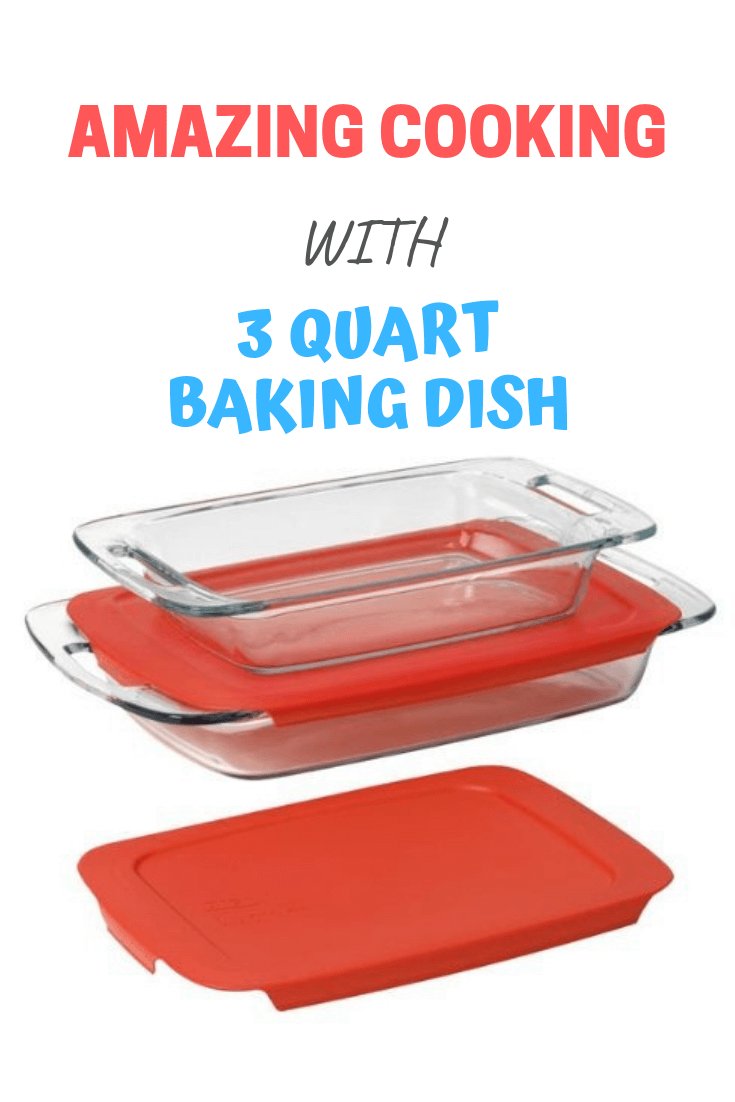
    3 quart baking dish with lid
    3 quart baking dish with lid

    Besides the easy maintenance, this dish comes with the new variant, the handle. The large handle is placing perfectly on the two sides of its body. The handling will be improved; you just need a little effort to move it when it’s hot.

    The handle maximizes the time when you put it in the oven, moving it out will be easier job to do. In addition, the position of the handle itself is suited for the modern stuff and makes a good appearance.

    This dish is good kitchen stuff for all the cooking, from the baking up to prepping. All the good benefits in the same dish, it is safer for the environment and a good option for you. Grasp the minimalism by put the 9 × 13 dish in your home and create a new recipe for your family.

    AMAZING COOKING WITH 3 QUART BAKING DISH

    Originally posted 2019-07-04 22:58:28.

  • Prepare Your Best Cook in 2 Quart Baking Dish Dimensions

    Prepare Your Best Cook in 2 Quart Baking Dish Dimensions

    Having 2 quart baking dish dimensions in your kitchen is a good decision.

    Compared with other cooking wares, this one has many functions and not only for keeping baked food.

    But how big is it? And what food we can keep or bake in it? If this is your first time using this baking dish, find out more from the information below.

    Read also: Kitchen Cleaning Checklist.

    HOW TO PREPARE BEST COOK IN 2 QUART BAKING DISH DIMENSIONS

    1. Dimensions

    There are so many kinds of baking dish that we can find in a kitchen tools store. Each kind has its purpose, function and size. The measurement unit that is used to measure baking dishes is rare enough.

    Since there are a lot of baking dish shapes and types, people measure it using a quart. Any measurement using quart is rarely found but is simple enough to understand.

    For example, 1 quart is equal to 0,95 liter fluid in US measurement. While in UK it becomes 1.14 liters for 1 quart. If we compare it with the number of cups, 1 quart full of fluid in US is equal with 4 cups. It can reach 4.65 cups if the quart is applied in dry condition.

    In UK, quart in any condition is equal to 4.55 cups metric. Of course it will confuse you more because there are a million type of glass in this world.

    Well, let us use the standard type of cups. Cups that we usually find are around 6-3/4 inches high and 17-5/8 ounces. Use this type of cups at the quart converting to minimize misunderstanding.

    2 quart shallow baking dish
    2 quart shallow baking dish

    2. Material

    How about the material of the baking dishes? Baking dishes are usually made of plastic, glass or aluminum. There might be a baking dish made of material besides those 3, but it will be rarely found. Different material of baking dish can have different measurement.

    For example, when you get 4 cups of liquid compared with a baking dish made of plastic, you can get more cups of liquid compared to a baking dish made of aluminum, or get less cups of liquid compared with a baking dish made of glass.

    The point is to make sure first about what kind of baking dish you are going to use before deciding about composition or volume you are going to put in it.

    Read also: 3 Quart Baking Dish Size.

    3. Food

    Basically a 2 quart baking dish is large enough to serve any kind of food. To maximize the space, it is better to use the baking dish to bake any type of food ingredients that start from liquid or fluid.

    It does not mean that you cannot bake solid food ingredients, but the large space that the baking dish has will be more effectively used if we bake liquid or fluid food ingredients. Cake, pudding or jelly are the clearest example of liquid or fluid food ingredients.

    Serving baked food is always challenging. You have to really sure about the food ingredients that you are going to put in the baking dish. With 2 quart baking dish dimensions, you can always bake almost any kind of food you want to make.

    2 quart rectangular baking dish
    2 quart rectangular baking dish, image: sears.com

    Originally posted 2019-07-03 10:07:57.

  • How to Eliminate Smell after Cooking

    How to Eliminate Smell after Cooking

    After throwing a feast, the most avoided place is the kitchen. The smell of bad odors as well as the trace of the meal you just finish fills the air.

    As the result, your kitchen doesn’t have nice smell. You could ignore it for a night and goes straight to dream land.

    Just don’t forget to get up early in the morning and do these simple tricks to swish away the odor.

    Read also:

    1. Cooking Aromatic Spices

    In order to beat a monster, you need another monster in your team. After cleaning all the curves and surfaces thoroughly, grab your bowl for microwave purpose.

    Throw in several pieces of cinnamon, a spoon of brown sugar and butter. Bake it for a few hours. When you open the oven, the aromatic spices will overlap the onion or grilled meat odor you had the night before.

    If you don’t have any oven, you could simply simmer cloves in a saucepan. Keep it that way until more than half of the water has gone. See if you like the smell.

    Some people might not fond of spices aroma. In this case, you could always replace the cloves with lemon peel.

    The worst case after a big party is running out of gas. Take out the scented candles from your room and light it. Do the other chores and come back in a few hours. Don’t have any? Then soak some cotton balls on vanilla extract, and place them in the kitchen corner.

    2. Preparing Good Air Circulation

    Many people learn from their mistakes, so do you. If bad smell lingers around your kitchen after cooking, then it probably means that your air circulation is not good enough.

    Check again your exhaust fan. It absorbs the air inside and throw it to the other side of the wall. Make sure no one reverse the function.

    What about your chimney? Nowadays chimney doesn’t exclusively belong to old house. Modern house has what is called electronic chimney.

    It is the upgraded version of exhaust fan. In addition of the ability to avert the smoke, this item also provides a tray to catch the dripping grease. The bad smell might also come from the tray, so you have to clean it.

    4 Simple tips how to eliminate smell after cooking-

    3. Soaking Cutting Board

    The following tip applies for those who own wooden cutting board. Aside of being the most comfortable tool to work with, your cutting board absorb liquids from onion, meat juice, and many more. Could you imagine how that smell? Leave it soaked for a night before cleaning.

    4. Adding Air Purifier

    The last button you could press is purchasing a brand new air purifier. Unless you clean all plates and surfaces thoroughly, you cannot see the maximum potential of the purifier.

    It pushes away all the stubborn pesky odor in the air only. If you cannot get rid of the main odor problem, then this purifier would be your white elephant.

    Kitchen is the important part of the house. You can’t simply cover your nose when you stop by to take the breakfast plate. Fight the odor with another odor, the aromatic one.

    You could also circulate the air well, just in case the bad odor trapped in your cooking area. Don’t forget to pay attention to your cooking utensils, too.

    SIMPLE TIPS HOW TO ELIMINATE SMELL AFTER COOKING

    Originally posted 2020-03-26 01:03:14.

  • How to Eliminate Yeast Smell in Bread

    How to Eliminate Yeast Smell in Bread

    Not everyone loves the yeast like smell from bread. If you are wondering how it actually smells, you could compare the aroma spreading out from newly opened yeast package.

    Even if it makes special remarks of a fresh product, some people find it disturbing.

    Lucky for those who can’t stand the smell, there are several tips to safe your day.

    1. Careful Kneading

    Yeast is a must in any bread making recipe. No yeast, no bread. Even so, you could reduce the sharp smell of it by kneading the dough properly.

    Instead of throwing a bunch of yeast into the bowl, it is better to sprinkle the yeast on the raw dough. Do this repeatedly until all needed yeasts are poured.

    This method will prevent any clumped yeast, and you could be sure that all yeast are spread evenly. After baking process, you should have less yeast odor compared to the dough that has clumped yeast in it. The smell will emit from certain part of the bread.

    2. Proper Raising

    After kneading, you usually leave it for 45 minutes to one hour in room temperature. Some people love to have higher raise than it should be.

    You might be surprised, but the higher a bread rise, the more yeast content it has. In the other words, you have to control the raise of the dough. A normal raise should allow the dough to be twice as big.

    To measure it, perform a simple finger test on the dough. Dip your finger to the kneaded dough before rising. Then double the initial measurement and use it to determine when to stop the raising process. You could also give a mark on the plate.

    4 Simple Tips to Eliminate Yeast Smell in Bread

    3. Perfect Temperature

    It is good to follow the instruction written on your cook book about the baking time. However, you need a little trick to skip the unwanted smell.

    The baking process is basically another raising process, but this time it is combined with ingredient blending using heat.

    If you want to have yeast-free product, you have to make sure that all yeasts get enough time to react with the other ingredients. The ideal temperature for this purpose is 75 to 85 degree Fahrenheit.

    Set the temperature too hot, and some yeasts might not have the chance to blend. Don’t leave your oven unattended.

    Read also:

    4. Clean Oven

    All three steps mentioned above should be enough to get rid of yeast smell. If you still sniff some on your bread, then the problem is on the oven.

    Try to smell the inner part of the oven. Watch out! Do it after you turn off the electricity and let it cool. If you detect yeast aroma, then it is time to clean up the property.

    Since it is impossible to request yeast-smell free bread from the bakery, you could always do some tweaks to your own recipe. Pay attention to the mixing process. Clumped yeast will be more likely to leave particular odor after baking. Don’t forget to set the right temperature while baking. If these don’t work, then you should clean your oven.

    HOW TO ELIMINATE YEAST SMELL IN BREAD

    Originally posted 2020-03-25 02:56:57.