

When you are buying a house, there must be some parts of the house that you want to change or redesign.
For example, the floor tiles in the living room look so ugly and you want to hide it from your guests.
Well, instead of spending lots of money on changing the tile floors, you can just paint it! here are some simple tips for painted floor tiles which cover from how to have it until how to take care of it.
Read also: How to Remove Mold from Basement Walls
1. Sanding the Floor Tiles
The first step that you will need to do is to sand the tile. This step will make it easier for the primer adhere. Instead of using the sandpaper and do it manually, you could use the hand-held electric sander (180-220 grit) such as aluminum oxide or silicon carbide which will be so much easier for you. the electric sander will also be able to get into the corners of the tiles easily because of the angled head.
2. Do Deep Cleaning of Your Floor
Once you have done on sanding the floor tiles, you will need to vacuum the debris as well all the dust from the first step. Once the floor is clean from all of the dust and debris, you will need to do a deep cleaning of the floors. Use the heavy-duty cleaner like TSP with a mop through all the floor then let it for about 15 minutes before you start to scrub it.
Next step is to clean it with warm water and if you feel that the floor is not clean yet, you could repeat the process. When you find any visible cracks or grout on the floor, you need to repair it first with caulk. Make sure that you let it sit for 48 hours before you move to the next step.
3. Use the Painter’s Tape
Before you start to apply the primer in the floor tiles, you will need to use the painter’s tape in order to protect the area that you don’t want it to get painted. Put the tape on the floor trim, and if you paint the bathroom floor tiles, tape off the border of the toilet, vanity, tub and others that you feel that you need to protect from the paint. If you feel that you want to keep the original colour of the grout lines, you also can cover it using the acrylic masking tape.

4. Apply the Primer
Before you apply the primer, please note that you don’t need to use a primer if you use the chalk paint for your floor tiles. Choose the high-quality primer because it is one of the main factors to get the success result for painting the tiles.
Use a brush to apply the primer for the grout lines, tile edges and vanity, toilet, bathtub etc if it’s the bathroom floor that you need to paint. Use the roller for the rest area that needs to be primed.
Let the primer dry before you do the next step or if you want to apply the second coat of the primer. Primer usually will dry for about 3 hours depending on the temperature and humidity.
5. Choose the Right Paint
There are three kinds of paint that you could consider using for the floor tiles. First, you can use the chalk paint which is water-paint and will give you a matte white finish. This type of paint will be perfect if you want to have it as a base coat before you put a pattern on the floor tiles. Second, you can choose the latex paint which is the most common type.
The latex paint will be fast drying and have several options such as semi-gloss or high-gloss for a finished look. The third option is the oil-based paint which will be more resistant to be damaged than the latex paint. But there are several disadvantages of the oil-based paint including take longer to dry, very expensive and the worst part it could harm the environment.
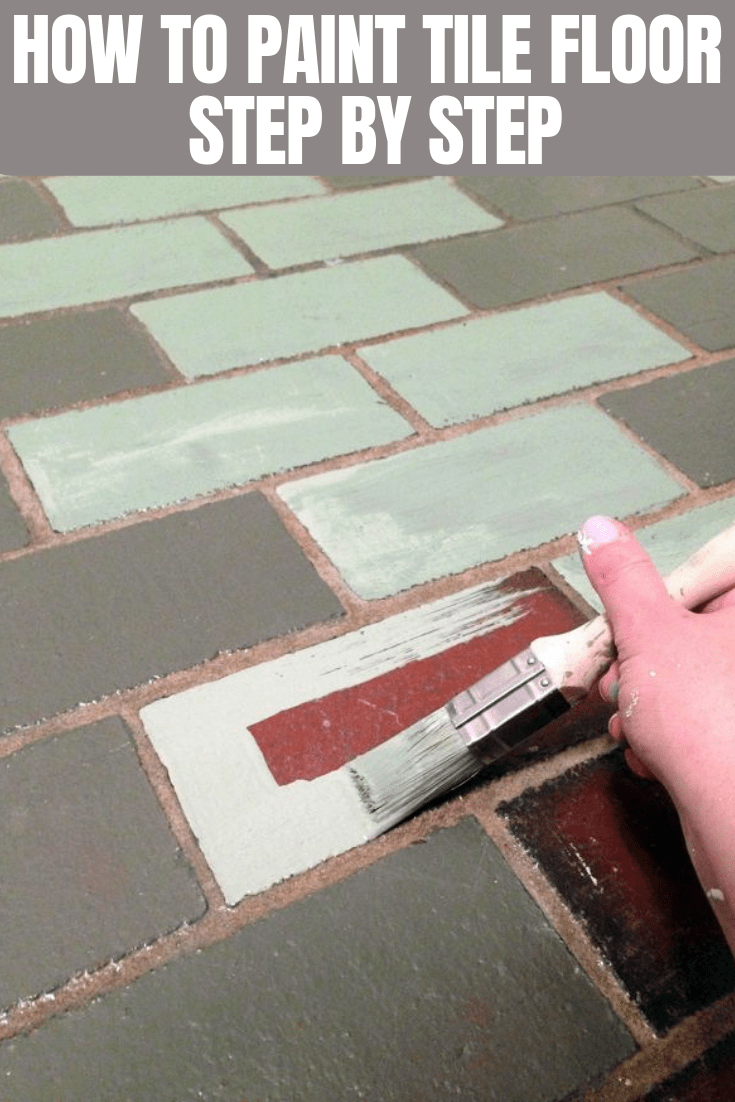
6. Paint the Floor Tiles
Once you have decided which paint that you want to use, you could start to paint the floor tiles with a similar method when you apply the primer. Start first with the edges and grout lines with the paintbrush and then do the rest of the area with the roller brush.
Let it dry first and if you are not sure you could check first the instruction on how long it will dry and apply another coat. Repeat this step until you get the colour that you want. After you finish, make sure to let it dry until 2 or three days before you step on the floor or put any furniture.

7. Adding the Pattern
This is an optional step if you want to have a pattern on the tiles you could use a stencil. Use the painter’s tape to tape the stencil to one tile that you want to put a pattern and use a roller to paint the stencil. Remember to not put excessive paint in the roller since you don’t want to have a too thick and runny mess.
8. Apply the Water-Based Polyurethane
Use the water-based polyurethane to seal the paint. Apply a thin coat and let it dry for six hours before you apply the next coat. Use around two up to three coats for the best result.
9. How to Maintain the Painted Floor Tiles
Once you have done the entire process, it is important to not put the wet object such as the damp rug for a long period that could ruin the paint. The floor tiles in the dry area such as laundry room, living room or kitchen will last longer than in the bathroom. If you want to clean the floors, do not use any harsh chemicals and use the mild cleaners instead.
So, painting the floor tiles is not impossible and it is cheaper rather than changing the whole tiles. You also could do it by yourself and follow all the instructions above. Have fun on giving the new look of your floor tiles!
Originally posted 2021-03-10 23:14:00.
Related posts:

Best 3 Creative Home Depot Kids Workshops Ideas Parents and Kids Will Absolutely Love
How to Decorate a Large Wall with Vaulted Ceilings for your Crowning Glory
You Won’t Believe How Easy It Is to Make Your Home Smell Fresh All Day
The Truth About Tips for Maintaining a Healthy Home Environment That No One Tells You


