

Epoxy paint is one kind of garage floor paint that is more recommended as it is more durable.
Also, such garage floor paint can provide a better bond to the floor’s concrete so that it makes the concrete more chip resistant.
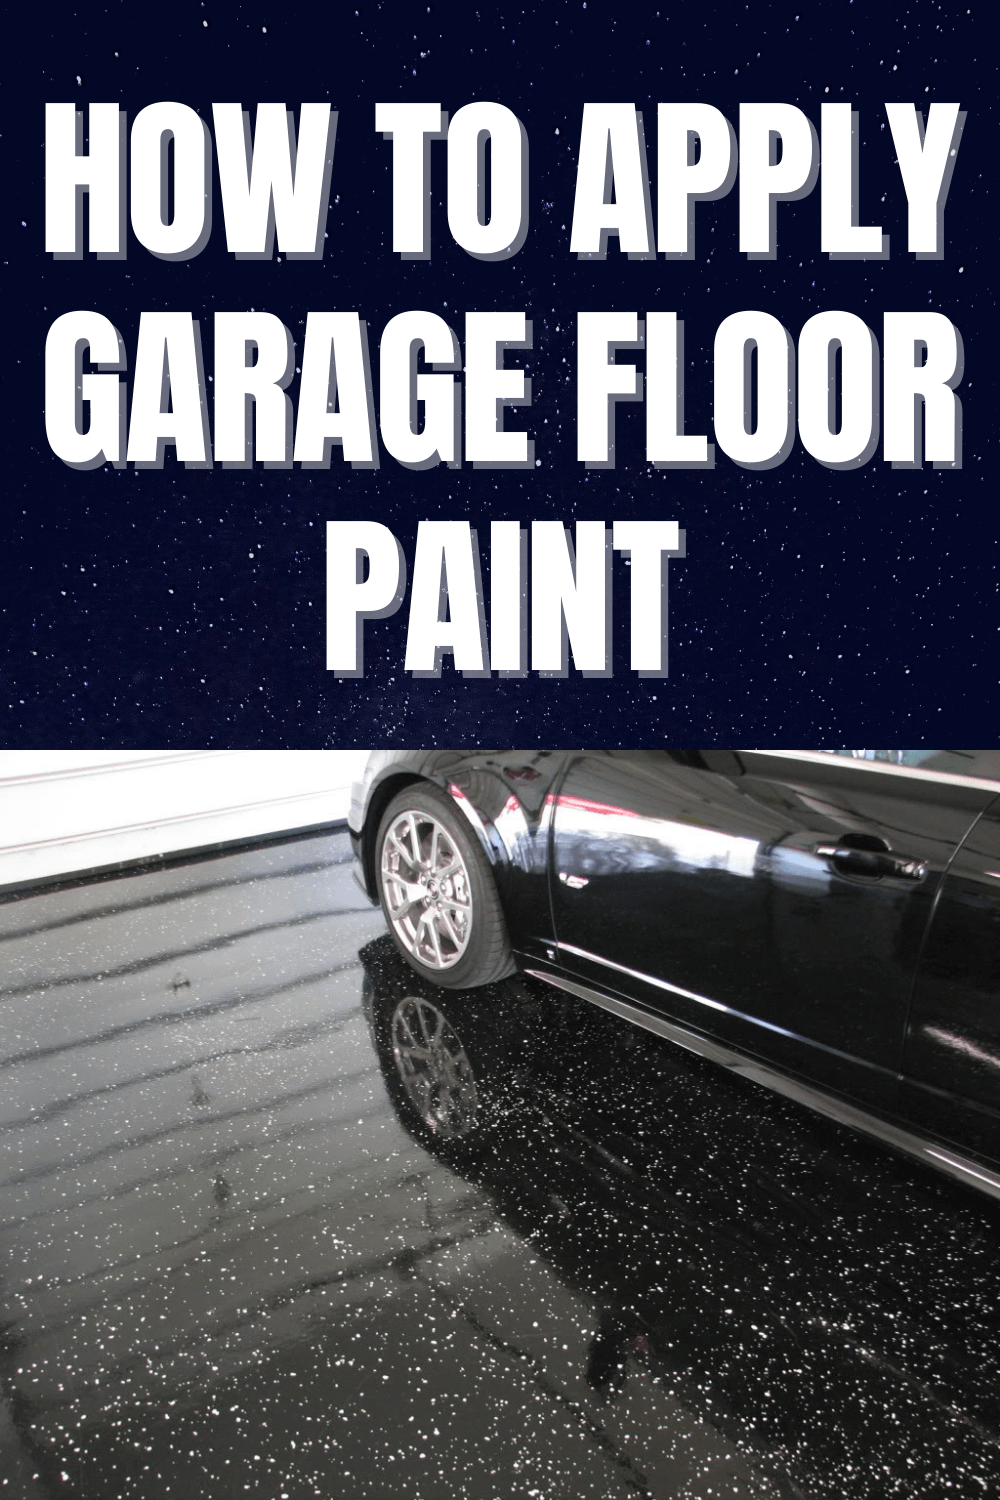
Painting your garage floor using epoxy paint soon? Here we’ve got the painting guidance for you:
1. Cleaning the Floor and Doing the Prep
Remember that concrete of your garage floor is porous. The concrete is also quick in collecting grime and dirt so that cleaning the concrete using floor buffing machine or a power washer is a perfect idea.
One thing for sure, you better not skip this step! If you think you prefer the pressure washer more, then you need to add some degreaser to the water to really make sure the cleaning process is perfectly done. After that, just let the floor dry well.
Yet, if you think you cannot get any power washer, you can clean the garage floor using a stiff-bristled scrubbing brush. Along with that machine, you also need to use a hose that comes with a nozzle with high pressure. Those two things can be an alternative to the power washer.
To make sure that you really get all dirt out, you will need to use more elbow grease. Another thing to bear in mind when doing the cleaning process is that not to let the cleaning solution to dry on your garage concrete.
In this step, you may need to work with chemical stripper. This chemical thing is needed when your garage floor is not a bare concrete floor. You need this if you have any sealers or old pain on your garage floor. Make sure you remove the pain or the sealer first before you go to the next step. Missing doing this step will result in unsatisfying painting later.
2. Filling Any Cracks on the Concrete
To do this step, you can use various products sold in the market. If you only have small cracks, you can simply use mortar or concrete repair compound. Yet, if you have thicker crack on the garage concrete, you will need to buy concrete patch.
Meanwhile, if the cracks on the concrete are deep, you will need to fill in the crack layers and then to let it dry between layers. A head up: it may take up a while!
Once it is dry, you need to wipe off the access product using a scrapper or wet rage to level the stuff out and also to make sure you get a smooth surface. In doing the filling, make sure that you read all the instructions provided by the manufacturers on the repair product so that you know the recommended cure times before you start painting the floor. In some cases, it may take around a week, while some other may require you to wait until a month.
3. Etching the Floor
You will need to etch your garage’s surface although it all depends on the surface of your garage’s concrete floors. Etching is all about opening up the concrete pores to let the paint absorb more effectively.
To find out whether your garage floor needs any etching, you can conduct a test by dropping a small amount of water on your garage floor and see how quick it’s absorbed. If the water drop is absorbed quickly, you are less likely to do etching.
Yet, if it ends up with pooling on the floor surface, you will need to go with commercial concrete etcher. It is the recommended product. Once you already apply the etcher, make sure you let it dry thoroughly!
4. Applying the Bonding Primer
Now, you reach the step of applying the bonding primer. This is a pre-treatment that is meant for porous concrete. The bonding primer is specially designed to promote and to strengthen the adhesion of the garage floor paint.
In applying the primer, you will need a paint brush and a roller. The paint brush is needed to cut in the garage’s edges while the roller is used for the rest.
When you are applying the primer, you may see the result is a little bit milky. It lets you see where you’re painting. Don’t worry about it because it can dry clear. Once the application of the bonding primer is done, you need to let is set.
You may need to wait around four hours or maybe longer. There are some cases where the painter needs to wait way longer than 4 days yet it will never goes for more than 30 days. Make sure that the primer is dry before you start applying the garage floor paint.

5. Applying the Part One of the Epoxy Paint
The epoxy paint goes on very smoothly and covers the floor well. As you use the bonding primer, you will just need to cut around the garage’s edges with a brush and then to roll on the rest of the floor.
Although you just apply the first coat of the paint, you may be able to see that the floor looks good already. However, if you want to go for the safest result, it is recommended to apply another coat of the paint.
When applying the second coat, you need to apply it in the opposite direction of the first one. For example, the first coat is applied in length wise. That means you need to apply the second coat in width wise.
However, if you think that the layout of your garage makes you difficult in applying the coat in width wise, you can simply go with the lengthwise for both of the coats. After the second coat application, it is suggested for you waiting at least seven days or a week before start stepping your feet or driving on the garage floor.
Applying the epoxy paint to your garage floor may require you with lots of attention and detail. However, if you can make sure you follow every instruction and guidance above, the result is worth the time and effort spent.
Originally posted 2020-12-11 03:04:00.


