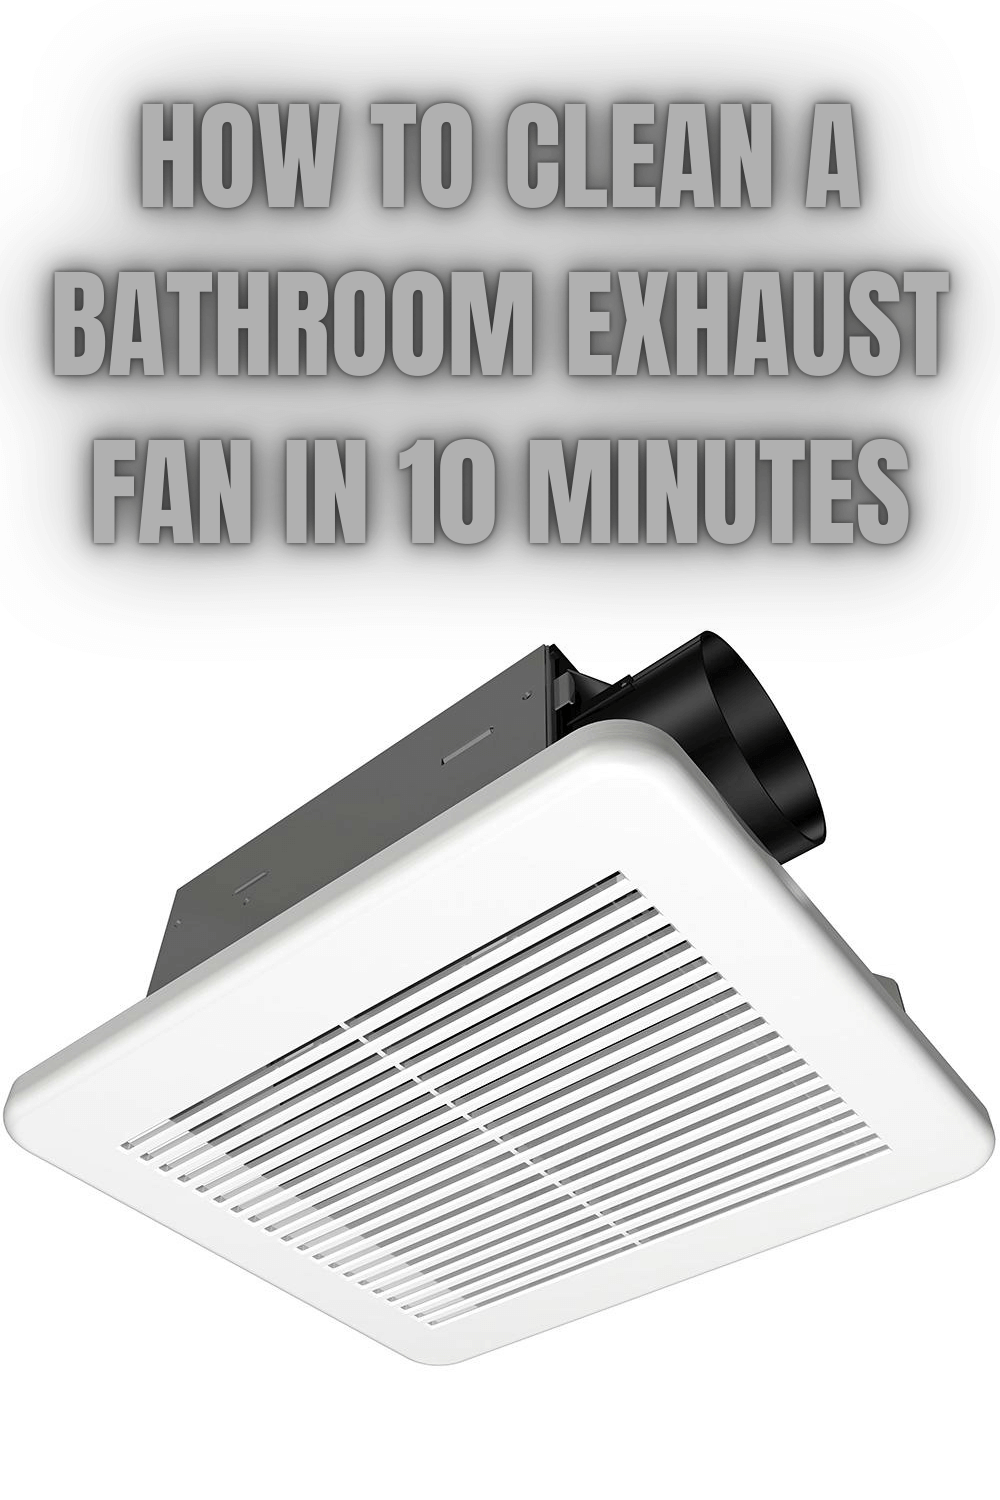
How can you notice whether your bathroom fan is working properly or not? When you finish taking a bath, do you notice that the mirror in your bathroom is foggy?
When it happens, it indicates that your exhaust fan is not in a good condition. Don’t worry, there are some excellent tips that you can do to clean your bathroom fan.
An exhaust fan installed in every bathroom is being vented out to the outside and it will be automatically running when you take a bath or shower.

During the time, it is designed to get rid of excess humidity or moisture which can form mildew and mold in your bathroom. That’s why it is very significant to always keep your vent fan clean every day.
Read also: How to Remove Mold from Bathroom Walls.
If you left your vent fan to be neglected for so long, it will be resulted to your health issues. It is better to always check and clean your bathroom fan every six months. The dirt is going to accumulate on the cover and its motor as the air is being sucked up through the fan every day. Therefore, you have to clean the fan. By doing so, you can do a great job by removing the accumulated dirt before it becomes a serious problem.
Related Post: Quick Simple Tips to Speed Clean Home in Few Minutes.
Before cleaning your fan, prepare some tools and materials needed in the fan cleaning. The tools that you need to prepare are vacuum cleaner, screw driver, scrub brush and ladder. Choose a vacuum cleaner with a hose handle to clean the dust so that it won’t bring you hard time to clean. Then, the materials needed for cleaning your fan are soap and water.
If you have already got all tools and materials with you, let’s start cleaning your bathroom vent fan. Here are some amazing tips that you can do:

1. Make Sure to Turn Off the Vent Fan Power
Before doing anything else, turn off the fan power to make it stop working until you finish the cleaning process. Generally, most fan models have the power switch installed behind the cover. You just need to open the cover and turn off the switch. Nonetheless, you can also temporarily turn off the bathroom breaker, just to be safe.
2. Clean the Visible Dirt
To prevent dirt falling onto the floor inside your bathroom when you try to get rid of the cover of the fan, you can first vacuum the visible dirt accumulated in the cover. By doing so, you will save more time.
Related Post: Bathroom Vanity Ideas.
3. Remove the Cover of the Fan
There are two types of the cover. One which has screw on it and one which has tiny metal wires. Check the cover on your bathroom fan. Gently pull the cover down on you. This cover is generally being held by some screws or tiny metal wires which make it to be away for about 2 inches but it won’t be completely off.
If it is attached by two tiny metal wires, usually in two opposite directions, you just need to squeeze them in order to make them off of the ceiling completely. On the other hands, if the cover is attached by some screws, you then need to unscrew them.
4. Remove the Fan
Unscrew the fan from its assembly and remove it gently. Don’t drop your fan or hit it to the fan pipes. The broken fan blades will result to lauder and less effective fan. So, be careful!
5. Clean the Cover and the Fan
First of all, you can vacuum all parts of the fan and the cover thoroughly. Then, you can wipe them with a thin cloth which has been soaked into soapy water. You can just put the cover in your bathroom sink soaked with soapy water for a while. But, wipe the fan by yourself with a thin clothe soaked in soapy water. Do it repeatedly two or three times to make sure that all the dirt have been wiped off.
6. Clean the Vent Pipe
You can use a brush attached on the vacuum to clean the dirt covering the fan pipe. For the part that can’t be reached by the vacuum, you can clean it manually with the scrub brush.
7. Clean the External Vent Port
You can clean the external port of your bathroom fan later on after you finish cleaning the internal part. But, you need to remember that it is also necessary to find the external vent port and clean it. Use the vacuum and the damped cloth to clean it.
8. Clean the Motor Housing
If your fan housing has some kind of plug, make sure not to expose it with water as it will cause an electrocution or shock on the fan when you reinstall it. Just vacuum it and use dry cloth to help you wipe off of the excessive dust.
9. Reinstall the Fan
After the fan is completely dry and clean, you can reinstall in on to the fan motor. Don’t forget not to bump it into the pipe. Tighten the fan with the screws. Then, try to spin the fan for a few times to make sure that is doesn’t stroke against anything.
10. Turn On the Fan Power
After the fan is safely installed in place, turn on the fan power or bathroom breaker back. When the power is already on, remember that the fan is now back to become dangerous. So, don’t try to clean or wipe anything on it.
11. Reinstall the Cover of the Fan
Before reinstalling its cover, check if it is already dry and clean. Plug in the cover into the ceiling by screwing it back or put the metal wires in position. Gently push the cover to the ceiling. Turn on the fan. It should be quieter and flowing more air than before.
Read also: How to Clean Bathroom Faucets Gold?
So, it’s an easy task to do, right? You also don’t need lots of time in doing the work. All tips can be finished within 10 minutes. When your vent fan is clean, you can minimize the bathroom odors and also prevent mildew and mold to form. You can also maintain your health by doing so.
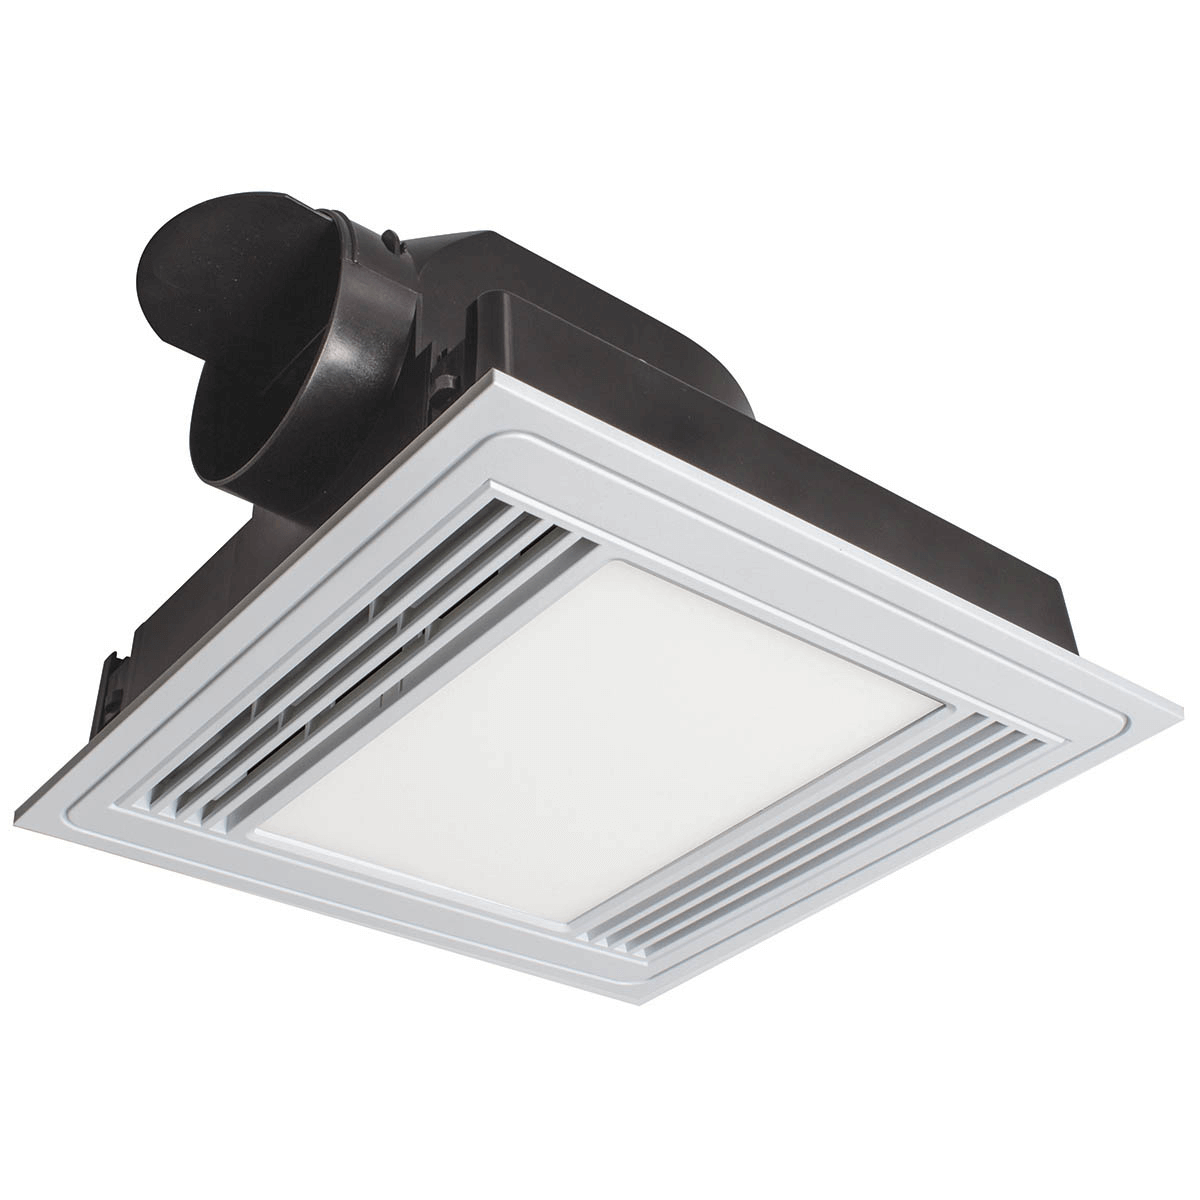
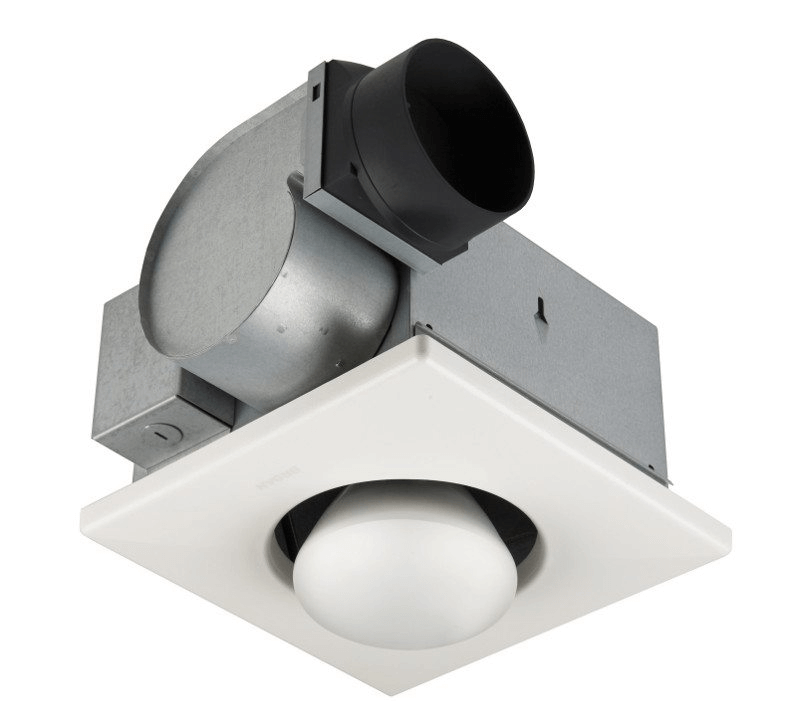
Most popular bathroom exhaust fan types:
Originally posted 2021-08-28 04:12:00.


