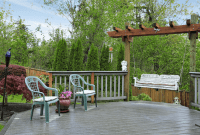
Putting a glider on your front porch is a fabulous idea. It provides you comfortable seat while enjoying the front view.
If you don’t have one, you can make it easily using any porch bench you already have.
Glider tends to have good durability due to the material commonly used, yet you still need to manage to replace the hardware from time to time.
Here are several tips you will find beneficial regarding on glider.
See also: Porch Glider Swings Ideas.
How to Make Porch Glider

1. Select and refurbish the bench for the glider seat
If you want to save your money, you may use a bench that you already have at home to be the glider. Refinish and sand the bench so that it looks new and fresh. Polish it with polyurethane or weather-resistant varnish to make it durable.
2. Build the glider base
First of all, measure the distance of the hind legs and forelegs bench. Then, cut two planks of the same type wood.
Make it into two inches wide and two inches long, greater than the distance of the rear bench legs and front legs. Create the glider support stand by using two dowels then cut it into the same height for the arm part of the glider.
Then, attach the horizontal dowel by measuring the same length. For the central glider support, lay both down.
3. Attach pivot hinges to form the glider movement
Attach four dowels to the side of the bench legs. Measure and then trim the dowels into the suitable size. Then, drill the holes in the dowels and legs.
Put the pivot hinges into the holes by attaching eight of pivot hinges. After that, test the glider and straighten the glider for checking the loose dowels and screws or even replace it.
Finish the glider sand then polish it with varnish, stain or polyurethane.
Read also: How to make your own outdoor glider cushions.
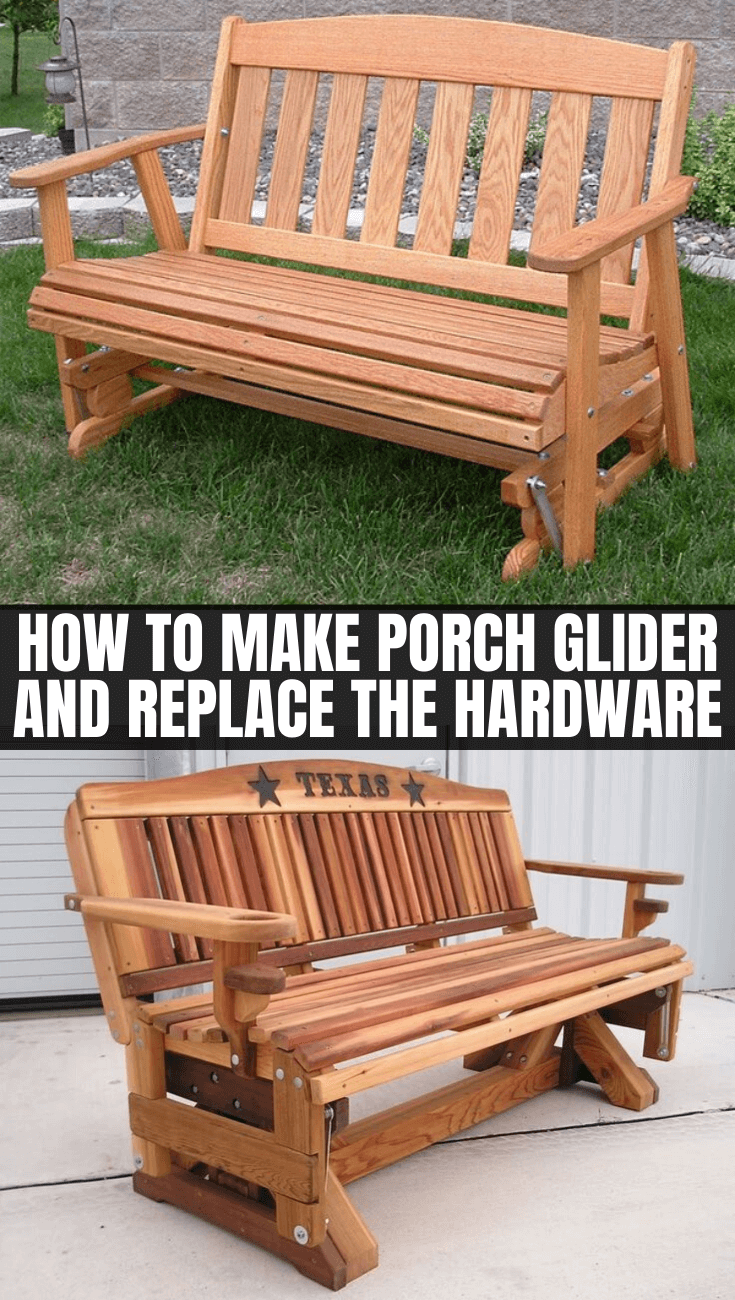
How to Replace the Hardware in the Porch Glider
1. Remove the old hardware
Turn the glider upside down, and then use the ratchet to remove all the nuts which connects the chair to the base. You may ask your friend to hold the glider up so that it will not fall or break.
Then, while it is held by your friend, remove the long bolts. After it is done, lift the base from the glider.
2. Replacing the hardware
Make sure that the screws and bolts are fit properly before replacing the gliding hardware. Sometimes, it is necessary to use the larger size of screw and bolt once the old one is worn out.
Then, attach the new hardware and arms as the previous way. It is better to have second person to hold the base of the glider while installing the new hardware.
Then, put the bolt through the holes of the glider. After that, slide another washer into the bolt. Before it is done, tighten the nut for the bolt.
3. Finish and fine-tune
Check again to make sure the tightness of the screws on the bracket for the metal chair or wicker. If it is needed, tighten the nuts. Then, it’s all done.
It is pretty easy to create a porch glider using a bench. In addition to it, the tips above should help in keeping your old front porch glider durable and safe to use. It saves money yet you still get the same sophistication.

Originally posted 2020-01-01 01:42:46.


