Blog

  • Elevate Your Dining Experience with Stunning DIY Centerpieces

    Elevate Your Dining Experience with Stunning DIY Centerpieces

    Creating a beautiful dining atmosphere is about more than just the food; it’s about the entire experience. One of the simplest yet most effective ways to transform your dining table is through DIY centerpieces. These can range from simplistic designs to elaborate arrangements, depending on your style and occasion. Not only do they add a personal touch to your dining area, but they also can be a fun and creative project. Let’s dive into the world of DIY centerpieces and discover how you can enhance your dining table with your unique creations.

    diy centerpieces for dining table

    Embracing Nature: Eco-Friendly Centerpieces

    🍃 Sustainable Materials: Emphasizing eco-friendliness, consider using natural materials like wood, stones, or recycled glass. An arrangement of driftwood, complemented by candles and small potted plants, can create a serene and organic look.

    💐 Floral Arrangements: You don’t need to be a professional florist to create a stunning floral centerpiece. Utilize seasonal flowers and greenery from your garden to construct a fresh and lively focal point. Mixing different textures and colors can yield eye-catching results.

    🌿 Greenery and Herbs: For a more subtle but equally beautiful option, consider using just greenery. Eucalyptus branches, rosemary sprigs, or a mix of herbs not only look great but also add a pleasant aroma to your dining table.

    Vintage Charm: Antique-Inspired Centerpieces

    🕰️ Old Meets New: Blend old with new by incorporating antique items like vintage vases, old books, or brass candle holders. These elements can add a touch of nostalgia and elegance to your dining area.

    📷 Personalized Touch: Incorporate family heirlooms or old photographs in your centerpiece. This adds a deeply personal element, making each dining experience unique and memorable.

    🔍 Important Note: “Remember, the key to a successful vintage centerpiece is balance. Too many items can overwhelm the table, so choose a few focal pieces and build around them.”

    Seasonal Sensations: Centerpieces for Every Occasion

    🌸 Spring and Summer: Use bright flowers, fruits, and light materials to reflect the vibrancy of these seasons. A bowl of lemons paired with fresh tulips can instantly brighten up your table.

    🍂 Fall and Winter: Embrace the warmth of these seasons with richer colors and textures. Pinecones, berries, and candles in autumnal tones can create a cozy and inviting atmosphere.

    Table for Two: Romantic Centerpiece Ideas

    💕 Candles and Roses: For a classic romantic setting, nothing beats the combination of candles and roses. Arrange them in varying heights to add depth to your table.

    🍽️ Table Setting: Pair your centerpiece with matching tableware and linen for a cohesive look. Soft lighting and a neutral color palette can elevate the romance factor.

    DIY With Kids: Fun Centerpiece Projects

    🎨 Crafty Creations: Involve your children in making centerpieces. Simple projects like painting mason jars or creating paper flowers can be fun and rewarding.

    🌟 Educational and Fun: Incorporate educational elements like a mini herb garden or a terrarium. It’s a great way to teach kids about plants and nature while decorating your table.

    Centerpiece Table: Cost and Complexity Analysis

    Centerpiece TypeEstimated CostComplexity
    Eco-FriendlyLow to MediumEasy
    Vintage CharmMediumModerate
    SeasonalLow to HighVaries
    RomanticMedium to HighModerate
    Kids’ ProjectsLowEasy

    Conclusion

    DIY centerpieces for your dining table are not just decorative pieces; they’re expressions of your creativity and style. Whether you opt for a natural, vintage, seasonal, romantic, or kid-friendly theme, the key is to enjoy the process and make it a part of your dining experience. Remember, the best centerpieces are those that reflect your personality and make your guests feel welcome and special. Happy crafting!

    Originally posted 2024-01-05 04:32:37.

  • How to Get Better Air Circulation in your House

    How to Get Better Air Circulation in your House

    Air circulation has a great impact for your house. Appropriate air circulation will give you a lot of positive impact.

    It happens because air circulation provides you safe and comfortable breathing environment.

    On the other hand, bad air circulation has a negative effect for your health. If you think that the air circulation in your home tend to be stagnant, you should do something to solve this problem.

    Make decent steps to obtain gentle wind streaming for you a healthier and pleasant home.

    So, we provide you tips How to get better air circulation in your house. Check it out:

    1. Having Appropriate Ventilation

    Most people seems under-valued ventilation, proper air circulation and good air flow. When your furnace is not working properly in the winter, you will aware that in a couple of hours. You need time to notice that something is not working well.

    Of course, it occurs in ventilation problem. You may not notice the insufficient ventilation as swiftly as it needs time for the symptoms, like foetid air, moisture level and mould to live.

    It is a public secret that everybody needs fresh air all the time. So, people need to plan and design their house with appropriate ventilation. If you do not provide it, you will cost much money to cover your health.

    2. Open your windows

    It is useless even though you have appropriate ventilation and you rarely open it. Opening windows is the simplest and easy way to promptly increase your indoor air circulation.

    Some people think that it will invite pest to come to your house, but opening windows on a day will bring fresh outside air into your home. It will give a positive effect for you.

    Read also: Front Window Decor Ideas

    How to Get Better Air Circulation. 4 Ideas to Get Better Circulation for your House

    3. Utilize exhaust fans

    Exhaust fan is the viable option to improve your airflow and air circulation in kitchen and bathroom. It works like traditional fans in reverse.

    We suggest you to use exhaust fans than blowing air outward. Blowing air outward draws moisture outdoor and air inward, so you may feel stuffy in the room.

    Exhaust fan increases outdoor ventilation, avoid humidity in your house and release the air contamination.

    See also: How to Install Outdoor Porch Ceiling Fans?

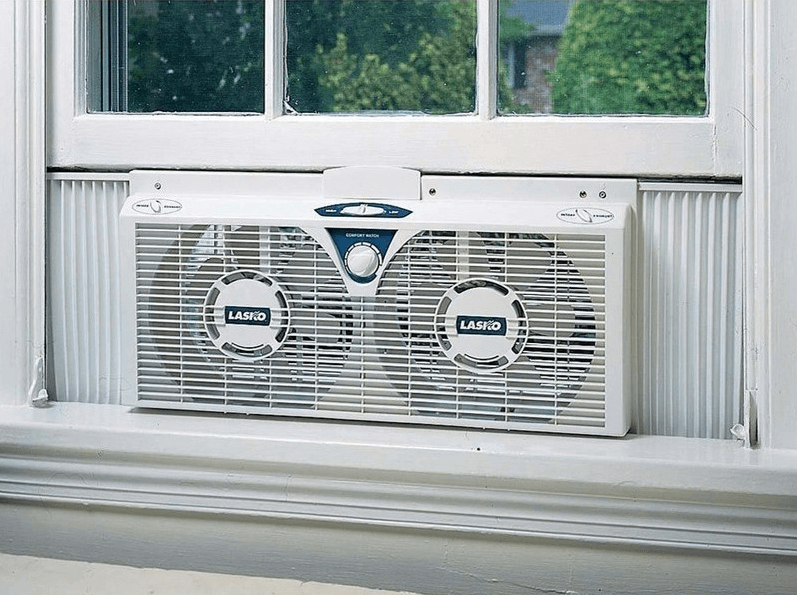
    4. Use ceiling fans and window fans

    Ceiling fans can guarantee that the air continues to circulate. We suggest you to apply this in conjunction with HVAC units to facilitate the air circulate properly in your room from lower zones to higher zones and attain every zone in your house.

    For that reason, we suggest you to use ceiling fans and windows fans.

    Window air conditioner ideas

    Actually, you can use air conditioners and heaters to ensure the air circulation and airflow in your home work properly.

    However, these options provide big energy consumption. In other word, these options may be a viable option for those who are afford to use much energy in their house.

    Providing good and proper air circulation in your home is the matter. Sometimes, people forget this aspect.  We hope that this article above helps you to get more aware with air circulation or airflow in your home.

    The tips above about How to get better air circulation in your house is a cheap and simple tips to be applied

    HOW TO GET BETTER AIR CIRCULATION IN YOUR HOUSE

    Originally posted 2020-05-02 03:31:52.

  • How to Prevent Dirt Dust into the Closet and Other Home Areas

    How to Prevent Dirt Dust into the Closet and Other Home Areas

    Dust is an accumulation of tiny particles that is consisting of hair, pet dander, dirt, skin cell and more.

    Tolerating to live around you is a bad decision and habit, then it will give negative effect for your health.

    It is a good decision to control it in your house. Thus, we gives you tips How to prevent dirt dust into the closet and other home areas.

    Closets are a heaven for dust. It is full of fiber clothes which is dust haven. If you think that you are able to relieve 100 percent dust in your clothes or other areas, you are wrong and you cannot do that. But, you still have chance to make your closet and other areas clean.

    How to Prevent Dirt Dust into the Closet and Other Home Areas. Cleaning floor with vacuum

    1. Change and Wash Your Bedding Every Week

    Your pleasant bed, pillows, sheets, blankets and comforters are a major dust distributors. The dust can double like mouse if you do not try to keep under control it.

    It happens because bedding gathers sheds, skin flakes and sends swirls of dust every time you roll over on your sleep.

    The way to prevent it is to change and wash pillowcases, sheets routinely particularly if one of your family members have dry skin or pets.

    You do not need to go to dry cleaners every week to wash items that are not machine washable. We suggest you to bring bedspreads and blankets outside your house and jiggle them.

    But, we suggest you to wash it at least twice in a month. You can apply it on the pillows, but for the total cleaning, we suggest you to wash them.

    2. Use the Appropriate Vacuum

    Vacuum cleaner is the most helpful invention to clean the dust. Suction is not enough to clean much dust out of carpet.

    For the thorough cleaning, we suggest you to use vacuum cleaner with a powerful agitator.

    But, we suggest you to use canister vacuum cleaner without an agitator, when you have intention to clean something that the media is not carpet.

    3. Clean the Agitator and Air Conditioner Filter

    Vacuum cleaner use agitator to clean the dust meanwhile air conditioner has filter to separate the dust and the air.

    The dust stay on the surface of agitator when you have just used and settle in air conditioner filter.

    You can rid the dust on the surface of agitator before you use the vacuum and clean the air conditioner filter.

    You can clean the air conditioner filter by brushing off. It is simple and easy to clean it. But, most people do not have awareness to clean it.

    Cleaning air conditioner filter is important to maximize the air conditioner function and prevent the dust circulated in the room.

    Read also:

    We may feel annoyed when you see dirt dust in your home. Moreover, if you rarely clean the dust, it will effect on your healthy or you may be allergic with the dust.

    We hope that the tips above about How to prevent dirt dust into the closet and other home areas help you to avoid allergic in dust.

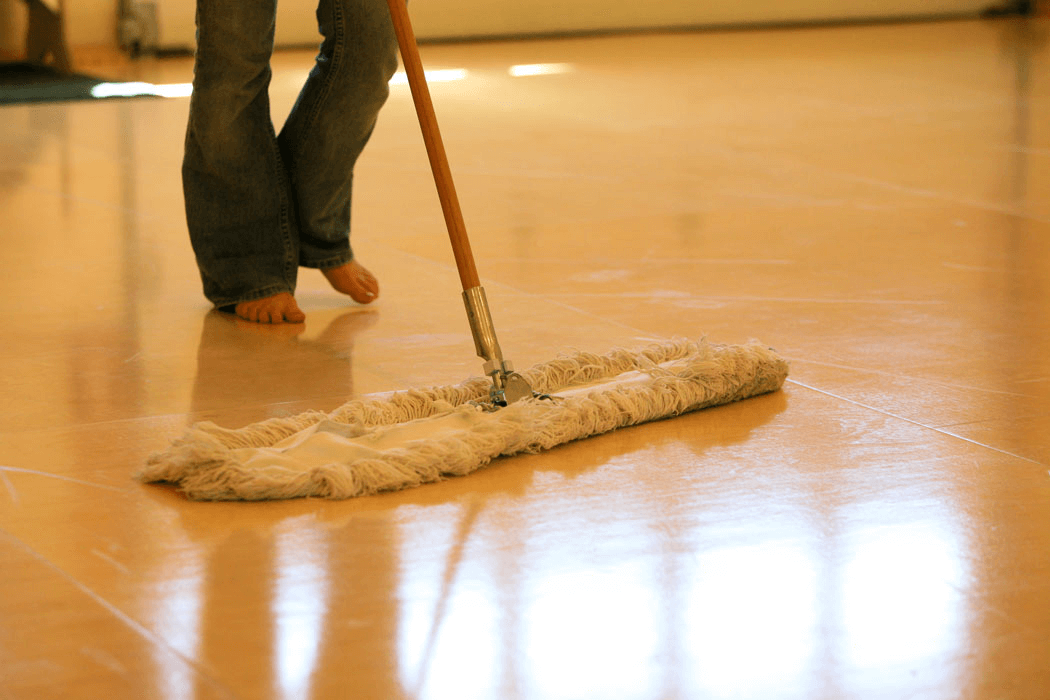
    Cleaning wood floor from dust and others
    Image: ambiencehardwoodflooring.co.uk

    HOW TO PREVENT DIRT DUST INTO THE CLOSET AND OTHER HOME AREAS

    Originally posted 2020-05-01 05:11:04.

  • Elevate Your Living Room with Stunning Coffee Table Arrangements

    Elevate Your Living Room with Stunning Coffee Table Arrangements

    Welcome to the world of interior design, where the smallest details can transform your living space into a personal haven. Today, we’re focusing on one key element that often goes unnoticed yet holds immense potential for elevating your home’s aesthetic: coffee table arrangements. 🌟

    Stunning Coffee Table Arrangements

    The Art of Coffee Table Styling

    Coffee table styling is more than just placing a few items on a flat surface. It’s an art that combines functionality with personal flair. The right arrangement can serve as a focal point in your living room, reflecting your style and personality. 🎨

    Finding Balance

    The key to a great coffee table arrangement is balance. This doesn’t necessarily mean symmetry, but rather a harmonious blend of elements. Consider the size and height of objects, mixing tall items with shorter, fuller pieces to create visual interest.

    Visual Weight Distribution

    Distribute visual weight evenly across the table. For instance, a large vase on one side can be balanced with a stack of books on the other. This creates a pleasing and cohesive look.

    Textures and Materials

    Incorporating a variety of textures and materials adds depth and intrigue. Think glossy ceramics, matte metals, textured fabrics, and natural elements like wood or stone. This blend of surfaces will bring your coffee table to life.

    Contrast and Cohesion

    While mixing materials, maintain a cohesive color palette or theme. This could mean monochromatic hues, complementary colors, or a specific style like minimalist or bohemian.

    Function Meets Fashion

    Your coffee table is not just a showpiece; it’s a part of your daily life. Thus, functionality is key. Ensure your arrangement allows for easy access to what you need, be it remotes, coasters, or your morning cup of coffee. ☕

    Practical Elements

    Incorporate practical items in an aesthetically pleasing way. Use decorative bowls or trays to house smaller objects. This keeps your table organized and stylish.

    Accessibility

    Remember to leave enough space for functionality. Overcrowding the table with decorations can hinder its practical use.

    Personal Touches

    A coffee table is a reflection of who you are. Personalize your space with items that speak to you, whether it’s a collection of vintage finds, travel souvenirs, or family heirlooms. 📚

    Unique Finds

    Display items that have a story or personal significance. This could be an antique clock, a hand-painted bowl, or a sculpture you picked up on your travels.

    Conversation Starters

    Choose pieces that are not only visually appealing but also serve as conversation starters. This could be an unusual art piece, a quirky figurine, or a coffee table book on a fascinating topic.

    Seasonal Updates

    Keep your coffee table arrangement fresh by updating it with the seasons. This gives you an opportunity to experiment with different styles and keeps your living room looking lively and current. 🌷

    Seasonal Decor

    Incorporate elements that reflect the current season. Think fresh flowers in spring, seashells in summer, leaves and pumpkins in fall, and candles or pinecones in winter.

    Holiday Themes

    Embrace holiday themes with subtle nods to the occasion. This could be as simple as adding a few festive ornaments during Christmas or a vase of sunflowers during Thanksgiving.

    The Perfect Coffee Table: A Case Study

    ElementDescription
    SizeEnsure the table is in proportion to your seating area.
    ShapeChoose a shape that complements your room’s layout.
    MaterialConsider the material based on your lifestyle and aesthetic preference.
    HeightOpt for a height that aligns with your sofa for ease of use.

    Important Note: Always consider the scale of your coffee table in relation to your room. A table that’s too big or too small can disrupt the balance of your space.

    Conclusion

    A well-styled coffee table can transform your living room from mundane to magazine-worthy. Remember, there are no hard and fast rules – it’s all about what feels right for you and your space. Experiment, have fun, and let your coffee table be the canvas for your creativity and style! 🌈

    Originally posted 2024-01-04 00:53:03.

  • Exterior Games: How to Decorate a Brick Wall Outside

    Exterior Games: How to Decorate a Brick Wall Outside

    Designing the exterior is a fun thing; there is something that you can do outside but not in the inside.

    The Brick wall in the outside can be the platform to deliver the ideas.

    Here are the most popular 5 tips to make your brick wall flare.

    1. Color the Ideas

    The first step to do is to paint. Consider that the brick wall is a blank canvas; you can begin to paint it beautifully.

    It is your own choice either you want to apply your favorite color or enhance the colors with the concept. If you like a bright theme, draw a colorful geometry wall like a rainbow or do some graffiti.

    Read also: How to Decorate a Wall with Photos?

    How to decorate outside brick wall. Most popular decorating for brick wall home design

    2. Use the Power of Visual Impacts

    Do not waste the function of the wall, use it as displays. It will be eye catching to put empty frames on it. Hang some ancient wall plates is the best ideas if you like the vintage things.

    The metal wall art makes the wall has dramatic impacts as a display. The other option is by doing the string art; spell the massage to your family in the art. Every time the people see it, they you will impress by the ideas.

    3. Be Creative

    You do not have to hire a designer to decorate the exterior. Being the expert in designing by applying this third step. Use recycles things, It will less expensive.

    Take a look at your warehouse, if you have old windows or weary things use to accessorize the wall. Exposed the old windows and put it in the wall. You also can put recycling things, like a homemade basket full of flowers next to it.

    Outside brick wall designs
    Creative brick wall outside decoration, image: homedit.com

    4. Lighting Design

    When the night comes, do not forget to bring the light in your design.  Lighting is the powerful aspect to make a great impact. If you like contemporary concept, Use a contrast light to expose the brick or you can add multiple bright lamps in the garden.

    It is tricky move to splash the color. Track lighting will look trendy mi with the outside scenery. If you want to make it simple just attach the lamp into it and let it showers the greatness.

    5. Make It Useful

    Living room in the backyard, why not? Decor the wall perfectly till you can use it as your secondary Living room or place to work. Try to use fence as the last step. It will be convenient to add something from your own garden.

    This charming approach will get along with the space. In the fence you can add a vertical succulent garden. You can water it in your spare time. It is the beautiful combination for the brick wall itself.

    Make the brick wall outside convey the meaning of the inside. You can make the exterior design as creative as possible; therefore people are intriguing to know what your interior would be.

    Be confident with the ideas, there are no wrong idea. Apply it with the perfect strategy that can expose the wall. Then, you will find happiness just around the corner.

    Chandelier for front porch brick wall outside decoration ideas
    Image: homedesignbiz.com
    HOW TO DECORATE A BRICK WALL OUTSIDE

    Originally posted 2020-04-30 02:06:00.

  • How to Fix And Prevent Wall Paint Peel Off

    How to Fix And Prevent Wall Paint Peel Off

    Are you living in an area with high humidity? Then you have an intriguing problem of paint peeling.

    Those who install water pipe inside the wall also expose the material to the risk of wrinkle paint, in case of water leakage.

    Learn the way to prevent as well as fix the dull wall paint.

    Read also:

    How to Fix And Prevent Wall Paint Peel Off

    1. Eliminate The Problem

    It is important to find the source of the problem before deciding the right action to take. If you install the plumbing inside the wall, there is no other way than breaking down the wall.

    Trace the leaking spot and check where the plumber should work at. If the pipe requires total reparation, don’t take the risk and plan the project as soon as possible.

    The cost to break down and rebuild the wall would be too much if you have to do it repeatedly.

    If you find the chapped paint happens only on several parts of the wall, it indicates different cause. The drying prime or paint is not applied evenly and not absorbed well by the materials.

    In this case, you could treat only the affected area. There is no need to repaint the whole sides.

    Read also: How to Clean Concrete Walls before Painting. 

    HOW TO PREVENT WALL PAINT PEEL OFF

    2. Clean The Peeling

    Depending on how severe the scrappy paint is, you could use different tools to clean it. Oil based paint would be peeled easily with a pair of gloves, leaving a clean material behind.

    Don’t forget to protect your lungs from fine paint dust with a mask. Lay drop cloth near the wall, so the peeled pieces could be piled up.

    If you apply water based color, things might go a little bit complicated. Still using the same protection gear, apply light to strong rub on the wrinkled paint. Make sure no paint or stain left on the material.

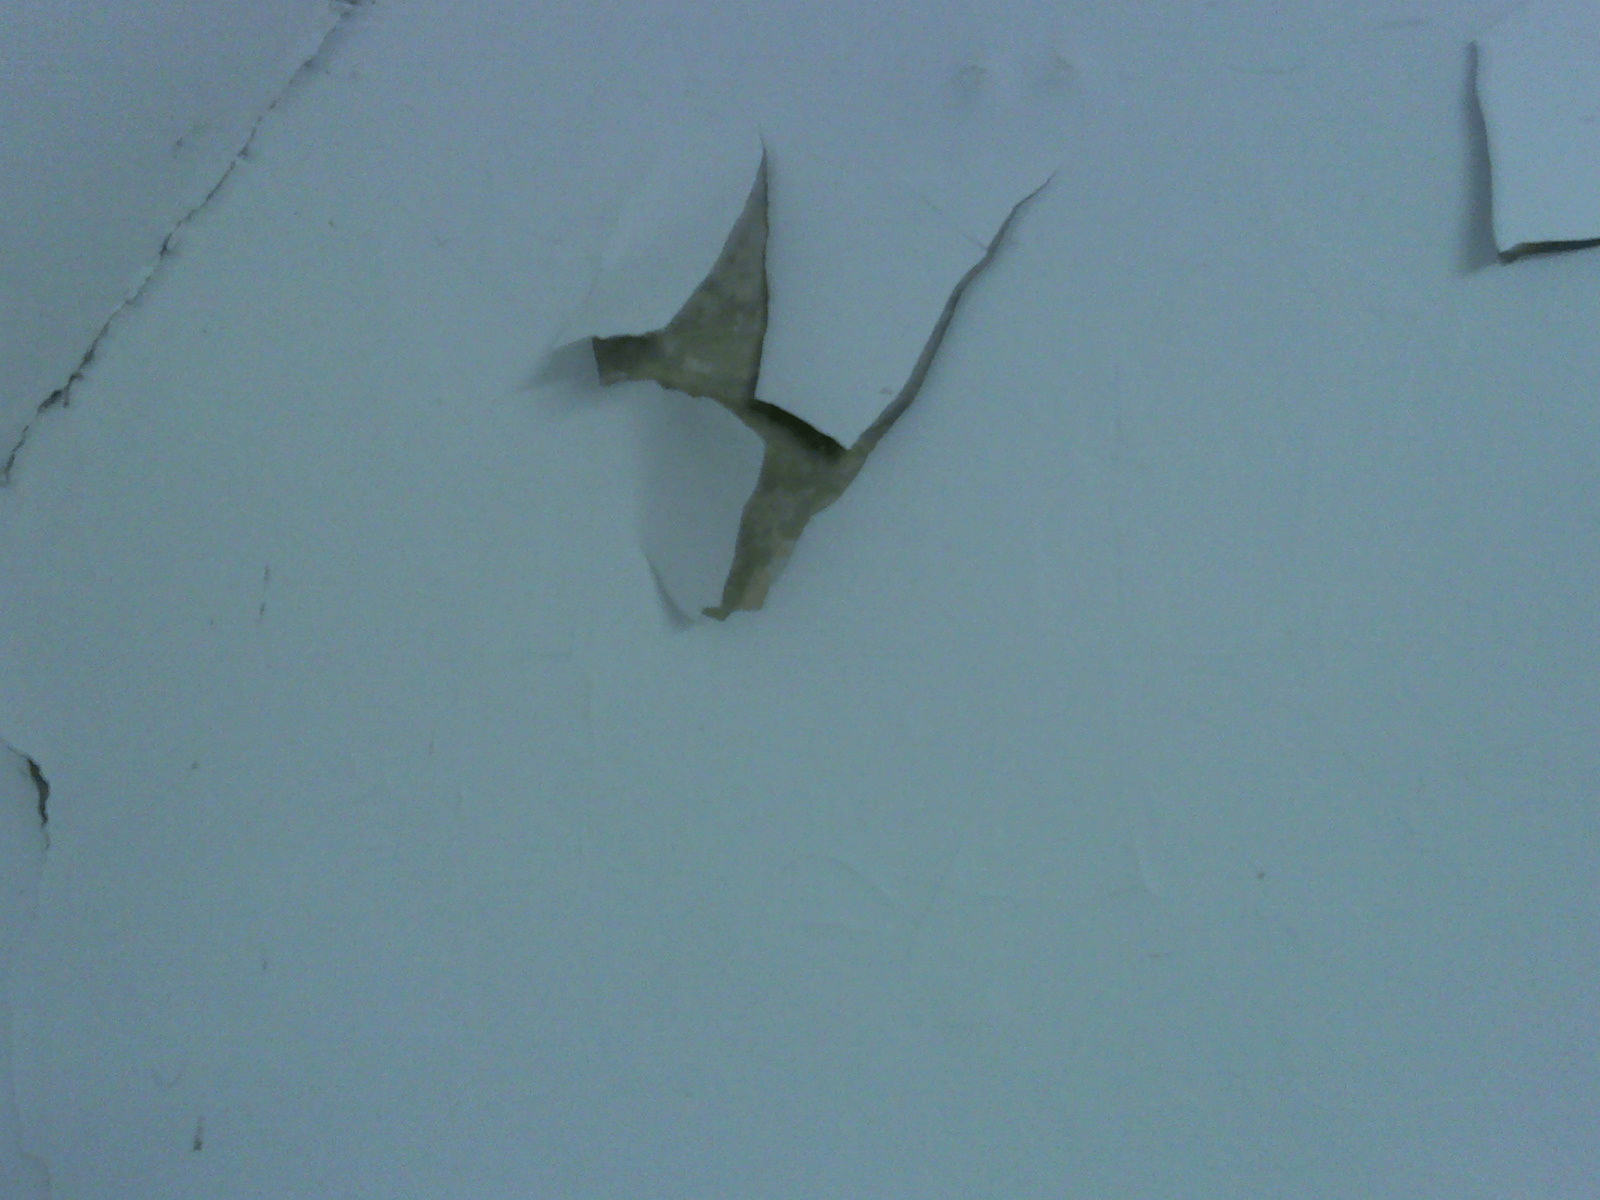
    Wall paint peel off

    3. Prepare The Wall

    For a wall that often exposed to the moisture, you need to redo the process from the start. Apply generous amount of prime and let it sir for an hour at the minimum.

    Learning from previous experience, you might want to try oil—based primer, equipped with stain-blocking property. Only then, you are allowed to stain the wall with colors.

    If the peeled parts are not severe, you could apply patching compound. Spread thin and even layer to cover the area. Wait until the compound dry. If cracks are still seen, repeat the process.  You are aiming for smooth, crack-less surface.

    4. Final Coat

    Painting step will be much easier when you have to repaint all the job. However, patching several areas only requires particular skill. Take the leftover paint from the previous project.

    If you don’t have any, it is enough to purchase the small can. Dip a sponge or bristle to the paint and dab lightly inside the area. Repeat the process until you get similar tone.

    Read also: How to Remove Crayon from Walls?

    Noticing the cracked wall paint gives off mixed feeling. Some might feel sad, while the others are ashamed. You can be sure that this condition is the result of imbalanced moisture.

    The culprit might also be the inappropriate method of preparation. In either case, you have to block the moisture to slip inside the wall materials. Apply prime and proper coating before you paint.

    Green and orange wall painting with wood laminate flooring
    Image: interiordesign777.com

    Originally posted 2020-04-29 22:11:00.

  • How to Fix Wall Paint Peel Off

    How to Fix Wall Paint Peel Off

    Wall paint can bring both proud and disgrace to your house. In the beginning when you successfully cover all surfaces evenly, you could brag at how smooth and bright your wall is.

    Now that it starts to wither, you cannot help but feel ashamed of your own house. Peeling off wall paint spreads from the corner, creating spooky effects from your house.

    Here’s a simple step to fix wall paint peel off. Check it out.

    Read also:

    1. Peel Of The Paint

    First of all, you have to remove the tangling paint of its place. To do this smoothly, you can use paint scraper, wire brush or sand paper.

    Don’t forget to wear safety mask to cover your nose and mouth. Lay plastics around the wall area, so your cleaning after peeling off won’t be too much to handle.

    If the base of your wall is fragile, sand paper would be the most recommended tool for this purpose. Sometimes, the peeling paint is too hard to clean.

    Resist from using excessive strength. Change your equipment to wire brush instead. It scrubs harder with the least power possible.

    2. Flatten The Surface

    Observe the surface you just cleaned. Since the paint is peeled, the woods would leave unprotected. Particularly when the condition happened for months, you will definitely get holes.

    Before transforming the shabby wood walls into a brand new face, you have to cover these holes with putty. Apply the wood filler with special putty knife. It has flat edge, pushing the practicality to the maximum.

    Give at least two hours to let the wood filler dry. If you refer to the manufacturer instruction, the time is shorter: 45 minutes to an hour.

    Those who have tried the suggestion say that this time is too short. Don’t be in a rush, so you will get the best result.

    3. Smooth And Clean The Surface

    The next step you are going to do is sanding the surface. Lightly scrub the wood with applied putty to eliminate the smear.

    There are some things that might make you reluctant to continue the process; the crack in the middle or the sides of holes area.

    If you want to take the extreme step, you may replace the whole board. Just for your information, it will be hardly noticed once the board gets painted.

    Before you move to the painting step, wet some clothes. Dab this damp cloth on the surface. You want to make sure that the surface is clean from grain and any fine dust. These two particles will create rough painting.

    4. Prime And Paint

    Are you fighting with moisture? Then apply prime to prevent paint peeling in later months.

    Then you need another hour to let the prime absorbed by the walls or you can follow the manufacturer instructions.

    Finally, the last thing to do is painting. Put any colors you want. If you have any cracked area, then apply several coats on the affected spot. Enjoy your new wall!

    Most of wall paints cannot survive the drastic temperature change that mostly happens during seasonal change. You cannot let this condition happens for too long.

    Otherwise, you just set an embarrassing display of your living place. Do the above steps to bring the charming wall back.

    HOW TO FIX WALL PAINT PEEL OFF

    Originally posted 2020-04-28 10:21:00.

  • Timeless Elegance Unveiled: Old Money Home Decor Ideas to Transform Your Space

    Timeless Elegance Unveiled: Old Money Home Decor Ideas to Transform Your Space

    Discover the quintessence of sophistication and timeless elegance with these old money home decor ideas. Delve into a world where every detail reflects a storied past and an unwavering sense of style. From the grandeur of classic furniture to the subtle allure of heirloom pieces, these ideas will guide you in creating a living space that whispers tales of generations past and a refined lifestyle.

    Old Money Home Decor Ideas

    The Essence of Old Money Decor: Classic and Timeless

    Old money style is synonymous with classic, timeless elegance. It’s not just about being opulent but about showcasing a sense of history and continuity. This decor style speaks of heritage and understated luxury, characterized by high-quality materials, classic patterns, and a harmonious blend of old and new.

    Choosing the Right Furniture

    🪑 Antique and Classic Furniture: The cornerstone of old money decor is classic furniture. Opt for pieces with a history, like antique wooden desks or vintage armchairs. These pieces should speak of craftsmanship and timelessness, often featuring dark woods like mahogany and rich, deep colors.

    Textiles and Fabrics

    🛏️ Rich, Heavy Fabrics: Think velvets, brocades, and heavy linens. These materials add a layer of luxury and comfort, embodying the old money ethos of quality over trendiness. Upholstery in classic patterns, such as floral or damask, contributes to the overall elegance.

    The Art of Mixing Old and New

    One of the secrets of old money decor is the artful blending of old and new elements. This approach keeps the decor from feeling like a museum and instead creates a lived-in, welcoming atmosphere.

    Integrating Modern Elements

    🖼️ Contemporary Art and Modern Touches: While the foundation of the decor is classic, incorporating contemporary art or modern design elements can add a fresh twist. This juxtaposition highlights the timelessness of the space.

    Family Heirlooms and Personal Touches

    🕰️ Incorporating Personal History: Old money decor is deeply personal. Include family heirlooms, photos, and items with sentimental value. These pieces tell your family’s story and add genuine character.

    Lighting: A Key Element in Old Money Decor

    Lighting plays a crucial role in setting the right ambiance. It’s not just about illumination; it’s about creating a mood that reflects the elegance and sophistication of the decor.

    Choosing the Right Fixtures

    💡 Elegant and Understated Lighting: Opt for classic chandeliers, antique sconces, and table lamps with silk shades. These fixtures should offer a warm, soft light that enhances the room’s features.

    The Importance of Natural Light

    🌞 Utilizing Natural Light: Embrace natural light as much as possible. It brings warmth and life to the space, highlighting the decor’s natural beauty.

    Wall Decor and Artwork: Reflecting Sophistication

    The walls in an old money home are canvases that reflect the owner’s taste and sophistication. Artwork and wall decor are not just adornments; they are expressions of the family’s legacy and artistic preferences.

    Selecting Art and Wall Hangings

    🖼️ Classic Art and Tasteful Prints: Choose artwork that resonates with the home’s overall aesthetic. Old portraits, landscapes, and still lifes often work well. Tasteful prints can also complement the decor.

    The Role of Mirrors

    🪞 Strategic Use of Mirrors: Mirrors are not only functional but also decorative. A well-placed mirror can open up a space, reflect light, and add an element of depth and sophistication.

    Flooring: The Foundation of Old Money Style

    The right flooring can set the tone for the entire home. It’s an essential element that should blend seamlessly with the decor, providing a foundation of elegance and style.

    Selecting Timeless Flooring Options

    🏡 Hardwood and Natural Stone: Opt for classic materials like hardwood or natural stone. These materials are not only beautiful and timeless but also durable and practical.

    Rugs and Carpets: Adding Warmth and Elegance

    🔳 Oriental and Persian Rugs: A high-quality rug can be a centerpiece in a room. Oriental and Persian rugs, known for their intricate designs and craftsmanship, add warmth, color, and a sense of history.

    Accessories: The Finishing Touches

    Accessories in old money decor are all about understated elegance and a sense of history. These items should feel collected over time, not bought in a single shopping spree.

    Choosing the Right Accessories

    🏺 Antiques and Collectibles: Look for unique antiques, vintage books, and collectibles. These items should have a story to tell, adding depth and interest to the decor.

    Table Setting: A Nod to Tradition

    🍽️ Elegant Tableware: In an old money home, even everyday dining can be an event. Use classic tableware, silver cutlery, and crystal glassware to create a refined dining experience.

    ElementDescription
    FurnitureAntique, classic pieces with rich woods and deep colors
    TextilesHeavy fabrics like velvet and brocade in classic patterns
    LightingElegant fixtures and natural light
    ArtworkClassic art, tasteful prints, and strategic use of mirrors
    FlooringHardwood, natural stone, and quality rugs
    AccessoriesAntiques, collectibles, and elegant tableware

    Important Note: While embracing old money decor, remember to infuse your personal style and family history. This approach ensures that your home remains unique and true to your personal narrative.

    Conclusion

    Embracing old money home decor ideas means more than just filling your space with beautiful items. It’s about creating a home that resonates with history, quality, and personal significance. Each piece in your home should tell a story, whether it’s a family heirloom, an antique find, or a modern piece that complements the classic style. Remember, old money decor is not about ostentation but about a deep appreciation for quality, craftsmanship, and history. Transform your home into a bastion of timeless elegance with these old money decor ideas.

    Originally posted 2023-12-31 01:03:27.

  • How To Protect Wood Table Surface From Hot Materials

    How To Protect Wood Table Surface From Hot Materials

    It is nice to have a polished wooden table as your furniture. This view often tempts you to do a lot of things with it.

    Some of you might love to prepare the dishes on the table, even putting hot tray pulled out directly from the oven. Do you know that hot materials never goes along with wood?

    Below some precautionary steps and how to fix if the bad thing has happened. Just remember and save this.

    Read also: How to clean Bluestone Table in one touch only. 

    HOW TO PROTECT WOOD TABLE SURFACE FROM HOT MATERIALS

    The Prevention Steps

    Taking care of wooden table is as challenging as the process of having it. Wood has a lot of natural enemies: temperature, moisture, chemical. None of them is less dangerous than the others.

    Keep it in the room the whole year and it might be a perfect mold. Set it outdoor and the table will get sun-washed, leaving fading color for you to display.

    The good news is you have options to block these bad effects. Do the following steps right after the wood table arrive in your house.

    1. Layering Pad

    If you are planning to put the table in kitchen area, there is a high possibility you will use it as the preparation area. The next minutes you might put burning cookie tray on it.

    Just like how you lay a cutting board for vegetable slashing, put wooden pad on the table. This way, the heat won’t directly damage the outer layer.

    2. Heat Coat

    Many people think that heat coat is enough to cover the table from hot pan. To tell you the truth, it is not. Heat coat gives protection from UV Rays, keeping the colors bright and shiny. When it comes to burning cooking tools, heat coat will break.

    3. Setting

    Don’t think that placing heating objects won’t give bad effect to the furniture. Keep radiator in a safe place, far from the wooden table.

    See also: Best 18 DIY Dining Table Makeover Ideas

    How to fix heat stains on wood table

    The Fixation Steps

    For those who unconsciously stained the table, you could remove or at least fade the mark on the surface. Overcome your sadness and anger by doing something to bring back the shine.

    1. Iron And White T-shirt

    Do you notice the white mark on the table after you enjoy hot bowl of soup? This mark won’t fade away with just an overnight sit. Grab an iron and a white T-shirt. Turn on the iron and set the heat to medium.

    Cover it using white T-shirt. Rub on the white surface slowly, until the mark is gone. Avoid scrubbing with sand paper as it will make the stain more visible.

    2. Hair Dryer

    If you happen to notice the heat mark right after the accident, then take immediate action. Grab the hair dryer and soft cloth.

    Turn on the drier machine and make circle motions several centimeters above the mark. Gently wipe the mark with a soft cloth.

    Nice wooden furniture has several dos and don’ts. You, as the owner, have to learn about these information. One thing for sure: hot things should never touch the wooden surface at any cost.

    Otherwise, the heat will burn the surface and leave unappealing mark. Apply heat coat or proper pad on the table before putting the burning pan.

    Originally posted 2020-04-27 03:22:00.