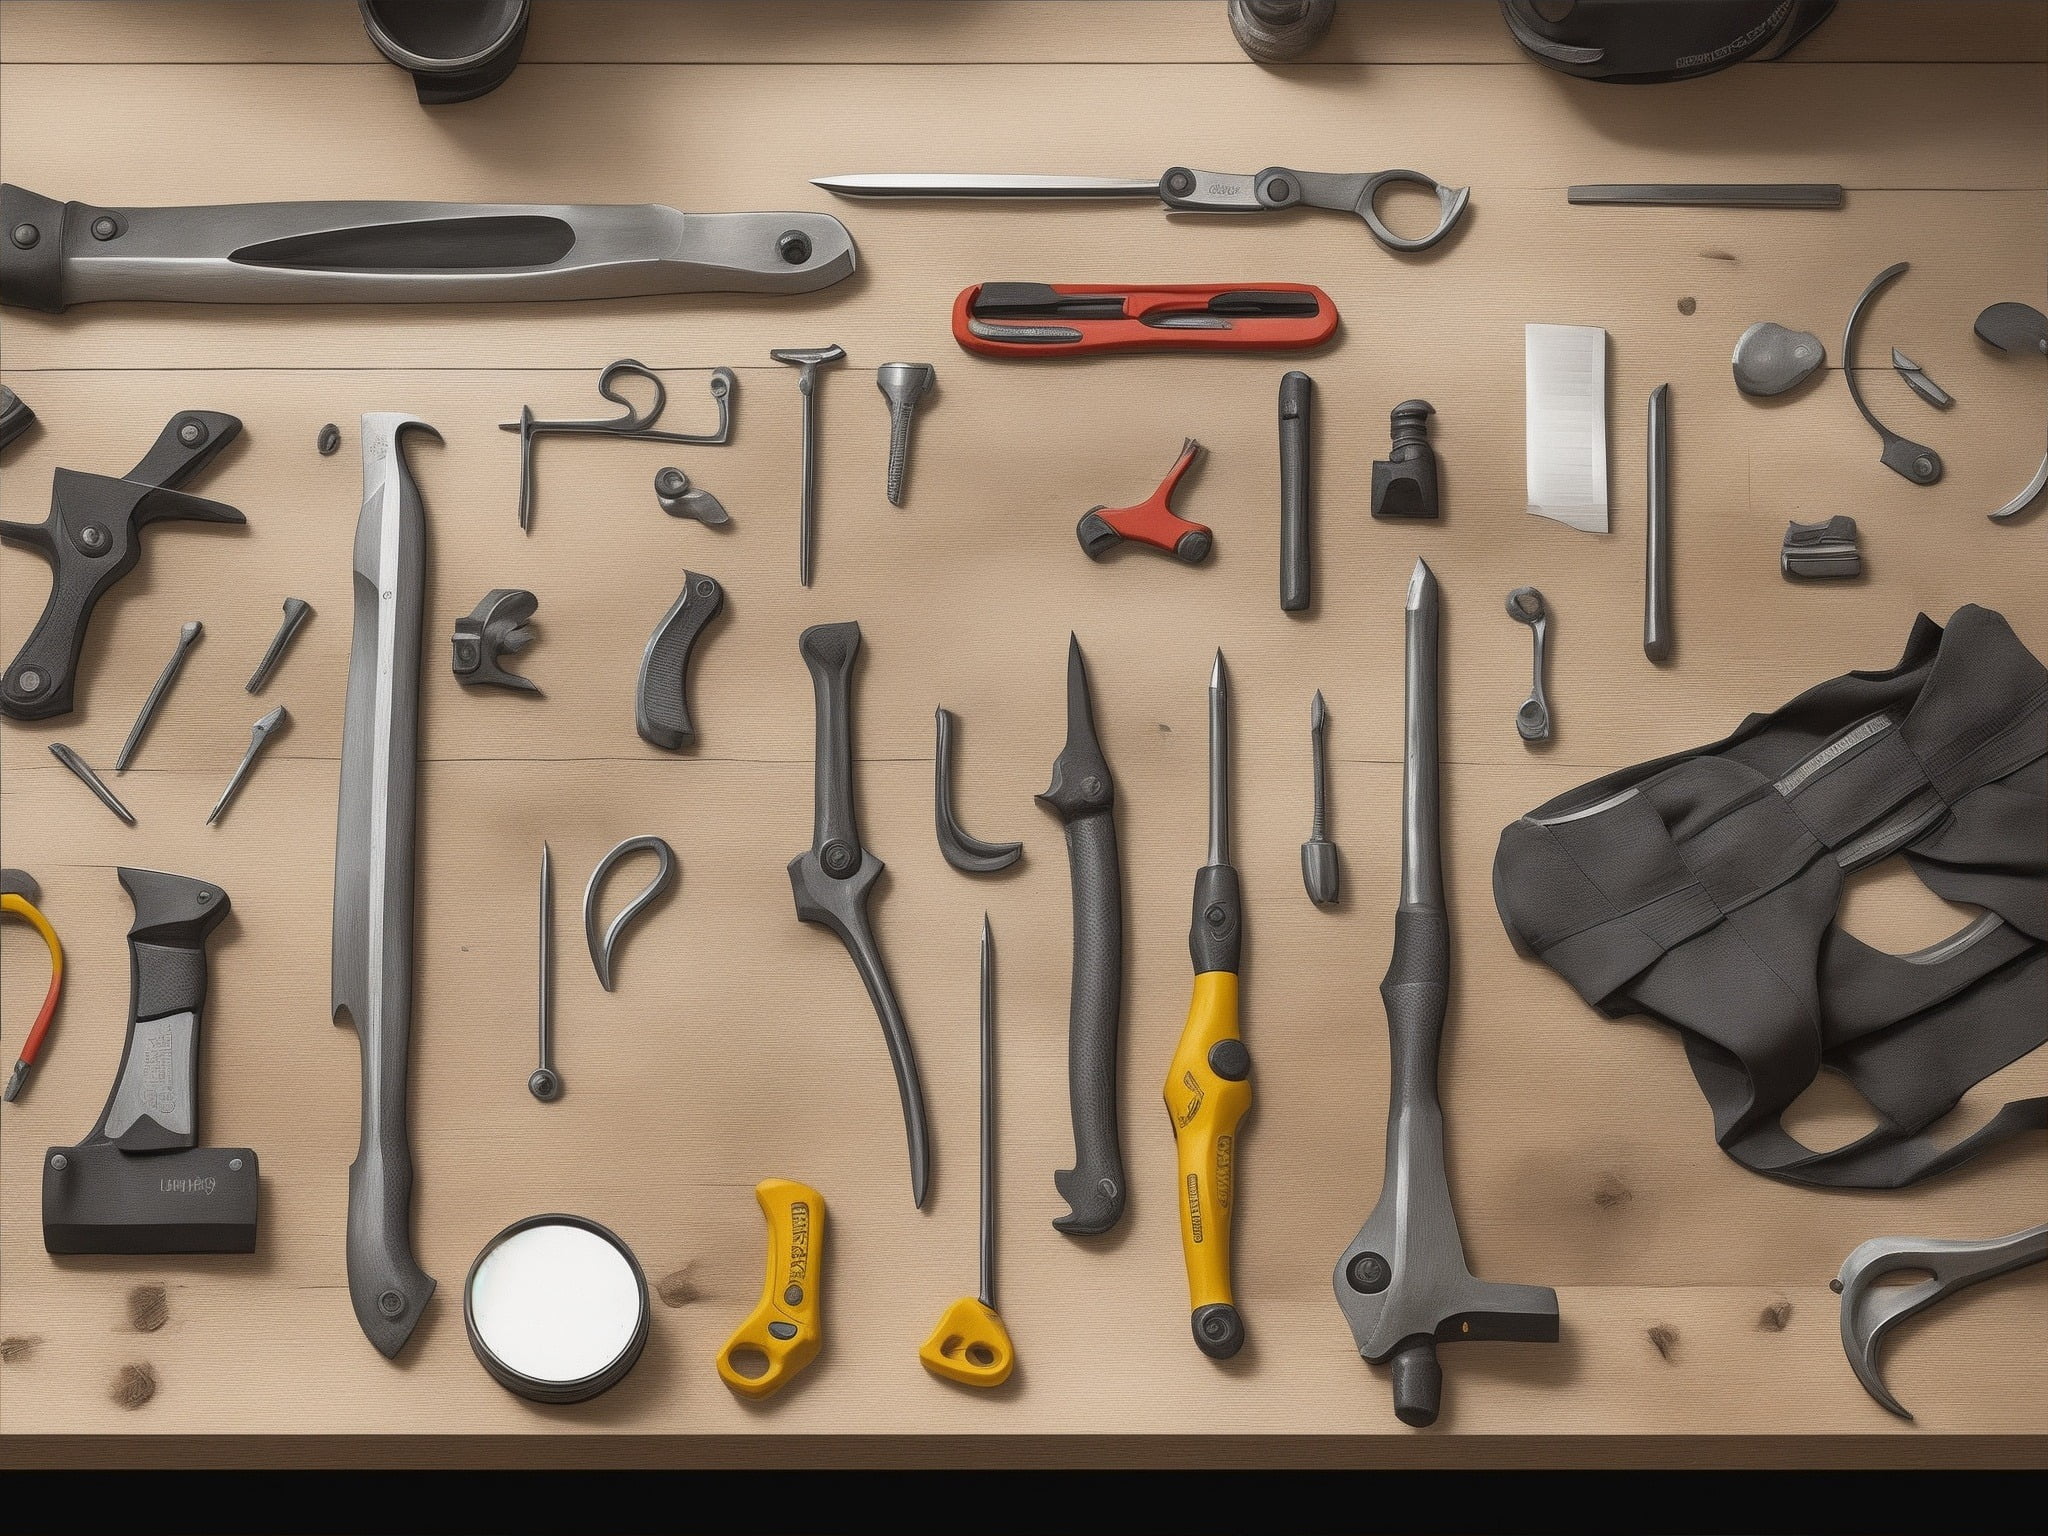
Repairing screened in porch will require a skill which is not easy. Porch screen is one of the structures at home that can take a lot of abuse over the years.
It has a great durability, but those abuses can eventually cause the porch screen to stretch and wear.
So, how do you repair the porch screen? Here are things you need to know.
It is better to patch the rip or damaged screened porch rather than replacing the existing porch screen with a new one. The tutorial is explained below.
First, you have to determine what the screen material is made of. Simply grab the screen and feel it. For metal screening, the loose strands are wire and of course it feels metallic. Fiberglass screening itself feels more flexible, smoother, and similar to plastic.
Then, measure the hole or rip using a tape measure in the damaged screen. You may want to pay attention to the largest rip or hole if there are several rip in the existing screen.
Cut a square or rectangular piece of screening for at least 1 to 2 inches larger than the rip. The size of the fresh piece you use as a patch will be determined by how large the rip is.
You will need to unravel the screening material then pull some strands. Pull the vertical strands off the sides and do the same thing to the horizontal ones to the top and bottom of the ripped area. Then, bend the remaining strands to face the existing screen.
The last thing you should do is to apply a pressure to the angled strands over the torn area, then stoop the strands onto the side of the screen in order to make sure that the patch is secured on the original screen.
Furthermore, there are some tips that may be useful for you. Here are some tips related to repairing or patching the screen porch:
Portions of window screening are available at many hardware stores. So, consider to buy a little extra of them and save it for future use.
If the length of the rip on your screen is more than three inches long, or if the rip is close to the door or window frame in area that cannot be patched, then considering to replace the entire screen will be a better option.
Make sure to match the patch material to the original screen material whenever possible. For example, if the original one is made of metal, use a metal screen patch as well.
It is better to check on your screened porch regularly to make sure that it is not damaged or to know whether the porch screen is about to be repaired.
In conclusion, there are things you need to do in order to repair the damaged screened porch. The repairing activities will need your handy skill, so you have to be careful if it is your first repairing something. Rather, if you are in doubt of repairing it by yourself then you can call a professional to do the job.
A great shape cabinet should not make any sound when you open and close them. Unfortunately, the humidity could make rust, thus creating the disturbing sound each time you move the door.
To solve this problem, you need to clean the hinges and apply some oil. Unless you have time to do regular cleaning every week, be thorough while cleaning. If needed, detach the screws.
2. For Unbalanced Cabinet Doors
The culprit of this case is shallow screws. As a result, the hinges are not strong enough to hold the door steady on its place.
You can easily see protruding screws when opening the cabinet. Support the tilted door to its original position with your left hand. Then adjust the screws with your right hand.
The most common hinges for cabinet is the Euro type. To adjust, find the depth and side screw. They are nailed on the horizontal bar, attached to the inner board of the cabinet.
First, you need to lose both screws. Then perfect the position of the door. Hold the door steady while tightening the screws.
If both cabinet doors have unbalanced position, finish one door first before moving to the other door. While adjusting the screws, use a manual screwdriver instead of cordless drill. The cordless one might do further damage not only to the screws, but also to the cabinet.
3. For Loose Screw Holes
When you know that the hinges have problem, the immediate action is to observe the installation. Then you might find that the screw holes are bigger than the screws. No wonder, the hinges cannot work properly to hold the door. To repair this damage, grab screwdriver, hammer, toothpick, and wood glue.
Start the reparation project by removing the screws on the hinges. Clean both screws and the hinges, since you will re-install them again. Find small cup to put the wood glue.
Don’t be too generous, the holes are small, pour just the right amount. Scoop the glue with toothpick and push it to the holes. Make it tidy: no glue outside the holes area. If you spill the glue, trim the excess by using knife.
You don’t need to wait until the glue totally dried. Half-dried is enough; it will help the screws to get fixed position. Adjust the door to its straight position and put the hinges back.
Remember to tighten the hinges’ grip with screws. Do the same process for another door. Once you are finished, close the door and allow the glue to dry for an hour before use.
Weather and humidity are the main reasons for loose hinges. None of these factors could be restricted or prevented. Once you notice that the cabinets are broken, it is suggested to immediately fix them. Ignoring the unmatched doors for too long might result in worse damage. Therefore, mastering the repairing steps is important.
Everyone loves the idea of saving some cash by tackling home repairs on their own. While it’s great to be self-reliant, DIY home repair, especially for beginners, can be tricky. But fear not! Whether you’ve just bought your first home or simply want to take on some minor home improvements, this guide offers some essential DIY home repair tips for beginners.
1. Know Your Limits 🚫
It’s essential to understand what you can and cannot do. If a job requires specialized skills or is potentially hazardous, consider hiring a professional.
Important Note: Always turn off the main power when working with electricity to prevent potential accidents.
2. Invest in Quality Tools 🛠️
Your tools can make or break your project. Invest in a basic set of high-quality tools. They’ll last longer and make the job easier.
Essential Tools for Beginners
Use
Hammer 🔨
For nails, fittings, and small demolitions
Tape Measure 📏
Measuring spaces accurately
Screwdrivers (Flat & Phillips) 🔩
Tightening or loosening screws
Adjustable Wrench 🔧
Loosening and tightening bolts
Pliers 🔗
Gripping, bending, or cutting wires
3. Stay Safe ⛑️
Safety should be your top priority. Always wear safety glasses, gloves, and ear protection when necessary. Ensure your workspace is well-lit and free from potential hazards.
4. Research and Learn 📚
Thanks to the internet, there are countless resources available. From videos to how-to guides, take advantage of these resources and educate yourself before diving into a project.
5. Start Small 🏠
For many beginners, the enthusiasm to engage in DIY home repairs can sometimes overshadow the necessary foundational experiences. It’s easy to get inspired by extensive renovation shows or ambitious online tutorials, but it’s crucial to remember that every expert started with the basics. Starting with smaller, more manageable tasks allows you to learn, make mistakes without significant consequences, and steadily build confidence. Here’s how you can navigate your initial DIY journey:
a. Identify Simple Repairs
Before jumping into a wall demolition or complete room makeover, consider tasks like:
Fixing a leaky faucet or replacing a showerhead 🚿
Painting a single room or wall 🖌️
Replacing old door knobs or cabinet handles 🚪
Sealing small cracks or holes in walls 🧱
b. Practice Makes Perfect
Repeatedly practicing small tasks helps cement the foundational skills you’ll need for more extensive projects. For instance, before wallpapering an entire room, practice applying and smoothing wallpaper on a smaller section or a mock-up board.
Tip: Many local community centers or hardware stores offer workshops for beginners. These can be a great place to hone your skills and get hands-on experience.
c. Document Your Progress
Maintaining a journal or photo diary of your DIY tasks can be incredibly rewarding. By tracking your progress, you can visibly see how much you’ve improved, which can be a great motivation booster.
d. Celebrate Small Wins
Every completed task, no matter how minor, is a step forward. Don’t dismiss your achievements just because they seem trivial. Celebrate them! Whether it’s the perfectly painted wall without streaks or the newly installed shelf that’s level, each success adds to your DIY prowess.
e. Learn From Mistakes
Mistakes are inevitable, especially when starting out. Instead of feeling discouraged, treat them as valuable learning opportunities. If that shelf isn’t perfectly straight or the paint dripped in a few spots, assess what went wrong and keep those lessons in mind for next time.
Embarking on your DIY journey with smaller tasks creates a foundation of skills and confidence that you’ll draw upon as you tackle more ambitious projects. So, embrace the learning curve, celebrate every milestone, and remember that every expert was once a beginner too! 💪🏡
Tip: Fixing a leaky faucet or patching up a small hole can be a great starting point.
6. Plan Ahead 📆
Every successful DIY project starts with a well-thought-out plan. Planning not only ensures that you have all the materials and tools you need, but it also helps you understand the steps you need to take, anticipate potential challenges, and set realistic expectations. Here’s how you can effectively plan your home repair tasks:
a. Understand the Problem
Before diving in, make sure you’ve correctly identified the issue. Whether it’s a leak, a crack, or a malfunctioning appliance, understanding the root of the problem will guide your repair process and determine which materials and tools you’ll need.
b. Gather Materials and Tools
Once you’ve determined the problem, list down all the tools and materials you’ll need. Visit your local hardware store with this list in hand. Being well-prepared reduces the chances of unnecessary interruptions mid-repair because you forgot a crucial item.
Note: When buying materials, it might be wise to purchase a little extra, especially for things like paint or tiles, to ensure you have enough in case of mistakes or for future touch-ups.
c. Set a Timeline
Estimate how long the repair might take and then add some buffer time. This way, you won’t feel rushed. For more extensive repairs, breaking the task down into smaller steps and setting milestones can help make the process more manageable.
d. Prepare Your Workspace
Clear the area where you’ll be working. Remove any furniture, decorations, or other items that might be in the way. Lay down protective sheets if you’re painting or doing anything that might get messy.
e. Have a Backup Plan
Despite our best efforts, things don’t always go as planned. Maybe the repair is more complicated than you thought, or you discover another underlying issue. Having a backup plan means knowing when to call in a professional or being prepared to adapt your strategy if things go awry.
By meticulously planning ahead, you set yourself up for success and reduce the chances of encountering unexpected hurdles during your DIY home repair journey. Remember, preparation is key! 🗝️
7. Avoid Shortcut Methods 🚫
Although it might be tempting to find a quicker solution, shortcuts can lead to bigger problems in the long run. Always follow the recommended procedures.
8. Always Measure Twice 📏
This old adage is gold: “Measure twice, cut once.” This helps prevent wasting materials and ensures accuracy in your projects.
9. Seek Advice 💡
If you’re uncertain about something, ask! Whether it’s a friend, family member, or a professional, getting a second opinion can be invaluable.
10. Clean as You Go 🧹
Keep your workspace tidy. Not only does it make the process more enjoyable, but it also helps prevent accidents and misplacing tools.
In conclusion, DIY home repair for beginners doesn’t have to be a daunting task. With the right preparation, tools, and mindset, you can tackle many home repair projects on your own. Remember, it’s okay to seek help when needed, and most importantly, enjoy the process and the satisfaction of a job well done!
Before you can paint the bedroom furniture, you need to prepare the furniture so that it can absorb the paint well.
Instead of sanding it, you can use oil bond which will make the furniture cleaner and make the paint itself last longer. In applying this oil bond, you just need to wipe it on the furniture you want to paint without sanding it first.
Then, you need to allow the old bond to dry by leaving the furniture for a day. After it has completely dried, you can apply the paint on the furniture with the latex paint.
Another benefit that you will get if you use this oil bond for your furniture is that you do not need to apply layers of paint to the furniture itself. The furniture will look as good as new by only using one layer of paint.
After the oil bond on the furniture is completely dried, the next thing to do is to paint it using the latex paint. There are kinds of latex paints with different kinds of glosses and you can find them almost everywhere.
The cheaper latex paint will do the trick, but you will need more latex paint for coating if you want full coverage. You can choose any kind of latex paint you want, but it will definitely give different finish compared to others and you definitely need a good quality latex paint to cut the time since you can get the full coverage in one coat.
2. Making Non-matte Finish with Chalk Paint
Chalk paint has been used as the furniture painting by lots of homeowners. This kind of paint gives you non-matte finish to the furniture and you can literary use it as a chalkboard.
Nowadays, there are lots of chalk paint brands that you can choose and they come in different colors. Chalk paint is actually used to paint many things, including woods, and you can use chalk paint to paint the furniture without having any preparation before.
Besides, you do not need to worry if the chalk paint spilled the floor or carpet, you can easily remove it using dish soap or detergent with little water. However, you are still suggested to cover the floor with unused paper or cloth to avoid spilling paint.
Compared to the chalk paint, the mineral paint is much more expensive since the quality is better. The mineral paint is using the ingredients from nature that makes it last longer and it will also protect your furniture from UV light. Besides, it will make the furniture water-proof and it will give the deep color look.
In painting the furniture using the mineral paint, you just need to stoke your brush once and you will get the color you want instantly. The furniture painted with the mineral paint will not show the line of the brush since it gives the smooth finish and you do not need to cover the furniture using the wax.
4. Mixing Milk Paint and Bonding Agent
If you like something vintage, painting the furniture using milk paint and bonding agent will do the trick. Actually, you can buy the mixture of the milk paint and bonding agent at once or you can buy them separately then you can mix the ratio based on your needs.
The bonding agent here will make the milk paint stick to the furniture better and it will make the full coverage for the furniture. Adding the bonding agent to the milk paint will make the texture of the paint itself thicker. You can use the mixture for the first coat and only use the milk paint for the next coat.
5. Bonding Primer
Using the bonding primer to paint the bedroom furniture is actually much more similar to using the oil bond. In painting the furniture, you just need to do a thin coating and leave the paint to dry before you can paint it with the paint you want.
Another advantage that you will get by using a bonding primer is that it is cheaper and it will help you to cut the time when painting the furniture.
To get the best coverage, you need to find a good quality bonding primer since it is designed as a base coat and it will make the paint stick well to the furniture. By using the bonding primer, you can get a glossy finish for the furniture and if your child accidentally draws the furniture using crayon, you can wipe it easily using the wet cloth.
6. Using Deglosser or Liquid Sander
The last way to paint the furniture without sanding is by using deglosser or often called liquid sander. It works perfectly if you have a glossy furniture and you want to repaint it.
Of course, you need to remove the gloss before you repaint it and using the deglosser will do the trick. In using the deglosser, you just need to soak a rag or a sponge in it and wipe the furniture with the rag or sponge.
If the furniture is too glossy, you can wipe it twice or more to remove the gloss. Before you can paint the furniture, you will need to let the deglosser to dry for about 15 minutes.
Since deglosser is made from chemical, it really stinks and you need to wear gloves or protective eyeglasses to prevent the side effect of the chemical.
Using the above ways to paint bedroom furniture without sanding will be very helpful for you, especially when you are buying the furniture from the thrift store. By doing so, you do not need to waste your time anymore on sanding the furniture and you do not need to break a sweat.
Originally posted 2020-10-21 11:18:16.
Manage Cookie Consent
To provide the best experiences, we use technologies like cookies to store and/or access device information. Consenting to these technologies will allow us to process data such as browsing behavior or unique IDs on this site. Not consenting or withdrawing consent, may adversely affect certain features and functions.
Functional
Always active
The technical storage or access is strictly necessary for the legitimate purpose of enabling the use of a specific service explicitly requested by the subscriber or user, or for the sole purpose of carrying out the transmission of a communication over an electronic communications network.
Preferences
The technical storage or access is necessary for the legitimate purpose of storing preferences that are not requested by the subscriber or user.
Statistics
The technical storage or access that is used exclusively for statistical purposes.The technical storage or access that is used exclusively for anonymous statistical purposes. Without a subpoena, voluntary compliance on the part of your Internet Service Provider, or additional records from a third party, information stored or retrieved for this purpose alone cannot usually be used to identify you.
Marketing
The technical storage or access is required to create user profiles to send advertising, or to track the user on a website or across several websites for similar marketing purposes.