Tag: Flooring

  • DOs and DON’Ts Installation Guide: Kitchen Floor Laminate, Vinyl, and Wooden Tips

    DOs and DON’Ts Installation Guide: Kitchen Floor Laminate, Vinyl, and Wooden Tips

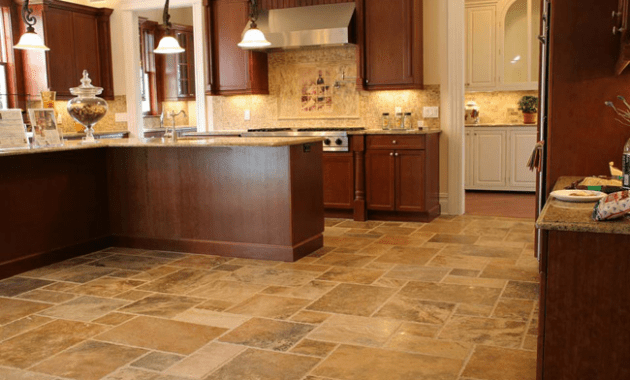
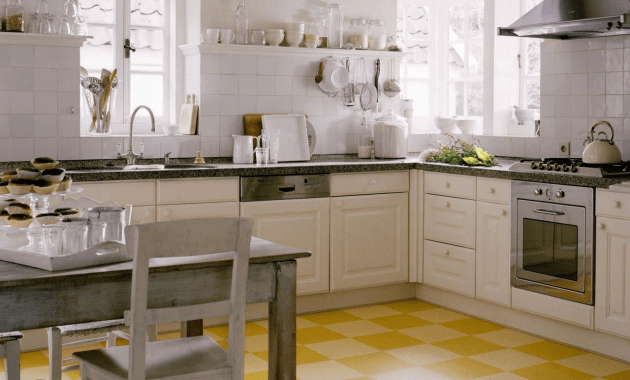
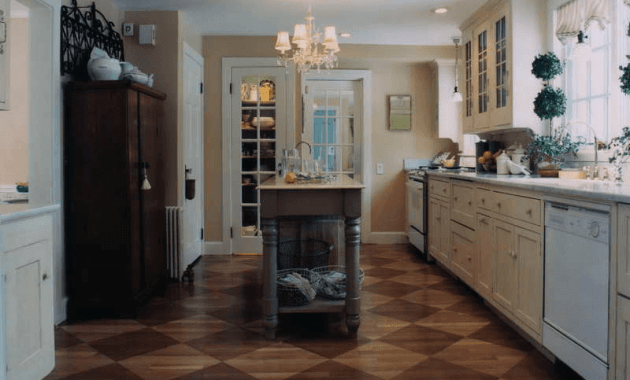
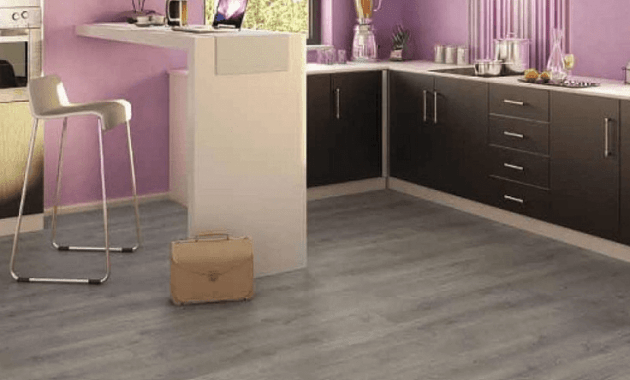
    Whether you want to try to install laminate, vinyl, or wooden kitchen floor, you will still need a guide to do that.

    Therefore, these installation tips on things you should do and things you shouldn’t do will help you to get it done.

    Now, just keep on reading until the end of the paragraph. Here you go!

    Read also: Knowing kitchen flooring tile material types and its characteristic.

    DOs AND DON'Ts KITCHEN FLOOR INSTALLATION
    Image: HGTV.com

    DOs

    First, let’s begin with the things you should do to install your flooring. Here is what you need to know:

    1. Research for the Types of Your Flooring

    The first thing you should do is researching on the types of your flooring, whether you are going to install laminate, vinyl, or wooden floor.

    The reason is because you need to know the best floor material that has durability to withstand all the foot traffic you expect.

    1. Inspect Every Plank for Any Damage

    After you buy the floor material, make sure to inspect every plank for any damage before starting the installation. This is required to be done to prevent any unnecessarily things to do during the installation.

    1. Hire a Professional to Install the Flooring

    If you are an inexperienced installer, then it is best to hire a professional to help you with the floor installation. However, you will need to prepare some extra money to pay them up.

    1. Study the Maintenance and Warranty Details of Your Flooring

    The last thing you are supposed to do is to study the maintenance and warranty details of your flooring. Keep in mind that some chemicals and inappropriate installation technique will cause some damages to your flooring. So, be careful!

    Read also: How to clean laminate flooring?

    Kitchen floor vinyl or laminate

    DON’Ts

    Here are the things you are not supposed to do before, during and after the installation:

    1. Walk on Your Flooring after Installation

    You are highly not allowed to walk on your flooring after installation. Instead, let it stand for at least 48 hours, so that the glue down planks is securely set. This means you can avoid any damages on the brand new installed floor as well.

    1. Hammer Planks

    Do not hammer a plank to get it as close as possible to the surrounding planks. You can use a hammer and pull bar to do that instead of hammering in planks. The reason is you will harm the flooring.

    1. Install the Flooring in Rooms with Excess Moisture

    The last thing you should not do is to install the flooring in rooms with excessive moisture. This applies to laminate, vinyl, or wooden floors.

    Laminate and wooden floors are obviously made of wood, thus it can’t withstand any excess moisture. Vinyl floor is made of plastic, but mildew will grow and it will be hard to clean if you install vinyl floor in a room with excess moisture.

    Read also: How to clean kitchen tile floor grout?

    In conclusion, there are things you should take in considerations before, during, and after the flooring installation. Those things include the things you should do and those you shouldn’t.

    Therefore, installing kitchen floor with laminate, vinyl, and wooden flooring should be taken carefully to guarantee its best result.

    Wood floor in kitchen pros and cons
    Image: jatcwoodfloors.com

    Originally posted 2019-10-18 03:14:54.

  • Choices of Kitchen Floors with White VS Dark Cabinets

    Choices of Kitchen Floors with White VS Dark Cabinets

    Do you already have a kitchen yet there is still no floor and cabinets? Do you have trouble in choosing the right color? Well, now you should not worry about it anymore.

    Simply read these following points below about the difference between kitchen flooring with white and dark cabinets:

    Read also: 10×10 Kitchen Cabinet Design Ideas.

    Kitchen Floor with White Cabinets

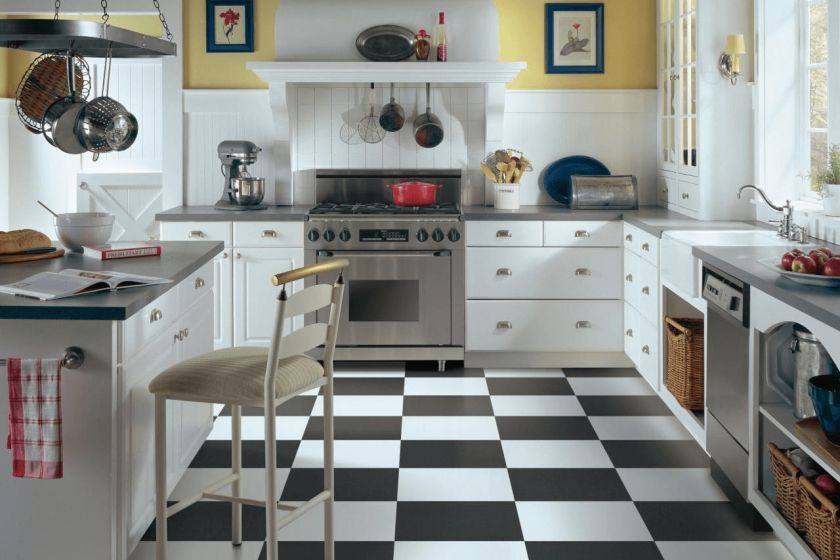
     If we talk about white cabinets, then the right color for the floor should be contrast with it; which is black. But in this case, black is not always the right color.

    Why is it? It is because white cabinets would be great to be matched with wood colors, whether it is bright or dark.

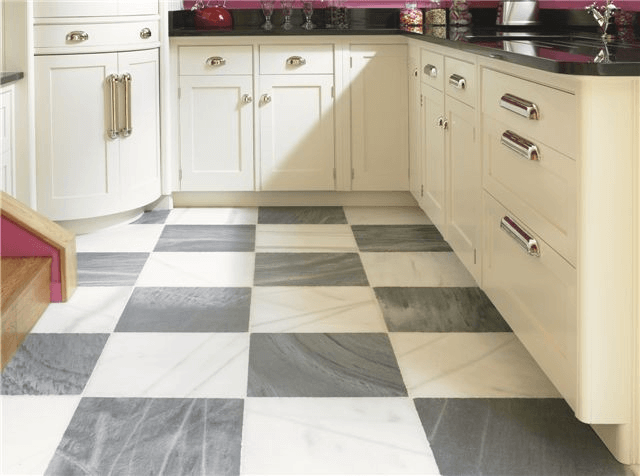
    But of course, wood is not the only flooring capable to match with white cabinets; tiles are also capable to match the white cabinets.

    Even French-style flooring, that uses limestone materials, would be great if it’s matched with white cabinets. Therefore, you should see whether the rest of the rooms match with the flooring color.

    Kitchen floor ideas with white cabinets
    Image: modelhomedecorideas.com

    Also, if you want wood as the kitchen flooring, you need to check your budget first because you surely want the best flooring material. Wood material like oak, cherry, and maple are called hardwood and like its name, it is hard, strong, and durable.

    If you find pine is a lot cheaper, it is because pine is also called as softwood which has bad durability as it is easy to break. If you seek elegance and class, you might want to install marble flooring. Kitchen floor with white cabinets are meant for bright atmosphere.

    Kitchen Floor with Dark Cabinets

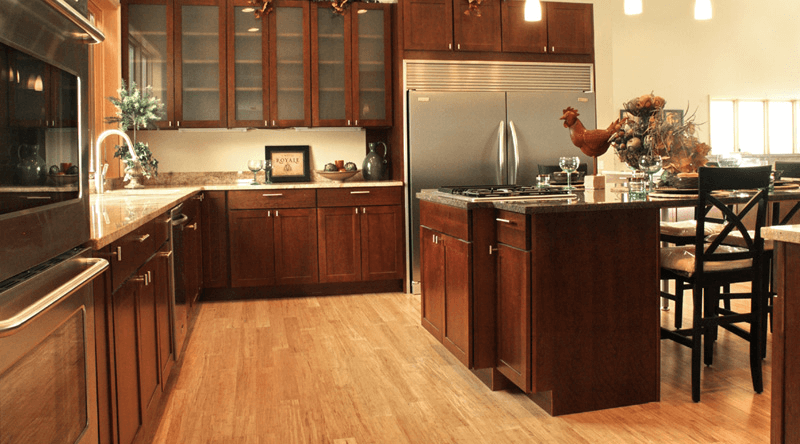
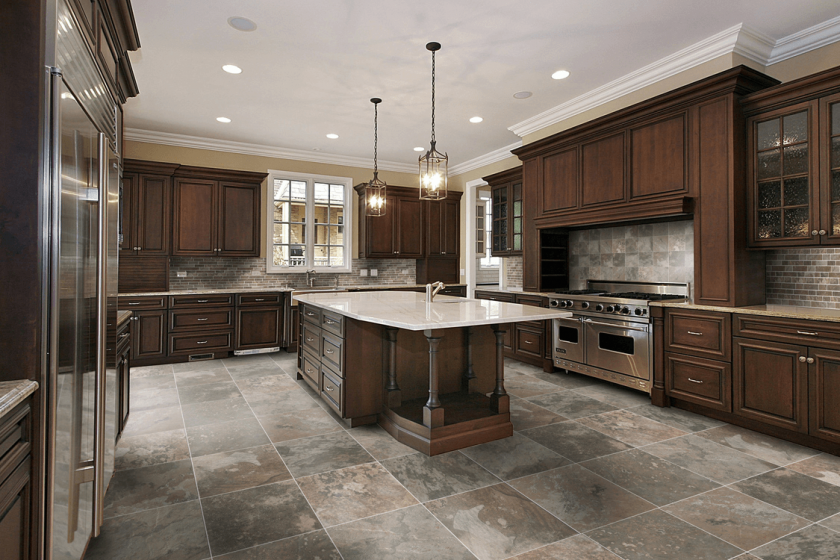
    There are many types of flooring that you can choose to balance the dark color of the dark cabinets. Well, not everything has to be contrast; it all depends on the purpose of the flooring. If you seek dark kitchen with class and a touch of dark color, then you should install flooring with dark wood.

    Combining them will surely give the kitchen a classy, elegant, and also professional look. Wood is also known to give rustic ascent to the room the flooring is in.

    In this case, your kitchen will get that rustic accent. To give it a contrast touch, you might want to use white oak wood or ash wood.

    Ash wood is more recommended because the color, texture and durability are better than white oak. To give an elegant, contrast, and traditional look to your kitchen, you should consider using travertine flooring.

    For more traditional look, use limestone. Limestone is often used to enhance the traditional and village-ish kitchen look. Dark cabinets show elegance and class; so the best flooring materials to balance it are ash wood and dark wood.

    Kitchen floor ideas with dark cabinets

    There is no direct answer of which one is the best type of flooring. The answer lies within you. Like what has mentioned before, it all depends on the purposes and personal preference. Now that you have known the materials of the flooring and its benefits, what material of your flooring will be?

    Kitchen floor and cabinet combination image gallery:

    WHITE VS DARK CABINETS IN THE KITCHEN

    Originally posted 2019-10-17 11:28:23.

  • Knowing Kitchen Flooring Tile Material Types and Its Characteristic

    Knowing Kitchen Flooring Tile Material Types and Its Characteristic

    Are you trying to find the best option for your kitchen flooring? Give some minutes to find more about it before heading to the store.

    Never think that floor is a mere interior. There are lot activities you will do on it. Don’t forget about the maintenance too including sweeping and cleaning.

    Pick the style you like which helps you with the chores later.

    Read also: How to get new trend kitchen flooring.

    MOST POPULAR KITCHEN FLOORING TILE MATERIAL

    The Materials

    Kitchen flooring has more than five options of material you could choose. Each one comes with its strength and weakness.

    • Hardwood

    This item is for nature lovers. Made from 100% original wood without any mixture, this product glows beautifully under your feet. It fits for plain colored or vintage style kitchen. The thumb down is it could not stand high humidity.

    How to clean hardwood floor stains

    • Engineered Wood

    It is the copycat of hardwood. Instead of going all natural, the manufacturer adds some layers of scattered woods and stone dust. This addition fights humidity better than hardwood. In addition, this type is easy to install.

    Varnishing wood floors without sanding tips

    • Ceramic Tiles

    Made by adding clay and shale together, this product has been baked thoroughly and produced various glow in each product. It is easy to mix the color to your taste, especially if you love patterns.

    Be careful when dropping cups or plates: they will instantly break into pieces. Due to baking process, the surface is quite sturdy.

    How to clean ceramic tile floors and grout?

    • Bamboo

    Almost similar to hardwood, this flooring type has natural feel thanks to the strain of bamboo. No wonder, the surface has similar texture to real bamboo. It has triple combos: durability, beauty and longevity.

    • Travertine

    Taken from the area around the hot spring, travertine offers the charming colors of minerals mixture. This stone is probably one of the oldest floor material.

    It is easy to cut to fit any desired shape. Because of its adorable colors, you can also find this stone type as garden path or patio decoration.

    • Laminate

    Just like its name, laminate flooring has plastic cover on the surface. It is made from layers of plywood or compressed fiber.

    The good thing is you can get the look of the other materials: wood, bamboo, stones. Many people choose it for its high durability, easy maintenance, and simple installation.

    How to clean flooring laminate?

    • Vinyl

    If you want something soft to step on, then this is the most suitable one for you. It has foam under its surface. Even so, this is one of the most durable material in the store. It is could also resist the scratch and stain.

    How to remove mold from vinyl siding in a right way?

    • Linoleum

    This one is especially made for those who love green products. The raw materials are renewable, such as cork and linseed oil. The vibrant color comes from the mineral pigments. Pick the one with coating to protect from scratch and stain.

    You can easily notice that there are a lot of flooring types just from the picture. Moreover, the tiles for each area are designed to support the activities in that specific area. Each of them also calls for different level of maintenance. Also, some types of flooring may create fatal blow to any furniture that slip from your hand. Comparing the good and bad, you have to make the final decision for your kitchen.

    Originally posted 2019-10-16 10:16:42.

  • Nice Tips to Follow Kitchen Flooring Trends

    Nice Tips to Follow Kitchen Flooring Trends

    There are many trends of kitchen flooring that you can apply in your kitchen. Maybe some of you are still confused in choosing the right trend that will go well in your kitchen.

    In other words, it must fit well with the furniture in the room, the space, and all functions in the kitchen.

    These nice tips may help you to choose and follow the right kitchen flooring trends.

    Most Popular Kitchen Flooring Design Ideas.

    HOW TO FOLLOW KITCHEN FLOORING TRENDS

    1. Feels Cozy Like in the Bedroom

    Some people want their kitchen feels like the bedroom. It means that the atmosphere of the kitchen must be cozy and comfortable. Imagine when you wake up in the morning, and then enjoy your breakfast there.

    What do you need? There is some solution. You can apply a premium plush and super-soft carpet flooring that makes you comfortable. If you find it hard to clean it up, hardwood is another option for you.

    2. Tends to Track in Lots of Dirt and Mud

    Do you often use the kitchen for cooking or baking a cake? Is your kitchen near the garden that it gets dirty easily? You need kitchen flooring that is easy to clean.

    The porcelain or ceramic tiles are the best materials for it because they are low-maintenance. You only need to sweep and mop it to clean the surface.

    Moreover, these materials are durable even for a heavy duty kitchen.

    How to decorate kitchen wall tiles

    3. Something Trendy in the Kitchen

    Latest kitchen flooring trends

    The kitchen is one of the icons in your house. Therefore, it should look trendy and marvelous. It will look more natural by using wood and vinyl kitchen flooring.

    Choose the neutral color, such as gray to make the hue in flooring looks better. If you want an elegant atmosphere in your kitchen, cork or marble kitchen flooring are the best options.

    In addition to strong and durable material, these flooring are able to deliver a great impression of luxury with its exotic colors.

    4. Create a Child-Friendly Kitchen

    The kitchen can be transformed into a safe and comfortable playground for the children. You can actually use rug or carpet flooring in the kitchen so it is comfortable for the kids too.
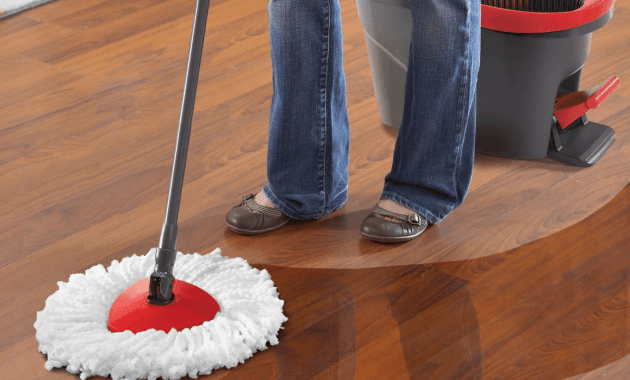
    These materials are very soft and safe. If you feel these materials are difficult to clean, you can prefer on using fiber polypropylene or nylon material as an alternative. It will be easier to clean and it is still comfortable to use with the kids.

    5. Suitable for Rambunctious Pets

    The existence of pets in the house can become a source of joy for the owner. What if you have rambunctious pets? The use of kitchen flooring must be adjusted to it.

    You cannot use carpet because it will be torn apart once your pets bite it. Wooden floor? It is a bad idea since it can get scratched easily.

    The best options will be ceramic-tile or laminate flooring. They are durable and easy to clean. They make great flooring for your pets as well.

    How to clean Flooring Laminate

    Do not get caught with the cheap or outdated kitchen flooring. Make a small research before you choose the best trend to follow for your kitchen floor. Consider about the durability, style, and ease in cleaning the flooring, as well as the function of the kitchen itself. Not every trend is worth to follow. Adjust your choice with your need and preference.

    Kitchen floor tile trends

    Originally posted 2019-10-16 01:47:00.

  • Varnishing Wood Floors without Sanding Tips

    Varnishing Wood Floors without Sanding Tips

    Varnishing is the important thing to make the wood floors in the house look fresh and new. The damages and scratches can be covered with the varnish.

    However, many people like to use the simple way in varnishing. It means there are no dents or deep scratches in the surface of the wood. In other word, there is no sanding step.

    So, can this be done? Here are the steps for you to varnish wood floors without sanding.

    Read also: How to Clean Marble Floor Stains?.

    HOW TO VARNISHING WOOD FLOOR WITHOUT SANDING

    1. Clean the Floor

    The first thing you need to do is to clean the floor. You can use floor cleaner that has a pH neutral or maybe just warm water. Use damp rag or mop to wipe the wood floor.

    Do not ever drench the floor directly because there is a possibility of causing damage to the wood by water.

    re varnish wood floor

    2. Find Out Whether the Floor Has Been Done with a Lacquer or an Oil Based Product

    It may be difficult to distinguish between a lacquered floor and an oiled floor for the amateur. You should know when the floor was fitted in your house.

    To make it easier, here are the differences between them. Lacquered floor has a lighter color and shinier than the oiled based. Then, its surface is easier to clean from any stains.

    Meanwhile, the oiled based color tends to be darker with a prominent orange color. The surface is also easily to be stained and it often leaves marks afterwards.

    If the floor is lacquer based finish, varnish it with Polyurethane lacquer. For the oil based finish, you should consider using a Hardwax oil.

    wood floor varnish


    3. Lightly Abrade the Surface of the Wood Floor

    You can use either a buffing machine (120-grit mesh) or just sand paper it using your hand (120 bit) to rub the surface of the floor. It is important to make the floor flat and not wavy.

    Rub the floor methodically from up to down to make sure that there is no spot left not abraded. Don’t give too much pressure down and don’t go too thoroughly.

    4. Vacuum the Floor

    After the surface of the floor has already abraded, clean the remnants of dust and dirt by vacuuming. This way is better than sweeping it using broom because the dust will just keep coming back.

    Make sure that the floor is free of dust slowly and methodically. In the end, the surface will be completely flat after varnished.

    5. Lacquer or Oil the Floor

    Finally, varnish the floor. Read the instructions before you varnish the surface with lacquer or oil. For the best results, if you use the lacquer, use a medium pile roller to varnish the floor for correct coverage.

    Meanwhile, if you use the oil one, take a short pile roller. Varnish it carefully and methodically so there is no spot that remains uncovered.

    Wood floor varnish finish
    Image: diynetwork.com

    It is simple, right! Moreover, it will not cost much money to make your wood floors look good again. Make sure the varnish is already dry before you use it or place the furniture on it. It is a great solution for you to varnish the wood floor without sanding.

    Home flooring image gallery:

    Originally posted 2019-10-01 05:01:20.

  • Clean Oil off Garage Floor Effectively at Affordable Cost

    Clean Oil off Garage Floor Effectively at Affordable Cost

    Oil or grease stains make your garage floor look bad. Moreover, its stickiness to the floor yet slippery on the top texture may also cause falls and hard to clean tracks into your house, and ruin your shoes.

    Cleaning and coating the floor are the step that must be done to make the garage look better. Nevertheless, how to clean it effectively and at an affordable cost?

    Here are the ways that actually work to clean oil of from your garage floor.

    Read also: How to Clean Oven Quickly.

    HOW TO CLEAN OIL FROM GARAGE FLOOR

    1. Pour the Mixture of Ammonia

    Using this way is not too dangerous as you think if it is done correctly. Mix one cup of ammonia to one gallon of water.

    Then, scrub the stains using the mixture of ammonia until it is removed. Rinse the floor after all the steps are completed.

    2. Spray the Oven Cleaner

    Because it has the same function in cleaning the oil stain, the oven cleaner can also be used in removing the oil droppings on the garage floor. Spray the oven cleaner to the spot and let it settle for ten minutes.

    After that, scrub the mess with a bristle broom and rinse it off. If you have a severe stain problem, it will require a second application to clean it.

    Read also: How to clean garage floor for painting

    3. Use Soda

    Soda can also be used in cleaning the nasty oil stains on the garage floor. You only need a few cans of soda. Then, you also need to prepare these following tools: a small bag of cat litter, laundry detergent, bleach, a stiff bristle broom, bucket, rubber gloves, and eye protection.

    The steps are easy to be followed. First, you need to cover the floor with a thin layer of cat litter. Brush it with evenly distributed motion.

    Then, clean up the litter and pour the cola on that spot. Flatten it by using the bristle broom and leave the cola for about 20-30 minutes.

    While waiting for the cola works, mix ¼ cup of laundry detergent and ¼ cup of bleach into 1 gallon of warm water. Finally, clean the mess by the laundry detergent mix and mop it up.

    4. Pour the Mixture of Baking Soda

    This way can be done easily because the tools are easy to find in your house. Mix the baking soda with the laundry detergent.

    Then, add a little water to make it easy in applying to the stains. Scrub the stains with the mixture and let it settle for 20 minutes. After that, brush it with bristle broom and rinse it with clean water.

    5. Spray the WD-40

    WD-40 is usually used for motor oils. This penetrating and water-displacing oil can also be used to clean oil stains on your garage floor. It is simple to be done. Just spray the oil stain spots and brush as necessary. Then, hose it down by water to remove the dirt remains. The garage floor will be perfectly clean.

    Read also: How to Clean Garage Floor for Painting.

    So, what do you think? Do not make your housework harder. By using these simple ways to clean the oil stains off, you will get your garage looks better and faster. In addition, the ways above only use tools that are easy to obtain and they solve your problem at an affordable cost.

    Cleaning tools gallery:

    Originally posted 2019-10-01 00:05:57.

  • Top 10 Best Wood Floor Cleaner Product You Should Try Today

    Top 10 Best Wood Floor Cleaner Product You Should Try Today

    Wooden floor is always a great feature to have in a house. While it makes a perfect base for all styles, it actually looks stunning that elevates the house value. It isn’t entirely durable, but you can keep the look for a longer time with enough care and cleaning. These solutions are claimed to be the best wood floor cleaner product below.

    Best wood floor cleaner product
    Best Wood Floor Cleaner Product

    Read also: How to Stain Wood Furniture Darker. Ultimate Guides!

    1. Pledge Gentle Wood Floor Cleaner

    This solution is highly recommended for its great result and for its practicality. The application is pretty unique. Instead of diluting or spraying the solution, you can simply squirt it on the floor. This is specifically practical when you want to clean a large area with wooden floor. It gives you fast cleaning process.

    While it is fast in application, it is actually really clean as well. Some customers claim to use it on other furniture and window cleaning as well. It can be hard to find sometimes, but it should be available on several sizes and price is around $11 to $42. 

    2. Orange Glo Hardwoon Floor Everyday Cleaner

    Unlike other solutions, this offers unique smell. Other solutions will smell like chemical and rather harsh. This may get too much for those who are sensitive on this kind of smell. Orange Glo, as indicated by its name, offers citrus smell that stays on your floor. The weather can be humid and bad, but you will smell it fresh anyway.

    This is the best solution when you plan to give your wooden flooring a regular and daily cleaning. You only need to spray and then mop. You can also try the polish this same brand offers for ultimate glossy look.

    3. Method Squirt + Mop Hardwood Floor Cleaner

    This brand is popular among those who like environmentally friendly product. Method uses only biodegradable and plant based material for this solution. It also explains why its strong formula is also safe in case of skin contact. The bottle is plastic, but it is a recycled one, so you can be proud buying this product.

    Customers claim this cleaner leaves nutty smell with fresh and light sensation on your floor. It smells like fresh almond, and this smell stays a long time. It doesn’t leave stickiness or film on your floor at all and it cleans just as effective as you expect it.

    4. Zep Commercial Hardwood and Laminate

    As informed on its name, this cleaner is more a commercial cleaner than anything. However, Zep has been widely used by customers to clean their own home. It smells great and it cleans the floor very nicely just by spraying and mopping.

    If you want to make more use of this cleaner, it is claimed that the solution is also great for crown molding, cabinet doors, and baseboards in addition to the laminate and hardwood floors. However, this isn’t you cleaner if your floor needs waxing or uses oil finish.   

    5. Bruce Hardwood and Laminate Floor Cleaner Refill

    This cleaner is a value product as it is very affordable while it does the job well. Spray the solution on your floor and mop it once. You don’t need to rinse. It clears out smudges and leaves shiny floor as the result.

    This cleaner doesn’t leave any residue and it dries so quickly that you don’t need to worry about your kids slip on it. It is best used for laminate and hardwood floor, and it isn’t recommended to use for floor with wax or oil finish.

    6. Murphy Oil Soap Wood Cleaner

    This cleaner has been around for a hundred years and it has its loyal customers. The reason for this product to survive that long is that it actually works. The smell is like fresh fruits spilled on your floor, and it actually cleans well on laminate and wood floor.

    You can also use this on your tiles, porcelain, and furniture but please leave out the unfinished and unsealed. It can leave a little build up but it should be fine as it can be handled fast.

    7. Bona Hardwood Floor Cleaner Spray

    This cleaner has been around for a hundred years as well and is probably the best right now. It received certification from Greenguard Gold which means you don’t have to worry when you want to use it and there are kids or pets around.

    Spray the cleaner and mop it dry. You don’t have to rinse while it removes grime, dirt, and dust. It leaves a squeaky clean floor that shines without any residue. If there are fanatic customers for this solution, there is a strong reason why you should too.   

    Best Wood Floor Cleaner Product Bona
    Best Wood Floor Cleaner Product. Image: Thespruce.com

    8. Black Diamond Stoneworks Wood and Laminate Floor Cleaner

    While it obviously clean really well, this cleaner is also popular for being effective on harder task. You can clean scuff marks perfectly with a few times of spraying and wiping. Spots will be cleaned in one wipe, and it means cleaning the house is as simple as spraying and mopping once.

    This product is also a top scoring one, making it at the top rates. The price should be around $11.98 per spray bottle, which is a reasonable price for such an effective use. 

    9. Bona Hardwood Floor Premium Spray Mop

    Just as unique, this product is just as effective as you can imagine. Coming from a reputable brand, this cleaner comes with the mop and sprayer in one device. The pad is microfiber and it can be washed and used again and again.

    It sprays the cleaner as wide as the head, giving you effective and faster cleaning. The corners are soft as well, allowing you to reach every corner just as great. You can buy this on around $38.80 rate, which is very reasonable for this excellent tool.

    10. Swiffer Wetjet Wood Starter Kit

    This mop is a little bit pricey as being labeled in $48.99 rate, but it is totally worth the investment. The pad is disposable, and the mop is completed with lights, which is beneficial when it comes to cleaning under the furniture.

    This mop is powered by battery, so the dispenser will spray automatically as well if you want to. The pads are actually completed with scrub as well so you can clean dirt and soil on your floor. It gives you fast cleaning with satisfying result. 

    Originally posted 2022-09-25 03:46:34.

  • Awesome Yellow Bathroom Tile Ideas

    Awesome Yellow Bathroom Tile Ideas

    Bathroom with yellow tile was a hit back then. Somehow, it makes its own way to today’s taste.

    Not only for vintage looking bathroom, a modern-looking bathroom is possible to achieve as well with yellow tiles.

    If you want something different in your bathroom and you need ideas to use yellow tiles, you will like the following ideas.

    Read also: Bathroom Tile Ideas in Grey

    1. Honeycomb Art Yellow Bathroom Tile 

    What is nicer than presenting a honeycomb design with yellow color? It looks just right. To make more creative look, wear honeycomb shaped tiles in yellow on the tub area wall.

    Add a little accent by applying the same tiles in black for the tub wall. The combination of yellow and black never fails.

    However for consistent look, you should use white grouts on the tiles for more defined style. It is completely fine too to wear the same honeycomb black tiles for the entire floor. It makes the yellow color pops more and makes the entire concept works well.

    Honeycomb Art For Yellow bathroom tiles
    Image: mydomaine.com

    2. Bathroom with Yellow Tile and White Mix

    If your bathroom has four walls, wear two of the walls with yellow ceramic tiles. You can arrange the setting like the subway tiles do.

    Then, add white grout for them. It makes a perfect and cheerful combination already. The other two walls should be finished with white tiles in the same arrangement and setting. Instead of white grout as well, they should be enriched with yellow grout.

    Extend the combination with white bathroom amenities and yellow finished fixtures. It gives you enough yellow for summer feeling, yet it keeps thing in balance.

    Yellow and white combination for bathroom wall tiles
    Bathroom with yellow tile

    3. Yellow on Black and White Background Bathroom Tile

    You don’t have to cover the entire bathroom with yellow tiles. Instead, you can focus more in making the yellow focal.

    Let’s start with white tiles with small black squares on it. It should make a perfect floor for the bathroom. Continue to finish the bathroom with these tiles up to half down of the wall.

    Make borders with black slim tiles for strong finish. The yellow tiles should go from the half wall to top.

    Combine the entire concept with white cabinet and black countertop and you find yourself a very creative bathroom with elegant concept.

    Yellow and black bathroom tiles

    4. Yellow and Gray Bathroom Tile Ideas, Yay!

    Let’s get a little more creative in combining. Instead of using black or white or both with yellow, let’s try gray.

    Choose medium squares gray for half of the wall to the floor and then finish it with soft gray border. It makes sure darker shade is on the below part.

    Using the same gray tiles, cover the floor in diagonal setting or other possible patterns you can make.

    Finish the rest of the wall bathroom with yellow tile. To pop the yellow up more, use white and yellow bath rug for décor.

    Black, yellow, and gray bathroom tile ideas
    Image: modwalls.com

    Basically, yellow is still an interesting color for a bathroom. It doesn’t have to be hot if you can select the right combination for it. Be creative in setting up the entire tiles. Yellow is the perfect color for summer and fun feeling. Which idea you will pick?

    Read also: Yellow Bedroom Color Ideas

    Combination color ideas for yellow bathroom tile

    Originally posted 2021-10-03 01:39:00.

  • Tips on How to Remove Mold and Mildew from Carpet

    Tips on How to Remove Mold and Mildew from Carpet

    Many people are asking about how to remove mold and mildew from carpet?.

    It is very annoying because they can cause wheezing in asthma sufferers, produce unpleasant odor, and harm your carpet.

    To prevent those effects, you’d better check your carpet regularly. If mold and mildew have reached your carpet, you have to follow these tips to keep your carpet comfortable.

    Read also: How to Get Slime Out of Carpet

    How to Remove Mold and Mildew from Carpet Step by Step

    1. Inspect the carpet

    You have to inspect your carpet regularly to prevent mold and mildew infect your carpet. If the mold and mildew have reached the base of your favorite carpet, you have to do some actions to remove those molds and mildew.

    You may hire the professional carpet cleaner or clean by yourself. If the mold and mildew already infected almost the whole of your carpet, you need to buy the new one.

    2. Ventilate the room

    Good ventilation is really important to keep your room stay healthy and to reduce humidity inside your room. If your room is a bit moist, it can invite mold and mildew to infect your carpet.

    To prevent that case, you have to open all windows and doors in the room where you keep your moldy carpet. If you decide to use chemical cleaning products, good ventilation will help you reduce the irritation of your eyes and even lungs.

    Read also: How to remove stubborn carpet stains with homemade cleaners?

    3. Sun the carpet

    To keep your carpet free from mold and mildew, you need to hang your carpet outside to get the direct sunlight.

    Hanging your carpet outside for 1-2 days can help to kill the mold and mildew spores and it can remove the moist as well.

    If your carpet has been infected by the mold and mildew, you need to hang your carpet longer and it may take several days.

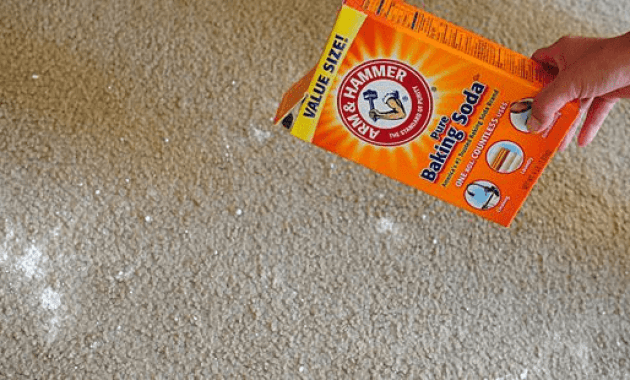
    4. Remove moisture with baking soda

    Carpet cleaning with baking soda

    Baking soda is also helpful for removing mold and mildew because it can reduce the unpleasant odor and absorb the moist.

    You need to spread the baking soda in the affected area, leave that carpet for a night, and vacuum it. Besides baking soda, you may use baby powder also for removing the mold and mildew.

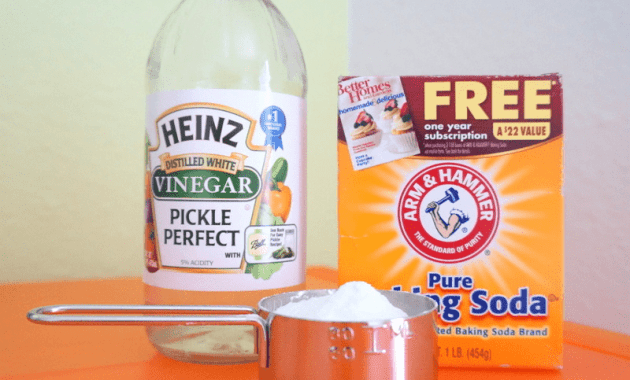
    5. Scrub with white vinegar

    Vinegar can be used for removing several types of molds and mildews. This step is cheap and effective for you who are very busy. You only put vinegar in a bottle, then spread it in the infected area.

    Next, you need to blow dry the carpet or hang that carpet to get the direct sunlight.

    Carpet cleaning with vinegar and water

    6. Use an anti-mold treatment

    You can get anti-mold sprays in drugstores and supermarkets. Remember that you need to check the label provided for the instructions. Ensure that the substances are safe for your carpet. Don’t choose the product that can discolor or damage your carpet.

    Those are the tips that you need to consider when you have to remove mold and mildew on your carpet. Let’s try those tips to keep your carpet comfortable and stay longer!

    Flor carpet tiles design ideas for kids room with large size window
    Clean carpet for make good health and perfect decoration for your room. Image by: artdecorationsdesign.com

    Originally posted 2021-04-12 10:07:00.