Tag: Cleaning

  • How to Remove Stubborn Carpet Stains with Homemade Cleaners

    How to Remove Stubborn Carpet Stains with Homemade Cleaners

    Rug or carpet is something that being considered as an expensive decoration. Carpet is not cheap, is it?

    That’s why it becomes totally upsetting when you have to throw away your carpet due to some tough stains that can’t be eliminated, right? You can always clean your carpet using some cleaners that you can make at home.

    If you don’t want to spend lots more money to buy a new carpet for your house, you have to make sure that your carpet is always in a clean state. Small stain on your carpet can bring negative effect on your house.

    Although everything is crystal clear, when your carpet is stained, your house will appear dirty. It is better to clean any kind of spillage as soon as it happens, but sometimes you just can’t get rid of it in an instant although you already give your best. Then, you just leave it and it becomes old stains which are hard to clean.

    Read also: How to Clean Dinnerware Quickly.

    When you have kids or pets, it will be very easy to get your carpet stained, whether it is from your kids’ food, crayons, artworks, drinks, or anything. Or, probably your pets pee on it and even leave their hairs. Don’t worry, don’t get frustrated. Everything is going to be okay.

    It is good for you to know how to get rid of old marks from your rug. You don’t have to waste your money just to call some experienced rug cleaning services.

    They are sure not cheap. Wouldn’t it be great if you can learn how to clean all kinds of stains from your favorite rugs by yourself and save lots of money by doing so? Although you are probably won’t be able to make your rug like new again, you can always make it look great after you remove all the tough stains and dirt from it.

    How to Remove Stubborn Carpet Stains with Homemade Cleaners

    Here are some homemade cleaners that you can try to remove hard stains from your rug. You can try to clean the tough carpet stains using beer, vinegar, ammonia, salt, baking soda, or ice cubes. You can also buy some carpet cleaners. But if you can use what you already have at home, will it save more time and money? So, how do they work?

    1. Beer

    When you accidently spill out your tea or coffee on the rug, you can remove the stains by using beer. You can pour a small amount of beer on the top of the stains. Then, rub it lightly. You need to do it for several times to make the stains disappear completely.

    2. Vinegar

    Always have vinegar at your house since it is very useful in cleaning anything at home. You can use it to clean all kinds of stains from your rug. Here,

    • For light stain: mix ½ cup of vinegar and 2 tablespoons of salt. Rub the stain gently and let it dry. After that, vacuum the rug.
    • For darker or larger stain: the mixture can be added with 2 tablespoons of borax. The instruction is as the same as before.
    • For tough or hard stain: mix 1 tablespoon of cornstarch and 1 tablespoon of vinegar until it becomes a paste. Wipe the paste onto the stains and let it sit for about two days. After two days, vacuum it.
    • For any stains from paints: mix 1 ½ teaspoons of vinegar, two cups of water, and 1 ½ teaspoons of detergent for laundry. Wipe the paints as soon as you can before they are set and then rinse the rug with water.
    • For any stains from fruits including the juice: mix 1 ½ tablespoons of vinegar, 1 tablespoons of laundry detergent and 2 cups of water. Rub the stain with the mixture solution and let it dry.
    • For coffee or tea stain: mix vinegar and water with equal quantity. Rub the stain and let it dry.

    3. Ammonia

    You can use the ammonia solution to remove the stains from your rug. Mix 1 cup of ammonia solution and 2 liters of lukewarm water. Then you can sponge the mixture to the stains. Let it completely dry. Repeat this process for several times until the stains disappear.

    Read also: How to Clean a Bathroom Exhaust Fan in Minutes

    4. Salt

    Here are some ways to make use of salt for carpet stains:

    • For red wine stain: when the spillage is not dry yet, you can pour directly the white wine to reduce its red color. Sponge the stain with cold water. Then, pour some salt on it and let it sit for 10 minutes. After 10 minutes, vacuum it.
    • For fatty food stain: mix slat and rubbing alcohol with ratio 1 : 4. Scrub the mixture onto the stain carefully. Follow the rug nap direction Repeat it several times.
    • For ketchup stain: do it quickly before it becomes dry. Pour little salt on it and let it sit for awhile then vacuum it. Then sponge any leftover salt. Repeat the process several times until the stain totally disappears.

    5. Baking soda

    You can use baking soda to clean the stains of vomit, pet’s urine, and oily food stain.

    • For vomit or pet’s urine: wipe the stain as best as you can. Spread some making soda on the stain. Rub with some paper towels. After that, vacuum it to clean any residues.
    • For oily food stain: mix some baking soda with salt. Pour the mixture on the stain. Use toothbrush to stick the powder onto the stain. Leave it for five to six hours and vacuum it.

    6. Ice cubes

    You can use ice cubes to remove the chewing gum from the carpet. Put the ice cubes inside the plastic bag and place them on the gum to make it frozen. Scrape the gum with a knife.

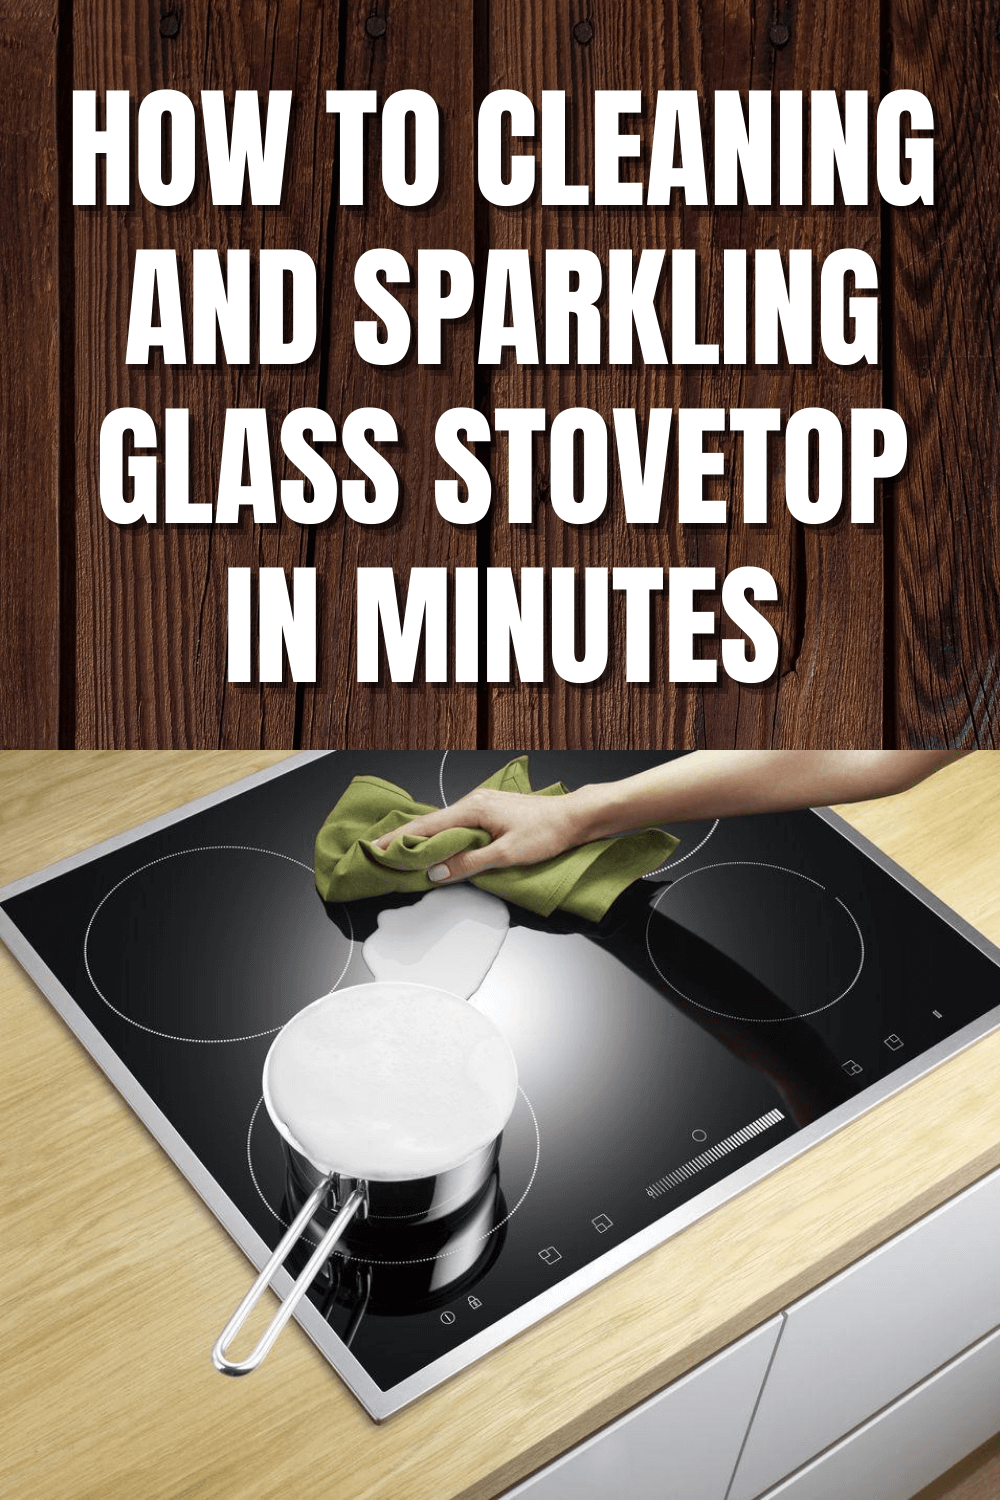
    Read also: How to Cleaning and Sparkling Glass Stovetop in Minutes

    Pretty easy to do, isn’t it? You can make use of the ingredients in your kitchen to clean the carpet stains. You can also save lots of money by doing it. Remember! Clean the stains as soon as you can. You can make it difficult to remove once the stains dry. Good luck!

    Remove Stubborn Carpet Stains

    Originally posted 2020-08-12 23:13:10.

  • How to Cleaning and Sparkling Glass Stovetop in Minutes

    How to Cleaning and Sparkling Glass Stovetop in Minutes

    Are you a person who directly takes your guest into your kitchen? It is said that a comfortable and enjoyable house can be seen from its kitchen.

    For most people, kitchen is their kingdom. Do you want to boast your cozy and clean kitchen to everybody else? Then, let’s see how to make your cooking tools, especially your glass stove, astounding.

    Is it wonderful to have a clean and beautiful kitchen? If you spend lots of time cooking for your family and relatives, a clean and organized kitchen is a must for you.

    The condition of your kitchen can always determine your cooking mood and also your food taste. Are you comfortable enough to find that your cooking tools are dirty? It is better to keep them all clean after you finish using them, isn’t it?

    HOW TO CLEANING AND SPARKLING GLASS STOVETOP IN MINUTES

    Cooking tools are basically easy to clean. But, the problem is on your stovetop. If you happen to have a glass stovetop sitting on your kitchen, then you have to be regularly clean it. The glass surface as part of its cover can really be bothersome sometimes. Slight stain or grease dipping from your pan or your other cooking tools can always be noticeable. If you don’t wipe it soon, it will be accumulated and difficult to handle.

    When your stove has been used frequently but you rarely clean it, there will be a moment when the stains on the glass surface and the burnt rings can’t be cleaned by using sprays or grease. You may need to try some helpful methods on how to clean and spark your glass stovetop just like new. You can make the glass as well as the stove rings clean and sparkling again.

    There is no definite rule on how to clean your stovetop glass. So, you can choose any methods on how to clean and make it shine. Here are some tips that you can use when you want to sparkle your stovetop. Don’t give up when you feel that your method is not working properly. Keep on trying!

    1. Browse Online for the Manufacturer

    Before starting to clean your glass stove, it is advised that you check the company which manufactures your product. Go to their online website and learn about the recommendation for your product. The website provides the materials used to make the glass stove. The information can be used to properly clean without causing any serious problem.

    2. Prepare Cleaner and Tools

    What is difficult to handle is the glass part. It is designed to bear the heavy pans and pots as well as high temperature. If you do improper cleaning on this part, you can make irreparable yet serious damage. Choose appropriate tools as well as cleaner for stovetop.

    When you make wrong choices, you can leave permanent discoloration and scratches on it. Some stovetop cleaners can also be very expensive. But, it doesn’t mean that an expensive cleaner can solve the stains and burns on your stovetop. So, be wise choosing the appropriate cleaner. You don’t want to waste lots of money on it, do you?

    3. Clean after Using Method

    You can always start cleaning your stovetop glass after cooking. This way, you can eliminate the possibility of accumulated stains and burnt chunks on the glass surface. Wait until the stovetop temperature cools down and you can clean it directly. However, hard stains need longer time to dissolve.

    You can also tell other family members to clean the stovetop directly after using it. New stains or burns are generally easy to clean just by wiping them off with damped cloth. You probably need to show them on how to clean it properly. Always use a soft cloth to clean your stovetop.

    Read also:

    4. Shine the Glass Stovetop

    When cleaning the glass, always use a free-abrasive cloth to avoid any scratches on its surface. Whatever cleaning products you use to clean, always follow the manuals. Some cleaners provide multistep stages when dealing with hard stains or burns.

    Most cleaners need a couple minutes to work. They also recommend different methods to wipe off the glass. Some are to wipe with a rubbing motion and some are just to simply wipe the glass. You can test each cleaner to figure out which is the best cleaner for your stovetop. Use small amount of the cleaner over small areas first. Read the manuals carefully.

    5. Clean with Baking Soda

     You can also try cleaning and shining your stovetop glass using baking soda. You can make a solution from three to four tablespoons of it and mix with water until you get a consistent paste. You can spread baking soda paste onto the stain or the burn. Then, cover the stovetop with lukewarm rag. Leave it sit for some time. Lastly, wipe the paste away with free-abrasive cloth.

    Baking soda and hydrogen peroxide can also bring a great chemistry in cleaning and shining your stovetop glass. First, pour some soapy water over your stovetop surface. Pour and spread the hydrogen peroxide. Then, spread the baking soda over the top of the hydrogen peroxide. Mix them together by using a brush and at the same time brush them all over the surface. Put the damped towel or cloth and wipe off the mixture. Tada! It’s clean as new.

    6. Try the Conventional Method

    If you don’t have the stovetop cleaner with you at the moment, you can try this conventional method. You can clean the accumulated stains or burns with some damp sponge or rag. If the stains are hard to clean, put the damped cloth on it and let it sit for awhile. Then, you can wipe it off easily. Or, you can use little elbow grease on hard stains or burns.

    So, have you got any ideas on how to clean your stovetop glass and make it shiny? Then, what are you waiting for? Get up and start working on it. Don’t let the stains and burns sit on your stovetop for any longer. Good luck!

    How to Cleaning and Sparkling Glass Stovetop in Minutes simple tips

    Originally posted 2020-08-11 10:13:29.

  • Quick Simple Tips to Speed Clean Home in Few Minutes

    Quick Simple Tips to Speed Clean Home in Few Minutes

    It is very essential to maintain cleanliness and tidiness all over the house as homeowners expect to be peacefully relaxed in their house after spending long working hours a day.

    You might be really stressful when you find your house is like a shipwreck after coming home. Your dream of relaxing quietly in your house will be wiped away as you have to spend your other precious time cleaning.

    What happens when your things are not organized and spread all over the place? Especially if your kids play with all the things they can reach spreading all over the entire house.

    When it happens, always tell them to put them back to where they belong. Remind them over and over again that they have to be responsible on putting everything back after they finish playing with them.

    QUICK SIMPLE TIPS TO SPEED CLEAN HOME IN FEW MINUTES

    Or, do you sometimes have an unexpected guest visiting your house? One day, when your house is in a mess, your best friend is suddenly calling you and telling you that he or she will visit your house within few minutes.

    It’s really frustrating, isn’t it? Don’t worry, whenever this kind of unpredicted situation happens, you can always speed clean your house within less than an hour or maybe just in less than 15 minutes.

    Read also: Bluestone Table Care, Cleaning, and other Tips

    Whether you have a guest visiting your house or you don’t want to spend most of your valuable time cleaning your house, you can always try some amazing tips on how to speed clean your entire house.

    What becomes the one and only secret is always try to maintain your things clean and in order. Once you have been able to keep them organized and tidy all the time, you can always speed clean your house within few minutes.

    How to speed clean your house within few minutes? Make sure that you always have your cleaning task and simple cleaning routines every day. Try not to skip a day without cleaning.

    An easy daily cleaning habit is really your huge timesaver. Moreover, this habit absolutely brings speed cleaning as an effective and easy way to make your entire house clean in an instant.

    So, are you ready to speed clean your house? Try these simple tips to save your time organizing your house. Follow the tips from number one and the others will follow within the cleaning process.

    Quick Simple Tips to Speed Clean Home in Few Minutes

    1. Prepare Your Cleaning Utensils

    Collect all your cleaning tools altogether inside a container so that you can find the tool you need in an instant. What you need to prepare are feather dusters, lint roller, microfiber cloths, disinfecting cleaner for bathroom, multi-purpose cleaner, cleaning wipes, and mirror cleaner.

    2. Collect All the Clutters

    Before starting speed cleaning your house, get rid of all the clutters from all rooms. Bring two kinds of bags while you are walking to each room; one is garbage bag and another is laundry bag.

    Dust all the garbage, like used papers, plastic, and all kinds of useless things inside the garbage bag and you can easily throw them out into your garbage disposal.

    Put all the relocated items, like toys, books, etc inside the laundry bag. Once you gather them all, you can always ask your kids to organize the relocated items back into their designated locations.

    3. Start Cleaning from the Top

    Always start cleaning your house from the top down. It is to make the dirt or the dust from higher surfaces falls down to lower surfaces which have not been cleaned yet.

    You can clean your ceiling fans first and then you can move to the furniture below it. After all the furniture is being cleaned and wiped, you can clean your floor to get rid of all dust and dirt.

    4. Clean the Dust on the Surface Quickly

    You can use a feather duster to remove the dust on the surfaces quickly. Don’t forget to shake out your duster repeatedly and move rapidly to clean all the noticeable dust.

    5. Wipe the Surface

    After dusting all surfaces, you can wipe them by spraying down hard surfaces like counters, cabinets, tables, sinks, etc and then wipe them with microfiber or disinfecting cloth. When you do all the dusting and wiping as parts of your daily cleaning routine, then it will be just a simple and easy task for you.

    6. Clean the Bathroom

    The most difficult part from cleaning your house is the bathroom. But, if you always clean your bathroom every day, it will be a way less stressful. Relocate several minutes in every bathroom.

    First thing to do is pour a cleaning liquid into each bathroom toilet and let it sit for awhile. During the waiting period, you can clean the bathroom sinks, tubs, and mirrors.

    Don’t forget to replace old towels with the new ones. After finishing all of these tasks, you can start scrubbing and wiping each toilet with flushable cleaner pad.

    7. Clean the Kitchen

    Soak your pans and pots needing for washing in the sink with soapy water for awhile. Use your time to clean the countertops and stovetops with multi-surface cleaner.

    Replace new dish towels and get rid of the old ones. Then, put your dishes inside the dishwasher. While waiting for this task to be completed, you can start cleaning your living room.

    8. Clean the Family Room

    First, fluff your cushions and pillows, organize the magazines inside the rack, and remove the hairs from the surface by using lint roller. Refold your blanket and put them back in the closet.

    9. Clean the Entryway

    Once your rooms clear from clutters, you can start cleaning your entryway. You can shake your entry rug for a few times, then you can use your vacuum to clean all the dusts and hairs stuck on the rug.

    10. Clean the Floor

    Once you finish cleaning all surfaces in each room, your last task is to clean the floor. You can vacuum every corner and low baseboard in each room.

    Yes, you have finished your cleaning. Do you like the look of your house now? Isn’t it great to have a tidy and clean house? After all the hard works that you have done, you can relax yourself and enjoy your clean, fresh and tidy house.

    Originally posted 2020-08-10 02:04:08.

  • List of Most Creative Way How to Reuse Kitchen Waste

    List of Most Creative Way How to Reuse Kitchen Waste

    Recycling is one of the best way to save the planet from pollution, at least the housing ones.

    Some people give “kitchen hack” label for these tricks, even though it cannot represent the proper process of recycling.

    In addition, the waste you think has no use might still have several advantages.

    1. Cord Organizer

    As the monthly supply, paper towel is the one of the must have item. Then in a month, you could have the several empty rolls.

    Before throwing them away, you could take the ones with perfect shapes to keep the cables. Grabbing the rolls would be more efficient than pulling out the tangled cables.

    2. Healthy Stock

    Some recipes call a bunch of garlic and onions. Take the clove and make a delicious cuisine, but don’t throw away the skin. Just a quick fact: the skin of garlic and onions contains more nutrients than the cloves.

    Boiling them in a pan of hot water for several minutes will give you healthy stock to cook the next day.

    Kitchen waste recycling

    Read also: How to Clean Shower Curtain Liner without Washing Machine

    3. Broccoli Stalks Snack

    When you cook broccoli and garlic, the family’s favorite part would be the green leaves part. Most of the time, the stalks are thrown away.

    It is the biggest mistake you could ever made, because it is full of nutrients. Save the stalk to make a healthy snack or chopped it thinly and cook the pieces.

    4. Low Budget Scrubber

    When you buy a kilogram of fruits in the supermarket, the package often includes mesh bag. It is made from plastic, with a tiny price tag near the tie.

    After you eat all the fruits, don’t throw away the mesh. Transform it to scrubbers. Scrap the bottom of the pot with this low budget scrubber.

    5. Acne Reducer

    It is refreshing to have a big bite of watermelon in the burning summer day. Many of you would leave the white part on the table.

    Then someone clears the table and the skin part ends up in the waste bin. Do you know that the white part is a great acne-fighting agent? The skin could even transform to delicious pickle.

    6. Itch Reliever

    Outdoor picnic exposes your skin to every kind of pests or insects flying around the area. Sooner or later, the bugs will land on your skin, causing disturbing itch.

    Use banana peel to rub the itchy skin or area with rashes. Even when you have problems with pests, chopped banana peels could keep the bugs away from your plant.

    7. Tea-mix

    After enjoying peeled apple in the morning, what do you do with the skin? It shouldn’t throw away in the first place. Dry it under the blazing sun, and later on you could mix it in your tea. You will get a cup of apple tea.

    Getting creative is not always about crafting. Recycling could be one must-try option for you. The materials are taken from your kitchen waste.

    It might be surprising to learn that the waste you never care about could turn into a lot of beneficial things. You can have tea-mix, itching reliever, acne reducer, and even scrubbers!

    CREATIVE WAY HOW TO REUSE KITCHEN WASTE

    Originally posted 2020-05-20 04:17:52.

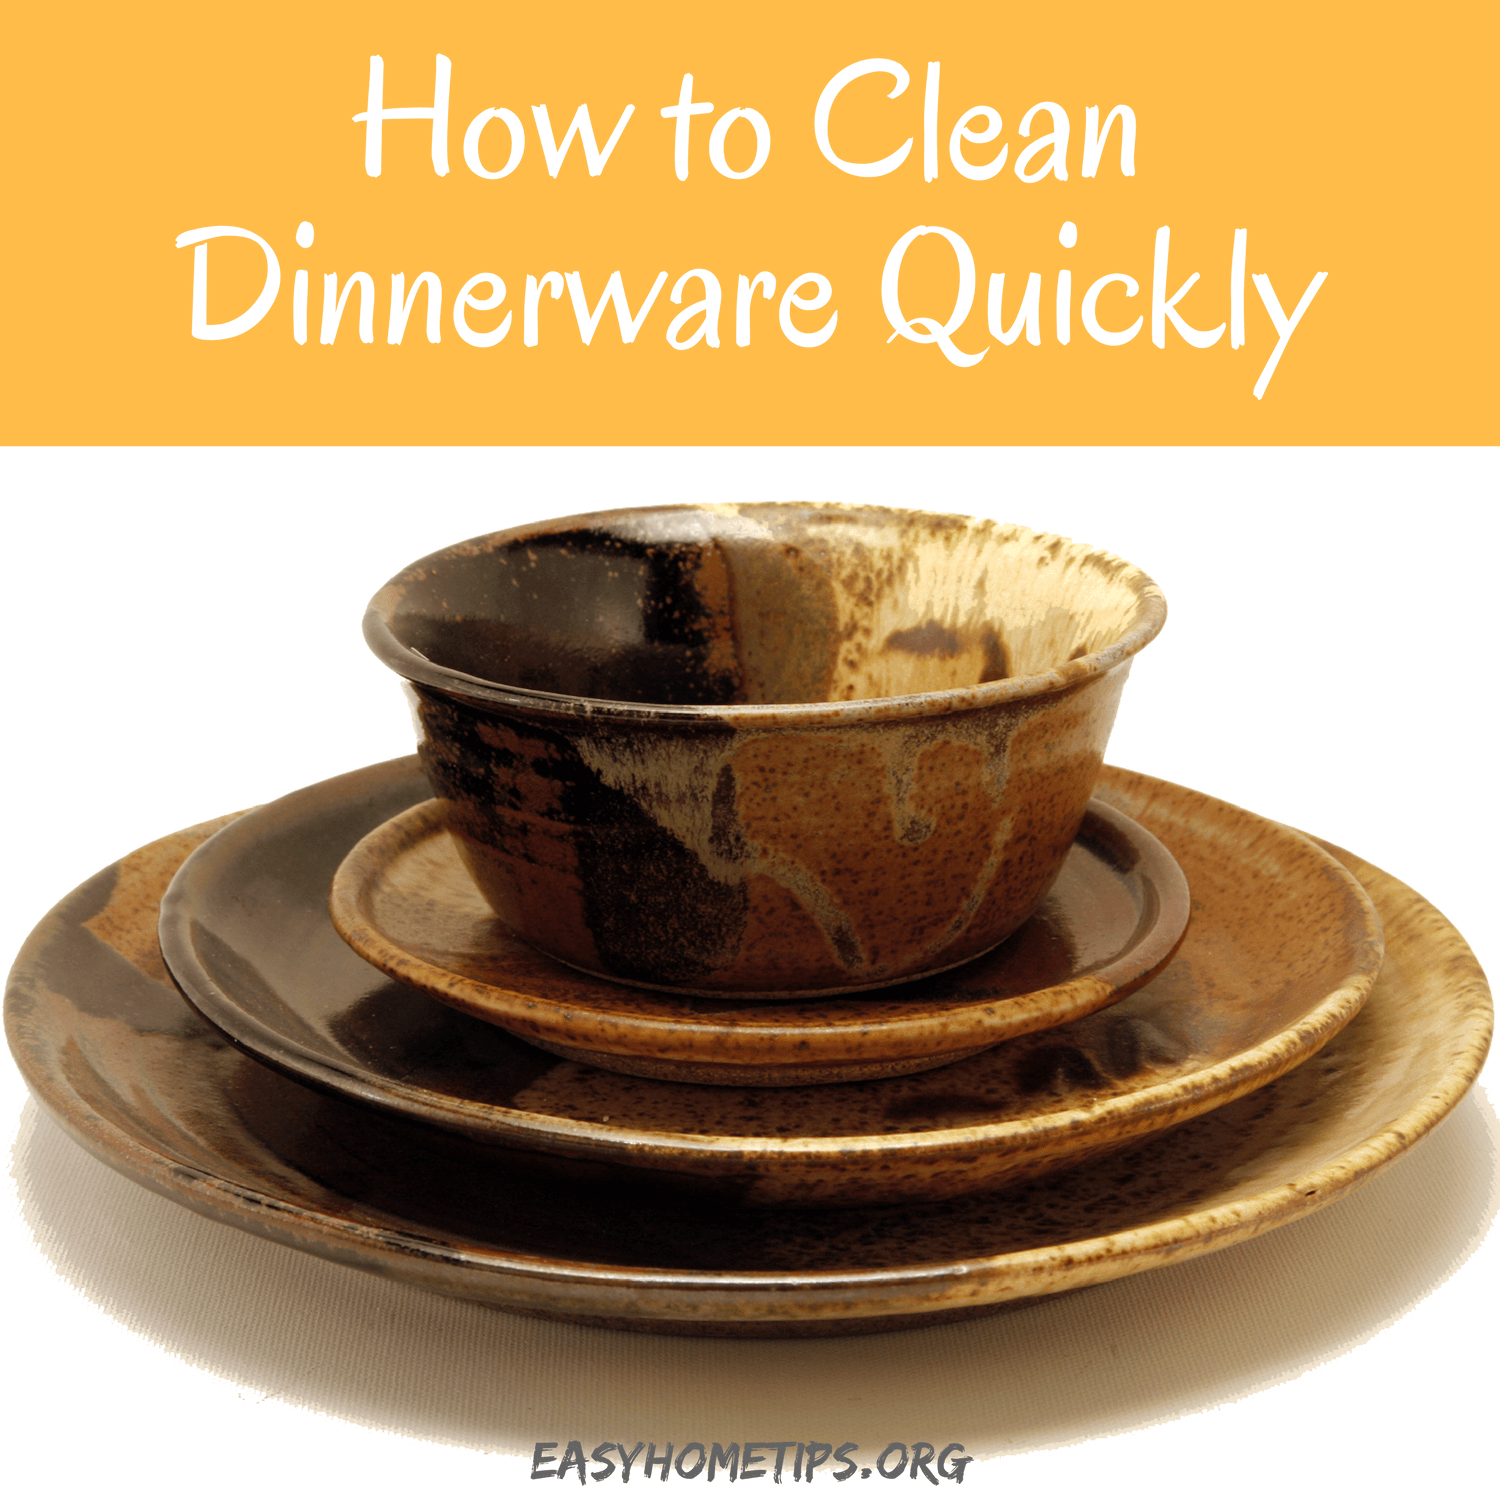
  • How to Clean Dinnerware Quickly

    How to Clean Dinnerware Quickly

    Those who live in the city leads a fast paced life. This habit then spreads to almost all activities, no exception for washing dishes.

    You might say that placing the dirty plates inside the dishwasher would be a lot easier and efficient.

    No doubt about that fact, though, just don’t forget that not all people can purchase this item.

    In this case, several know-hows will be the real savior.

    Read also:

    HOW TO CLEAN DINNERWARE QUICKLY

    1. Purchase Special Liquid Washing

    Some commercial dish washing liquid are better than the others. Why? Because of its ingredients. If you want to do clean quickly, take an antibacterial liquid wash from the shelf.

    Read the label and find the one with lactic acid, the trusted compound for antibacterial agent. It also helps to do speedy cleaning.

    For some troubling grease case, purchase the liquid wash with lauramine oxide. This is one strong agent to combat the stubborn oil on the plate.

    2. Throwing Away The Leftover

    Don’t wait for hours before you start the cleaning process. Once the leftover food dries, you need extra effort to scrub the plate.

    Right after the meal time ends, clean up the table and bring the dirty plates to the sink. Stand next to the waste bin, and clear the plate.

    3. Dip Into Sanitizing Liquid

    When the plate goes into dishwasher, there is one sanitizing step. By providing the liquid inside a jar, you could copy the sanitizing process.

    Make the liquid first by mixing one gallon of water with one teaspoon or tablespoon of bleach agent. After washing the dish, you could utilize the solution to rinse the sponge and sink.

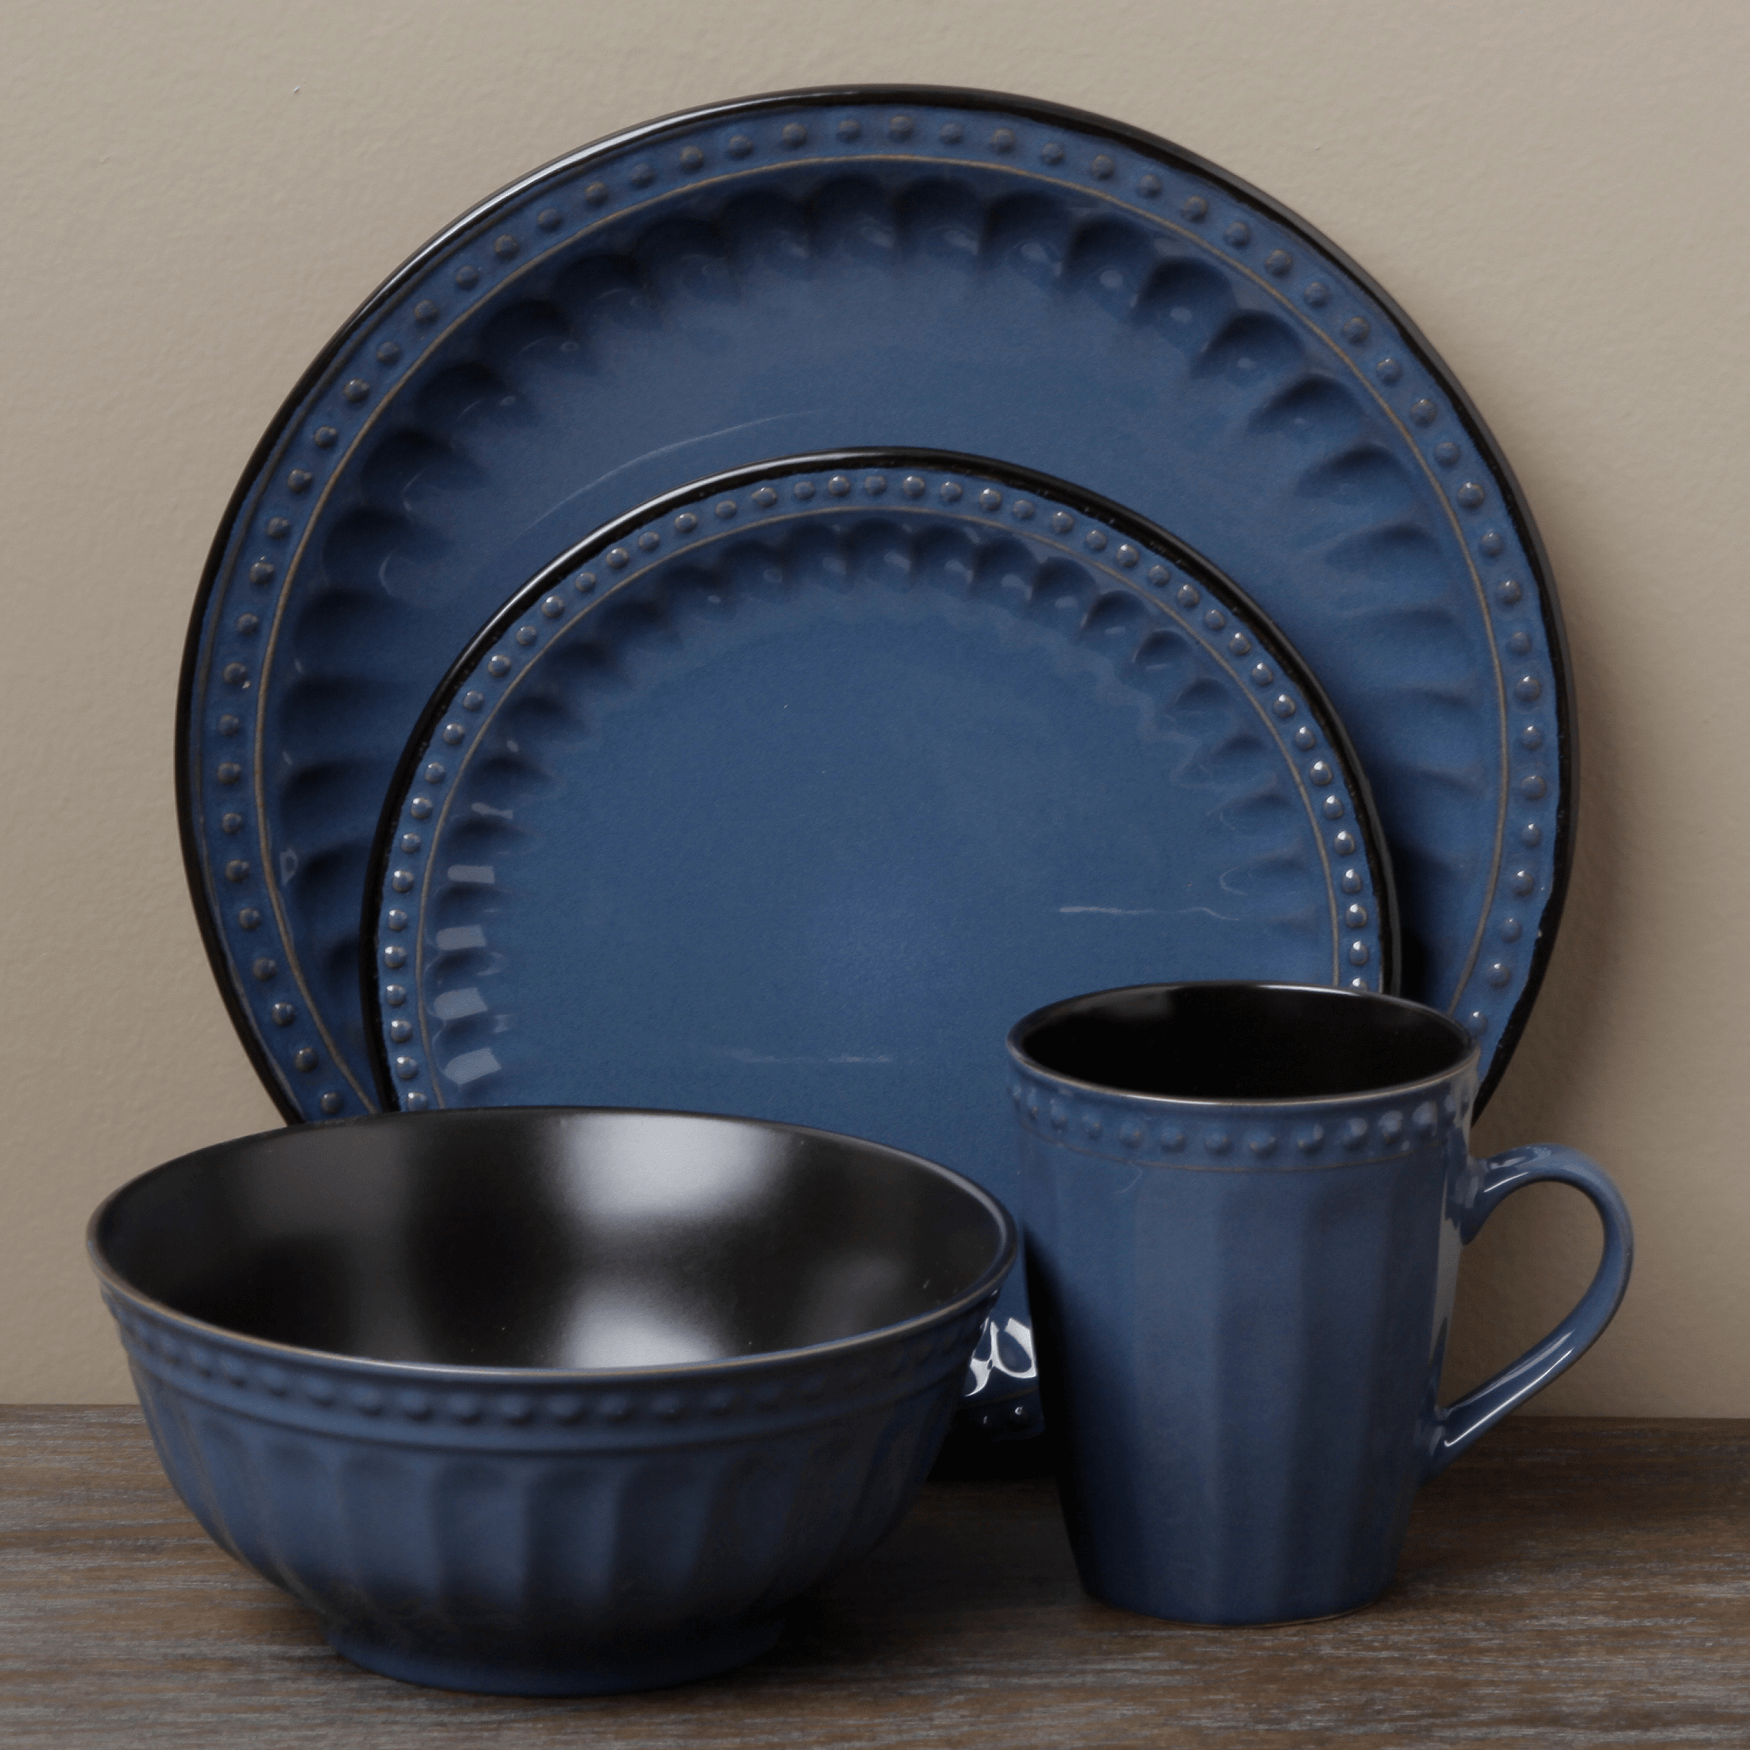
    Clean everyday dinnerware set quickly

    4. Soaking Overnight

    A wholehearted meal will leave astonishing amount of dirty cooking utensils. Although you might feel the urge to clean everything at once, several minutes of soaking will help a lot in rinsing.

    The food particle would be loosened a lot and prevent hand fatigue caused by too much sponge scrubbing. If you accidentally burn the pot, sprinkle a spoon of salt and cold water overnight. Turn on the heat to eliminate the grease.

    5. Picking The Sponge

    To pair up with the liquid, you must have a perfect sponge to clean the plates and the other utensils. With a good amount of money, you could buy the super sponge covered with netting from plastic material.

    It allows you to scrub eagerly without leaving any scratch. If you are on a tight budget, scrub sponges is a great alternative to save money.

    6. Flowing Cold Water

    You might heard that rinsing the dirty plates with hot water will clean the stain quickly. Even though this trick works for almost all cases, you don’t want to apply similar way for ice cream or butter serving.

    Hot water triggers gumming up for cream and butter base. Thus, you have to rinse the plates with cold water.

    Within meal period, people want to get everything in a flash; fast serving, flash eating and speedy cleaning. The last one is not impossible to do, as long as you know the trick.

    Prepare the suitable cleaning liquid, dip and quickly wipe the plates in a sanitizing liquid. Rub roughly with a special sponge and rinse under flowing cold water. Tada! You have clean plates.

    Dinnerware set unique

    Originally posted 2020-05-19 00:12:25.

  • How To Keep Clothes From Smelling Musty

    How To Keep Clothes From Smelling Musty

    One season only lasts for three months. The real challenge comes one month before the new season begins.

    In winter for example, you need to make more rooms for sweaters and the other thick clothes, while the smell might disturb your concentration.

    Is there any ways to vanish the bad odor? Here some tips. Check it out.

    HOW TO KEEP CLOTHES FROM SMELLING MUSTY

    1. Maintaining Clean Washer

    There is one way to check whether the problem comes from your clothes or the washing machine. Sniff at the washer hollow.

    Normally, you should be able to smell detergent fragrance. If your nose detects the smelly odor, then you need to clean the washer instead of blaming the clothes.

    To rinse the washer, you need to run an empty cycle with hot water mixed with laundry detergent or bleach. Read again the safety hazard and find about the use of hot water.

    While running the machine, keep the lid opened. It will be the path for the vapor to escape.

    Read also: Simple Tricks to Remove Bad Smell from the Shoes

    2. Drying Outdoor

    One of the reason for your clothes to get mushy smell is your way of drying. Even after rolling inside the drying machine, your clothes are not completely dried.

    If the season allows the sun to comes up in the morning or afternoon, it is better to hang the clothes outdoor. This process will give fresh outdoor scent to your clothes.

    If you hang the clothes indoor because the season hides the sun, then make sure that room has good air circulation system.

    Otherwise, your clothes will develop bad odor, since the bacteria grows happily on the clothes’ fabric.

    Read also: How to Remove Vinegar Smell from Carpet

    3. Putting Fragrant Component

    When the first two resorts cannot solve the odor problem, the last option you have is defeating the mushy odor.

    How? By placing a compound that could either absorb the smell or replacing the bad odor with fragrant aroma.

    The good news is you can get the following items in the nearby store or supermarket.

    • Dried Lavender

    It is known for its anti bacterial and anti fungal functions.  For this reason, moths stay away from it. Wrap the dried lavender inside breathable cloth and throw it to the clothes container. You could also hang one in the wardrobe.

    • Dryer Sheets

    When you fold the clothes, slip in a dryer sheet in between the materials. This small addition would be a great help to lock the fresh aroma.

    • Mothballs

    From the old times, your grandma might have used a mothballs. It effectively eliminates moth and secure your off-season clothes inside the storage.

    Wrap a mothball inside an old sock and hang it on the highest place of the wardrobe. When the ball evaporated, the tiny compound will be floating down, as it is heavier than the air.

    • Scented Soap

    Got some extra bars of your favorite soap? Instead of displaying them inside the glass box, you could make use of it. Put the soap bars inside your wardrobe or drawers.

    When you finally come to greet the new season, the clothes have your favorite fragrant on them!

    First of all, the bad odor around your house doesn’t happen instantly. Therefore, you have to get rid of the source first. Hanging the musty clothes under warm sunlight could reduce the unappealing smell.

    If the season has minimum sunlight, then you must combat the bad smell with the good smell. Next time you store the clothes, don’t forget to slip in some dryer sheets!

    Simple Tips How To Keep Clothes From Smelling Musty

    Originally posted 2020-05-17 05:33:33.

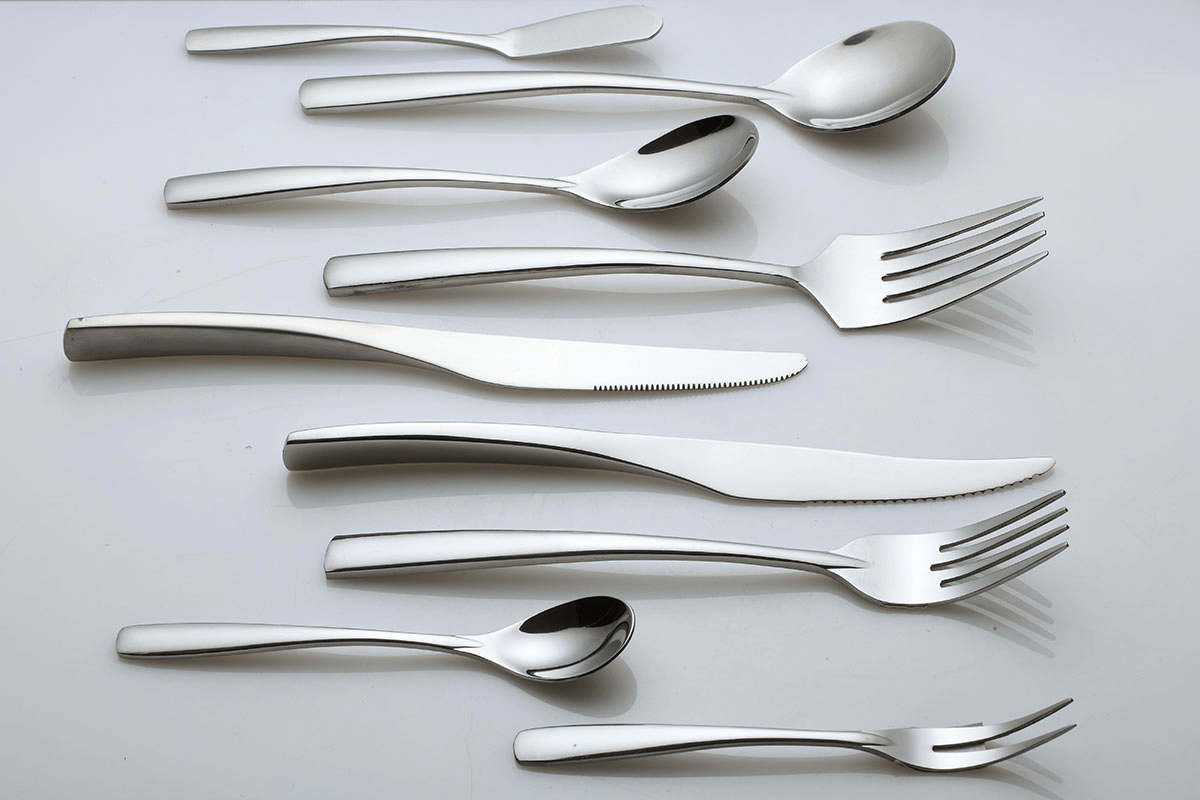
  • How to Shine Dull Cutlery

    How to Shine Dull Cutlery

    In a dinner, the quality of the dishes is not only determined by the taste of culinary, but also the appearance of your cutlery.

    The whole table of excellent dishes could fall into the lowest base when you set shabby or grubby spoon, knife and fork. When this happens, you can’t console it even with perfect jazz music.

    To shine dull cutlery, you should to know what the materials of that tools. Here are tips for you. Check it out.

    Read also:

    How to Shine Dull Cutlery on the dining table

    Stainless Steel Cutlery

    Even though stainless steel rarely has stain, you might have observed that fingerprint is easily sticking to the surface. That is why you have to apply special tricks while preparing the cutlery before the dinner.

    First, instead of using cold water, you have to rinse the cutlery in hot water after wiping them with commercial liquid cleaning.

    Don’t be too lazy to remove the leftover food before cleaning. Remember that salt and acidic materials could damage the steel.

    Second, using the non-abrasive cloth you have prepared before, hand dry the wet cutlery. This step is especially important to prevent any water spots.

    Do the drying immediately. Seconds to minutes matters, as the drying mark might be formed.

    Third, When the stain cannot be cleaned with washing liquid, try to apply natural cleaning compound. Some of the most popular products are vinegar, cider, lemon, soda water and olive oil.

    Fourth, choosing vinegar or cider would save you more money, as both could be utilized as the polisher later after drying. To get a perfect polished cutlery, dip a cloth into the cider or diluted vinegar and apply circular motion.

    Fifth, Soda water could make a great polisher, too. Rinse the items with soda water and dry at instance using non-abrasive cloth.

    Running out of these solutions? Then grab lemon and squeeze it for the juice. Take soft dry cloth and pour several drops of lemon juice on it. Rub the cutlery with the cloth gently.

    Stainless steel cutlery set

    Silver Cutlery

    Usually in gala dinner, the host will prefer to set his collection of silver cutlery instead of the stainless steel ones. Not only they give off royalty atmosphere, but also a sign of formal dinner.

    Silver compound is more fragile thus it  requires extra protection. Make sure you do the proper ways.

    First, the first rule is to object the use of dishwasher. It helps with some regular dirty plates, but certainly not for the silver materials. With this said, you have to hand-clean the cutlery.

    Second, some guests might be considerate about the effect of leftover food to the silver cutlery. Any grime or remaining food could destroy the silver layers, thus it should be removed immediately.

    Make sure you hunt the leftover food down to the tiniest particle by soaking them in warm soapy water.

    Third, absorb the water after rinsing with non-abrasive cloth. For polishing purpose, you cannot apply natural compound. It is a must to use commercial silver polisher liquid or anti tarnish product.

    Fourth, keep the silver cutlery inside cotton bag or wraps. This step would prevent any scratch and dust sticking on the surface.

    Silver Cutlery Set

    A perfect host knows that shining cutlery is as important as serving the delicious delicacies. Thus, cleaning is the most important part of preparation.

    Apply special treatment for the stainless steels to bring back the shine. Put non-abrasive cloth within your hand reach, because you will need it immediately after you rinse the cutlery. Dishwasher is not your friend for this purpose!.

    HOW TO SHINE DULL CUTLERY

    Originally posted 2020-05-12 00:01:58.

  • How to Prevent Dirt Dust into the Closet and Other Home Areas

    How to Prevent Dirt Dust into the Closet and Other Home Areas

    Dust is an accumulation of tiny particles that is consisting of hair, pet dander, dirt, skin cell and more.

    Tolerating to live around you is a bad decision and habit, then it will give negative effect for your health.

    It is a good decision to control it in your house. Thus, we gives you tips How to prevent dirt dust into the closet and other home areas.

    Closets are a heaven for dust. It is full of fiber clothes which is dust haven. If you think that you are able to relieve 100 percent dust in your clothes or other areas, you are wrong and you cannot do that. But, you still have chance to make your closet and other areas clean.

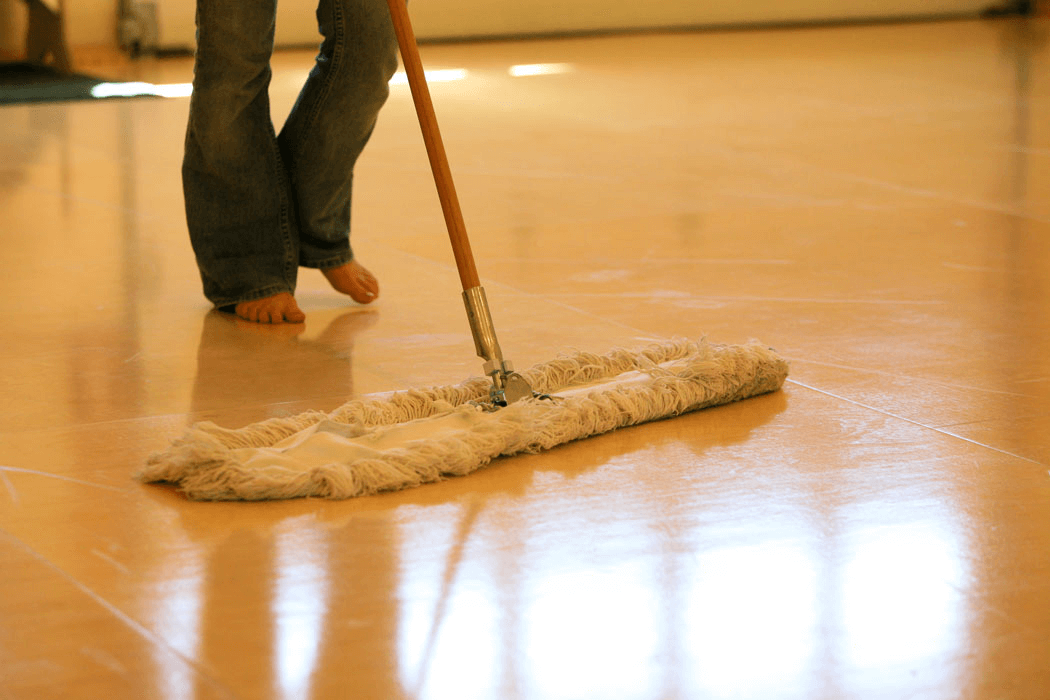
    How to Prevent Dirt Dust into the Closet and Other Home Areas. Cleaning floor with vacuum

    1. Change and Wash Your Bedding Every Week

    Your pleasant bed, pillows, sheets, blankets and comforters are a major dust distributors. The dust can double like mouse if you do not try to keep under control it.

    It happens because bedding gathers sheds, skin flakes and sends swirls of dust every time you roll over on your sleep.

    The way to prevent it is to change and wash pillowcases, sheets routinely particularly if one of your family members have dry skin or pets.

    You do not need to go to dry cleaners every week to wash items that are not machine washable. We suggest you to bring bedspreads and blankets outside your house and jiggle them.

    But, we suggest you to wash it at least twice in a month. You can apply it on the pillows, but for the total cleaning, we suggest you to wash them.

    2. Use the Appropriate Vacuum

    Vacuum cleaner is the most helpful invention to clean the dust. Suction is not enough to clean much dust out of carpet.

    For the thorough cleaning, we suggest you to use vacuum cleaner with a powerful agitator.

    But, we suggest you to use canister vacuum cleaner without an agitator, when you have intention to clean something that the media is not carpet.

    3. Clean the Agitator and Air Conditioner Filter

    Vacuum cleaner use agitator to clean the dust meanwhile air conditioner has filter to separate the dust and the air.

    The dust stay on the surface of agitator when you have just used and settle in air conditioner filter.

    You can rid the dust on the surface of agitator before you use the vacuum and clean the air conditioner filter.

    You can clean the air conditioner filter by brushing off. It is simple and easy to clean it. But, most people do not have awareness to clean it.

    Cleaning air conditioner filter is important to maximize the air conditioner function and prevent the dust circulated in the room.

    Read also:

    We may feel annoyed when you see dirt dust in your home. Moreover, if you rarely clean the dust, it will effect on your healthy or you may be allergic with the dust.

    We hope that the tips above about How to prevent dirt dust into the closet and other home areas help you to avoid allergic in dust.

    Cleaning wood floor from dust and others
    Image: ambiencehardwoodflooring.co.uk

    HOW TO PREVENT DIRT DUST INTO THE CLOSET AND OTHER HOME AREAS

    Originally posted 2020-05-01 05:11:04.

  • How to Fix Wall Paint Peel Off

    How to Fix Wall Paint Peel Off

    Wall paint can bring both proud and disgrace to your house. In the beginning when you successfully cover all surfaces evenly, you could brag at how smooth and bright your wall is.

    Now that it starts to wither, you cannot help but feel ashamed of your own house. Peeling off wall paint spreads from the corner, creating spooky effects from your house.

    Here’s a simple step to fix wall paint peel off. Check it out.

    Read also:

    1. Peel Of The Paint

    First of all, you have to remove the tangling paint of its place. To do this smoothly, you can use paint scraper, wire brush or sand paper.

    Don’t forget to wear safety mask to cover your nose and mouth. Lay plastics around the wall area, so your cleaning after peeling off won’t be too much to handle.

    If the base of your wall is fragile, sand paper would be the most recommended tool for this purpose. Sometimes, the peeling paint is too hard to clean.

    Resist from using excessive strength. Change your equipment to wire brush instead. It scrubs harder with the least power possible.

    2. Flatten The Surface

    Observe the surface you just cleaned. Since the paint is peeled, the woods would leave unprotected. Particularly when the condition happened for months, you will definitely get holes.

    Before transforming the shabby wood walls into a brand new face, you have to cover these holes with putty. Apply the wood filler with special putty knife. It has flat edge, pushing the practicality to the maximum.

    Give at least two hours to let the wood filler dry. If you refer to the manufacturer instruction, the time is shorter: 45 minutes to an hour.

    Those who have tried the suggestion say that this time is too short. Don’t be in a rush, so you will get the best result.

    3. Smooth And Clean The Surface

    The next step you are going to do is sanding the surface. Lightly scrub the wood with applied putty to eliminate the smear.

    There are some things that might make you reluctant to continue the process; the crack in the middle or the sides of holes area.

    If you want to take the extreme step, you may replace the whole board. Just for your information, it will be hardly noticed once the board gets painted.

    Before you move to the painting step, wet some clothes. Dab this damp cloth on the surface. You want to make sure that the surface is clean from grain and any fine dust. These two particles will create rough painting.

    4. Prime And Paint

    Are you fighting with moisture? Then apply prime to prevent paint peeling in later months.

    Then you need another hour to let the prime absorbed by the walls or you can follow the manufacturer instructions.

    Finally, the last thing to do is painting. Put any colors you want. If you have any cracked area, then apply several coats on the affected spot. Enjoy your new wall!

    Most of wall paints cannot survive the drastic temperature change that mostly happens during seasonal change. You cannot let this condition happens for too long.

    Otherwise, you just set an embarrassing display of your living place. Do the above steps to bring the charming wall back.

    HOW TO FIX WALL PAINT PEEL OFF

    Originally posted 2020-04-28 10:21:00.