Author: Taufiqul Hasan

  • Beneficial Tips and Tools on How to Clean Exterior Limestone Walls

    Beneficial Tips and Tools on How to Clean Exterior Limestone Walls

    Have you ever heard about limestone? Perhaps some people are not familiar with this word since this is one of the materials which is used by people who want to build a house.

    Limestone flooring in kitchen

    Actually, limestone is included in the sedimentary rock. This rock is usually used for the flooring, the paving to make a road, the shower surfaces, the wall tiles, and also for the counters. People usually use it because it last longer.

    However, this type of rock can be easily scratched and damaged by the acid and heat. If you have the limestone wall, you should find the most suitable way to clean your wall.

    If you use the strong cleaning product which does not have a neutral pH, it will only damage your limestone walls. So, what should you do? You just need to follow the tips on how to clean exterior limestone walls.

    Read also: Tips on How to Clean Brick Wall Exterior and Inside?

    The Tools for Cleaning the Exterior Limestone Walls

    When you want to clean your limestone walls, you need to prepare the tools such as the bucket, the sandpaper, rags and towels, hose, soft scrub brush, neutral stone cleaner, and also loop pad accessory. You should remember to use the pressure washer if you want to remove the stains from the limestone walls.

    Limestone wall veneer

    If you want to use a vacuum cleaner, you should set it on low speed so that it will not damage the limestone wall. This is the introduction on how to clean exterior limestone walls.

    The Tips to Clean the Exterior Limestone Walls

    How to clean exterior limestone walls:

    1. The first thing that you need to do is rinsing down the water to the limestone walls. You can use nozzle which is attached to the hose. You should know that water cannot damage the limestone, so you can do it to remove the dust in the limestone.
    2. You should mix the warm water with the neutral stone cleaner. You can put the mixture in a bucket. If you want to know where you can find the neutral stone cleaner, you can find it in the home improvement store. You should make sure that it is neutral.
    3. Next, you need to wipe down the limestone surface gently.  You can use a soft cloth to wipe it. If the wall is rough, you can use scrub brush or toothbrush.
    4. When you start to clean the limestone wall, you need to start cleaning it from the small section. You should rinse it with clean water after you clean it. Do not ever use the soap dry to clean the surface.
    5. You need to use the rag or brush if needed
    6. You can buff the limestone surface with the soft cloth or towel. For the rough limestone surface, you can let the surface dry naturally.
    7. You should remove the stains from the limestone which have not unpolished using the sandpaper.
    Limestone exterior wall cladding

    Having the limestone wall is the good idea to make your house beautiful. However, you need to know that you should also clean the limestone wall. If you want to clean it, you should know that it is not easy, you should have the suitable tools and really know how to clean it using the appropriate methods. Those are steps on how to clean exterior limestone walls.

    how to clean outdoor limestone

    Originally posted 2021-02-01 01:20:00.

  • Tips on How to Clean Brick Wall Exterior and Inside?

    Tips on How to Clean Brick Wall Exterior and Inside?

    Why use bricks for walls?

    When you want to build a house, you should think about everything. You need to think what type of house that you want, such as classic, modern, minimalist, luxurious, or any other types.

    After you have decided the design of your house, you also need to think about the materials which are used for your house. It is better for you to choose the high quality materials so that it can last longer.

    The next thing that you need to think is about the design of the wall. You need to choose the materials for your wall’s house. Most of people tend to use brick for their wall.

    Why they choose to use brick? The reason is because brick is relatively cheaper and last longer. Do you want to know how to clean brick wall exterior and inside? It is very important for you to know.

    Read also: Wall Décor Ideas with Recycled Wood

    Cleaning Your Interior Brick

    There are some tools that you need to know when you want to clean the interior brick in your house. Those tools are bucket, high powered vacuum cleaner which has brush attachment and the long handled brush, the laundry detergent or salt (you should look at the size of your fireplace), Nylon brush for the fireplace, Cloth to dry the bricks, and TSP to remove the stains.

    How to clean interior brick wall

    The next thing that you need to know is about how to clean brick wall exterior and inside:

    1. The first thing that you need to do is mixing the laundry detergent and the salt. You just need ounce of salt. You can add enough water to make it becomes paste.
    2. Second, you should use damp cloth to apply the cleaning in the stained bricks.
    3. Third, wait for around 15 minutes
    4. Next, brush the fireplace with the nylon brush
    5. Finally, apply the vinegar with brush.

    Cleaning Your Exterior Brick

    When you want to clean the exterior brick, you need to prepare some tools, such as the rake, gloves, stiff brush or broom, hose pipe with spray attachment, and vacuum cleaner. This is how to clean brick wall exterior and inside.

    Outside brick wall designs

    You need to know the process of cleaning the exterior brick:

    1. First, you should change your clothes into the clothes that you usually use to clean your house.
    2. Second, you need to put the hose on full. Then, wash all of the dust
    3. Third, you need to do it from left to the right. You should make sure that you have removed all of the muck and cobwebs using spray.
    4. Next, you need to sweep the mess with broom or stiff bristled brush.
    5. Lastly, you need to use your vacuum cleaner to clean all brick.

    When you see that your brick wall is full of dust and look so dirty, you need to clean it. However, do you know how to clean it? You do not need to be worry because nowadays we have found the way to clean your interior and exterior brick. All you need to do is just following the easy tips above and practice it in your house. You need to know how to clean brick wall exterior and inside.

    Outside brick wall paint

    TIPS ON HOW TO CLEAN BRICK WALL EXTERIOR AND INSIDE

    Originally posted 2021-01-31 06:52:00.

  • How to Clean Floor Heating Vents?

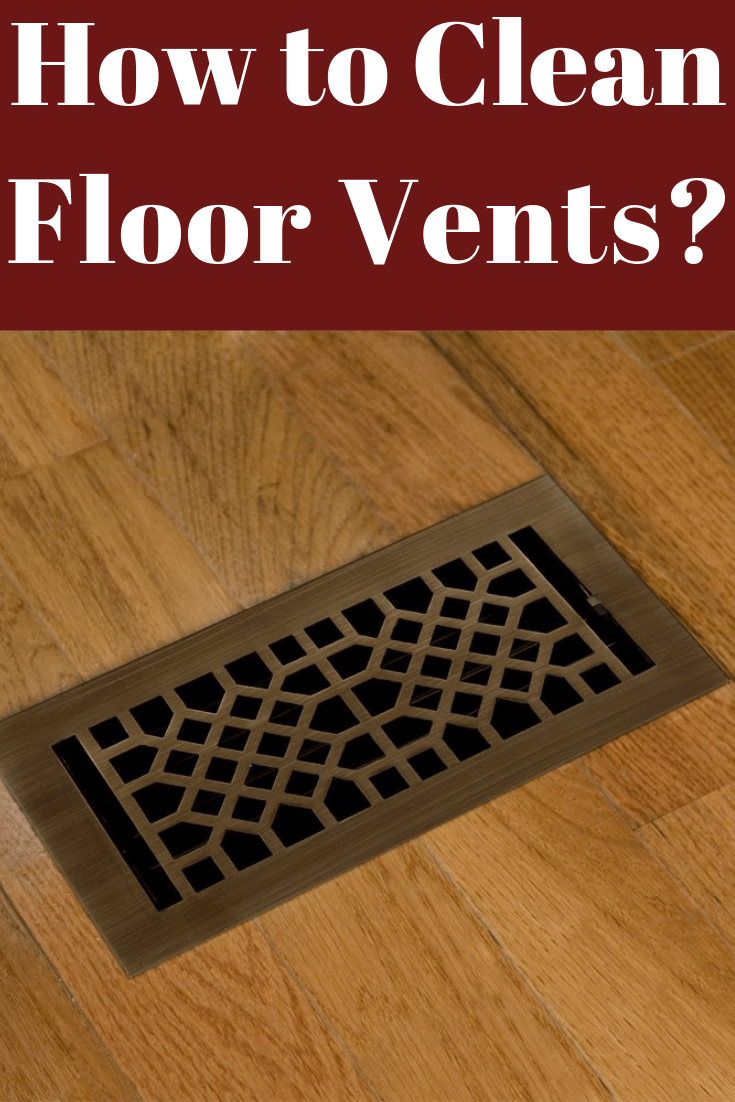
    How to Clean Floor Heating Vents?

    If you don’t know how to clean floor heating vents, there are actually several possible ways to do it.

    However, some people may find difficulty on cleaning floor vents. Here are some easy steps on how to do it properly.

    Read also: How to Clean Vicks Humidifier

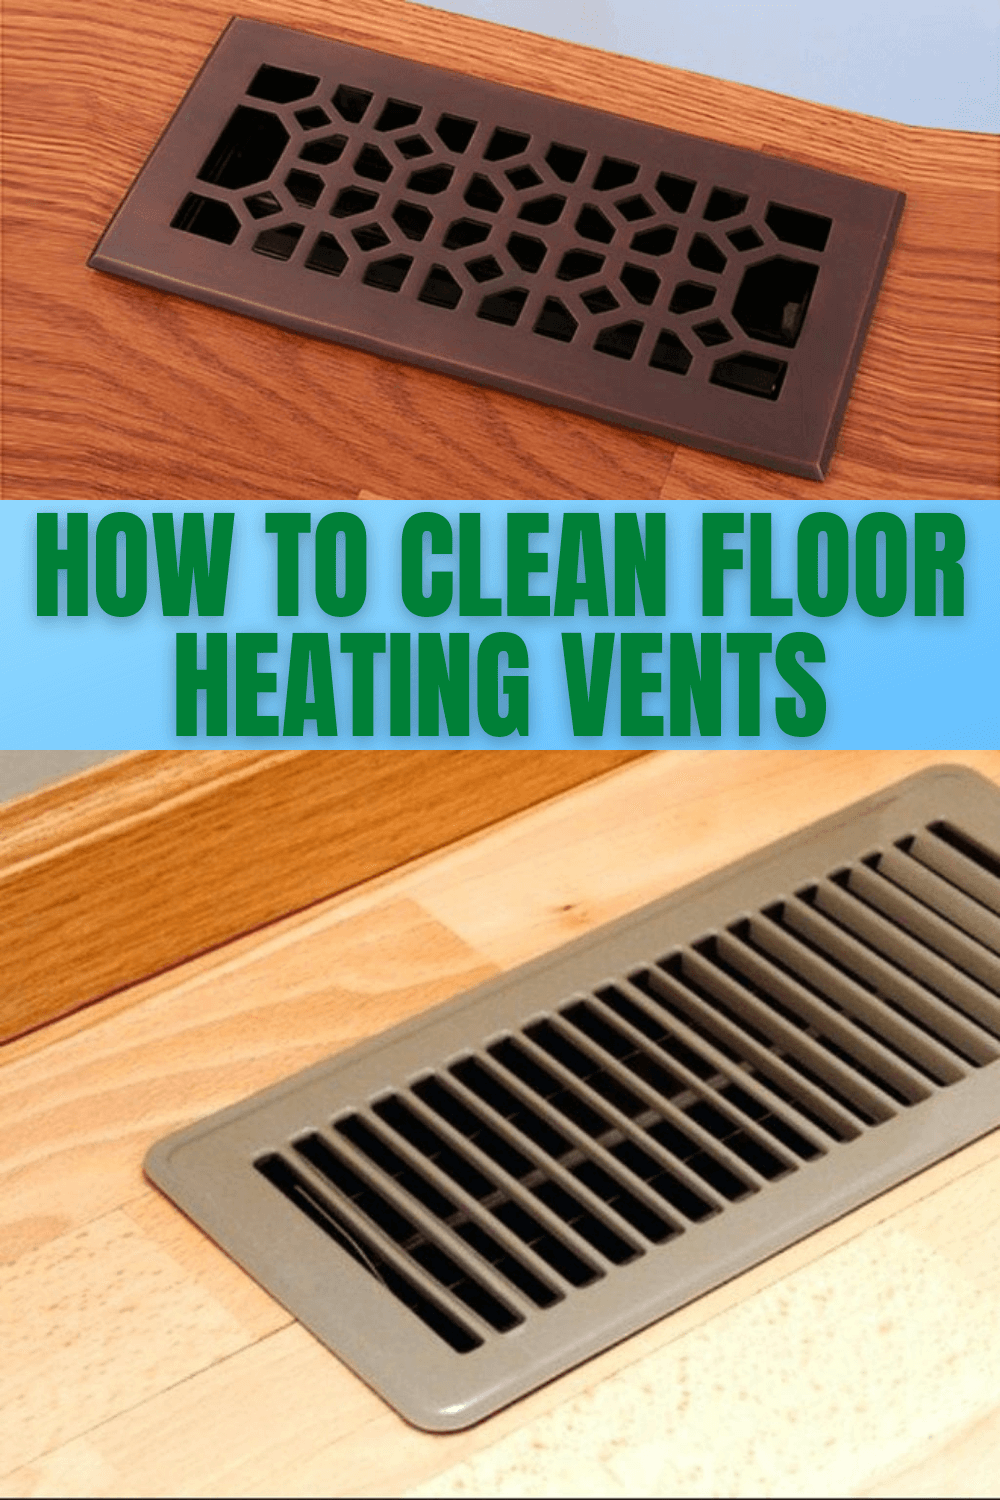
    HOW TO CLEAN FLOOR HEATING VENTS

    Before Cleaning Floor Vents

    It is important to know that before start cleaning floor vents, you need to know thoroughly the vents composition.

    Mostly, vents materials are metal and it is possible to clean it using a dishwasher. It is better not to wash the vents using any paint because paint can be peeled when it is washed by a dishwasher.

    For wooden vents, it is highly recommended not to wash it with a dishwasher as well because it is susceptible to intense heat. If the vents are made of plastic, a dishwasher can’t be used to clean it as well

    Floor heat registers & vent covers

    Cleaning Floor Vents Using a Dishwasher

    For the floor vents that are made of metal, it is recommended to use a dishwasher to clean it. Here are some steps on how to clean floor vents using a dishwasher.

    • First, turn off any vent fan, heat, and air conditioning. It is dangerous to keep these ventilation systems on while cleaning because the blower can spread grime and dust into the air. Grime and dust can irritate eyes and lungs. In addition, it is recommended to wear dust mask and eye protection.
    • Use a vacuum that is equipped with a kind of crevice tool to clear loose dust and grim from the vent. It is essential to do to avoid the dust and grim for falling on the floor. A damp rag can also be used to wipe down vents.
    • The next step is to remove floor vents. Use a standard screwdriver to remove some screws on the floor vents, so that it can be moved from the floor. Use a crevice tool on the vacuum to clean loose grime and dust behind the vents if there is any.
    • After that, arrange the vents in a dishwasher without stacking them. Make sure to not use any dishwasher detergents. It is because detergents are not suitable for vents and it can cause damage on the surface. Next, start the dishwasher for a few minutes.
    • Do not directly move the vents after washing them on the dishwasher because the heat from the dishwasher can make the vents hot. Wait for few moments and then move them to its original place and do not forget to fasten each back with the screws.

    Floor heater vents

    Cleaning Floor Vents Manually

    For other types of dishwashers, such as wooden vents and plastic vents, it is highly recommended to wash them manually. Here are some steps to follow.

    1. First thing first, do not forget to turn off all ventilation systems. Wherever the position of the vents is, it is a must to turn off all ventilation systems.
    2. Then, use a crevice tool to help removing dirt from the crannies and the nooks of the vent. Then, wipe the vents with a damp rag to make sure that it is clean from grime and dust. This surface cleaning is recommended to do to restore vents condition. Surface cleaning doesn’t have to be done thoroughly because the main purpose of vacuuming and wiping is to remove loose dust.How to clean floor vent covers
    3. After that, take the vents out from the floor. Use unused newspaper or a tarp to catch falling dust from the vent. Do not forget to remove screws that fasten the vents to the floor using a standard screwdriver.
    4. Now, the vents are already removed from the floor, bring them to the bathroom and clean the vents in warm water with dish soap. Use a dish cleaning tool, such as a sponge or a scrub brush for more maximum result.
    5. Finally, return the vents to the original position. Make sure to put the screws back on the vents to fasten them on the floor.

    Cleaning floor vents do not require an expert knowledge, but it should be done carefully. Learning how to clean floor heating vents first will matter a lot in the real application.

    How to clean floor vents

    Originally posted 2021-01-29 02:16:00.

  • Portable Kitchen Island with Seating for 4

    Portable Kitchen Island with Seating for 4

    A kitchen island is a must-have property in most homes. However, for those who want to design their kitchen with portable kitchen island with seating for 4 should consider these following recommendations.

    These recommendations are taken from most popular portable kitchen islands. Therefore, they will not disappoint you because of their gorgeous and attractive looks.

    Read also: Kitchen Island Design Ideas For Small Spaces

    PORTABLE KITCHEN ISLAND WITH SEATING FOR 4

    Things to Know about Portable Kitchen Island with Seating

    First of all, having a portable kitchen island equipped with seating is a must-have or considered as essential in new and remodeled kitchens. For those who still questions why it is considered as a must-have thing is because it commonly boost up the cantilevered countertops that are supported by table legs.

    Therefore, it would make your time preparing and serving meals faster and your family can enjoy the cooking’s action while waiting for the meals to be served.

    Additional tips:

    If it does not allow you to place a chair/seat, you can choose a small kitchen island without chairs. Here is recommended portable/movable kitchen island without seating for small space kitchen.

    movable small kitchen island without seating Goplus Rolling Wood Kitchen Trolley Cart Island

    Buy this item Goplus Rolling Wood Kitchen Trolley Cart Island Shelf with Storage Drawers Baskets with free shipping, HERE

    Things to Consider on Designing Kitchen Island with Seating

    If you want to design or build a kitchen island that consists four seating, then you must consider the size of the island, its location within the work triangle, and the other functions of it. Check out these following basic measurements that are worth considering when designing the kitchen island with seating.

    1. The Aisles

    The first thing to measure is the aisles on each side of the island. The ideal measurement of the aisles is at least 42 inches. However, if you plan to have two cooking stations in your kitchen, then the preferred size is at least 48 inches wide. This measurement should be enough to make sure that the area around the island should be spacious enough for moves and traffic.

    2. The Seats

    The next step is to choose the seats that allow at least enough space. For the knee space, 12 inches is adequate while it remains suitable to table height. For examples, dining chairs and low stools will fit beneath table top height counters with 30 inches high. Meanwhile, common bar stools usually fit just well under 42 to 46 inches of breakfast bar height. The counter stools, on the other way, commonly fit well on a 36 inch high kitchen island.

    Read also: how about chair ideas for kitchen island countertop here

    3. The Countertop

    When you are designing and building a kitchen island that consists seating, then you should consider about whether you want an island with multiple levels, which is meant to manage a different task or an uninterrupted span of countertop.

    How to decide one of those options? First, you may need to block the view on those cooking clutters that mess around the countertops. This can be done by setting breakfast bar countertop in a tall setting. In alternative, you can position a higher or lower add-on table at the island’s outer end. You can amplify interest by using varying finishes as well.

    White Portable kitchen island with seating for 4 or more and flower decoration ideas
    Image: homedit.com

    Additional Tips on Designing Portable Kitchen Island with Seating

    There are several additional tips that you may want to consider related to your plan on designing a kitchen island with seating. Firstly, many worktable kitchen islands, mostly have room for seating. The center section will be open for appliances and storage and the longer sides will be accessible for cooking station.

    Breakfast bars that have curve design provide a bit more seating space than their straight counterparts. Secondly, Whatever your configuration of the kitchen island, make sure that the seating is easily accessed by those who enter the kitchen through various doorways and walkways.

    Designing the coziest and most suitable portable kitchen island will take a lot of considerations. Therefore, these tips and recommendations will ease your mind to get an instant inspiration in order to get the most suitable portable kitchen island with seating.

    Movable kitchen island with seating

    Originally posted 2021-01-28 05:21:00.

  • Most Popular Kitchen Countertop Decorations

    Most Popular Kitchen Countertop Decorations

    Undoubtedly, the countertop is a part of the kitchen that can attract our attention the most, compared with any other parts of kitchen.

    Some people usually judge other person’s kitchen just by watching on the countertop. That is why cannot randomly decor your countertop.

    To make it easier for you, here are some examples of kitchen countertop decorations you may try.

    Read also:

    MOST POPULAR KITCHEN COUNTERTOP DECORATIONS

    1. Applying Quartz

    You can use quartz as the materials in case granite is not affordable for you. This type of material will give you durable and strong looking of kitchen cabinet. Quartz is not only affordable but also is easy to get. Unlike when you use granite, quartz has no porous.

    It means you do not have to worry about any liquids like wine, water or oil since they will not cause any staining to your countertop. Quartz is also considered as one of the most hygienic countertop options for kitchen. It is also highly resistant against staining since this material is really strong, so you are guaranteed of its charming look.

    White Quartz Countertops images
    Image: countertopguides.com

    2. Getting Thinner Countertops

    If you are a fond of modern style with low profile design, thinner countertop is suitable for you. Commonly, countertop has for about ¾ inches thick. The maximum thickness of common countertop that usually used is around 1 ¼ inches.

    For recent years, most people like to apply until ½ inches slimmer countertop. Undoubtedly, slimmer countertop looks more urban, trendy and cooler nowadays. It will also increase perceived space as the effect. For the combination, you can also involve thick slabs in your slim countertop. Slimmer countertop will match perfectly with small kitchen.

    White Slim countertop with flower pot and grey kitchen cabinet

    3. Countertops with Patterns and Veining

    Since we are living in the 21st century, it will not be really hard to create such a creative design for your countertop. Now you can choose and decide what character you want to apply to your countertop.

    Unlike countertop in past years, which only had plain style, countertop nowadays comes with so many varieties of patterns.

    Today’s technology can also create vein in stylish pattern that swirls around your countertop. Countertops with patterns and veining will also match with other kitchen elements like its cabinetry, walls and flooring. Create a great visual background for your kitchen activities by applying patterns and veining to your countertop.

    Antique pattern wood countertop decoration

    4. Integrated Concept

    Another trend for kitchen countertop is the integrated sinks. Basically, it is made of the same materials as the countertop, so both the countertop and the sink will blend perfectly.

    You will not need to worry about food bits or dirty liquids that get stuck in the space between the sink and the countertop as a quick wipe will clean all stains or marks on the countertop. The good news is this concept will also work with any kitchen style. You can apply this concept in both modern and traditional kitchen design.

    Decorating a good-looking kitchen countertop does not always cost much money. With right and effective execution, all kinds of decoration will work well in your kitchen. At the end, make sure that your budget supports your plan in decorating your countertop.

    Tuscan modern and traditional combination style decoration
    Image: diaryofane.com

    5. Decorating kitchen countertops with fruit and flowers

    A healthy lifestyle is very much needed by modern people. By decorating kitchen area according to this lifestyle, this make easier to be done.

    You can plan and put the fruit and flower pot according to your own desires and creativity. This picture can be good example for your ideas.

    Flower and fruit for kitchen countertop decorations

    6. Farmhouse Countertop Decorations

    This is also one of the decoration ideas that many people are interested in. You can put kitchen utensils from unpainted wood. This ideas makes a natural rural impression. Happiness in life is art. You can create an artistic atmosphere, even in your kitchen. Good luck.

    Farmhouse kitchen countertops decor ideas

    7. Instant decoration ideas with marble sticker countertops

    This is an easy and fast way. Change the look of the surface of your countertop, as well as interesting decorating ideas.

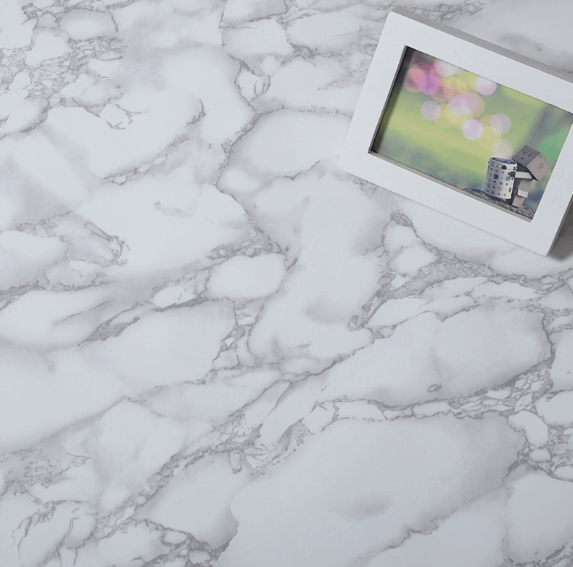
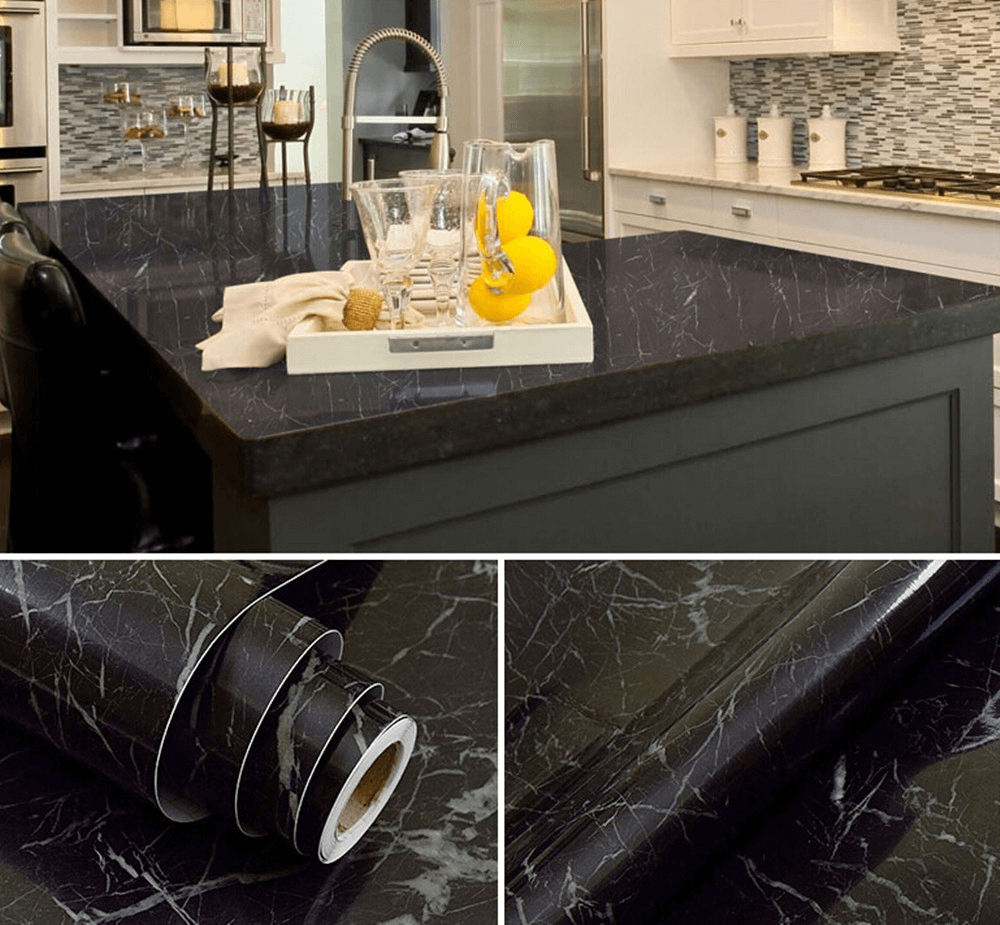
    Especially if you like the look of marble in your kitchen cabinet and countertop. Use this, thickening marble kitchen cabinet countertop PVC material self adhesive marble sticker.

    If you are serious about choosing this method, you can buy this wallpaper HERE. The picture below are some examples of marble sticker designs for decorating your countertop.

    Marble sticker countertops decoration ideas

    Countertops decor ideas with marble stickers

    Nice countertops with marble stickers decoration ideas

    Originally posted 2021-01-27 03:35:00.

  • 12 Boho Bedroom Décor on Budget You Will be Enchanted With

    12 Boho Bedroom Décor on Budget You Will be Enchanted With

    Boho decoration is so in right now, especially for a bedroom. Many people think it looks cozy and inviting while it is almost always effortless to create the look.

    If you like the style too, you are one of millions people today.

    Check out the following ideas. They are boho cute and cheap.

    Read also: 12 Rustic Wooden Bedroom Décor Ideas You Must Adopt Now!

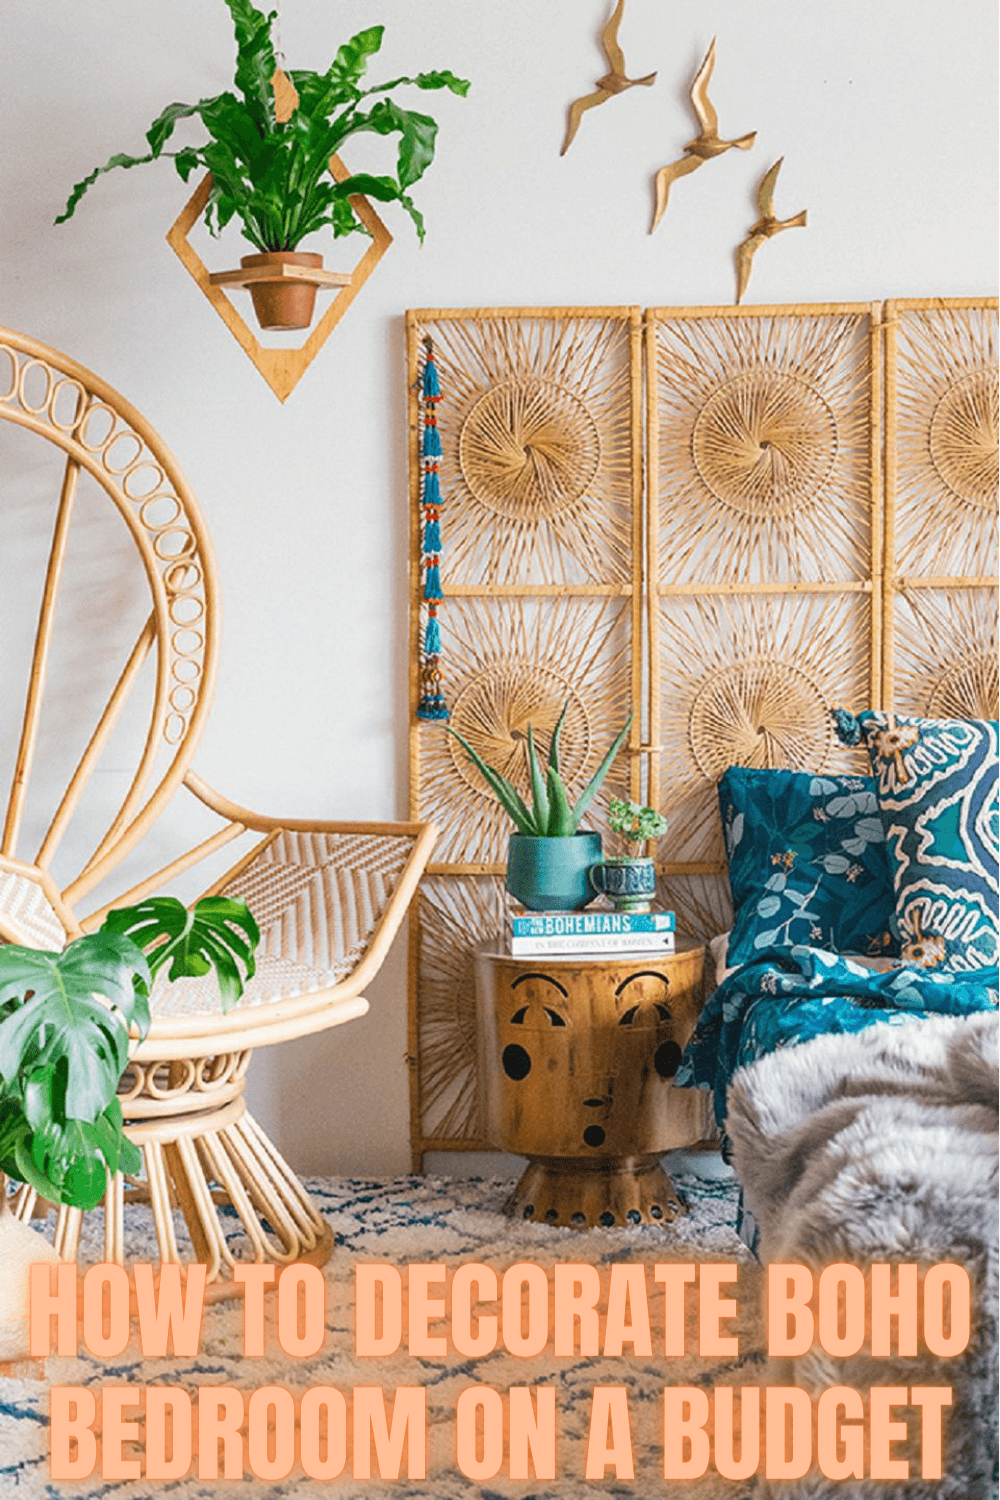
    HOW TO DECORATE BOHO BEDROOM ON A BUDGET

    1. Use Earth and Soft Tones

    All you need is a theme. With them, you have something to work on to. For a cheap Boho look in your bedroom, you can always fill up the room with greens. You can do this by adding several potted plants in the bedroom.

    Then, balance it with warm earth tones. With a pop of pink or bright yellow, you will be able to reach the boho look in an instant. It works every time.

    Boho bedroom decor diy bohemian plants

    2. Use Branches for Display

    Adding greens in a boho bedroom is vital. However, it isn’t a very good idea for those who aren’t green thumbs. In alternative, you can use tree branches for display. You only need some strings so you can hang it on the wall.

    Then, you can store your jewelry on it. While it makes your jewelry more organized, the look will be totally boho. You can use several branches at once in a wall for best look.

    Boho bedroom decor ideas diy with branches display

    3. Repurposes Old Stuffs

    Boho look needs something eclectic and worldy. Without you realizing it, you may already have it and they don’t necessarily have to be new. For example, you can use an old trunk for a table or other possible surfaces.

    You can also use your old blanket that look cool as a wall display or simply throw it on a sofa. While it costs you only a dime, it creates an ultimate look almost in an instance.

    Old trunks repurpose ideas for boho bedroom decor

    4. Area Rug with Pattern

    Boho décor needs several surprising element in the combination. Like what any bright color does, a rug with fun pattern will be a valuable addition. Old rugs commonly come with this pattern so you don’t need to buy a new one.

    Throw it in an area in your bedroom and it will add a deep composition in your bedroom area. It is functional but it plays an important role in your final décor result.

    Boho bedroom rugs bohemian decor

    5. Drape Some Lights

    Boho bedroom always looks soft yet inviting during the dark. One of the best ways to create this look is by alternating your lighting source with fairy lights. You can drape them on the wall or simply hang it anywhere.

    It will make the right boho look during the night while it makes a sufficient source of light even for reading if you hang enough. You should prefer to the battery sourced if outlets will be your problem.

    Boho bedroom Lighting bohemian style

    6. Add Some Fur

    Those with more budget will go for authentic animal fur or the replica with high quality. The fact is most boho bedroom incorporates fur to add a touch of extravagance as well as cozy look.

    While on budget, get just a small piece of fur. It can be a fur pillow or small rug beside your bed. If you know where to place it, you will make the same exquisite look in your bedroom. You don’t even need the expensive one for this.

    Boho bedroom fur throw bohemian decoration ideas on a budget

    7. Make a Collage Wall

    This is also one of the most popular part for boho decoration. You need to make your own photo collage on one of your bedroom walls. Don’t over think it. You can cut pictures from magazine and frame it before hanging it.

    You can also write a quote or hang your photos on the wall. Gather up things you like, and frame them. Then, hang it on the wall, most haphazardly if you are up for it.

    Collage wall decor boho bedroom

    8. More and More Pillows

    Pillows will add comfort in your bedroom, of course. Meanwhile, it will also make valuable pieces of décor. The best suggestion is to gather several pillows in your bed or other areas too and don’t be afraid to pile up several different patterns.

    Actually, mixing patterns will make the best boho look. Explore on colors if your room already has neutral palette. It will contrastive yet inviting boho style.

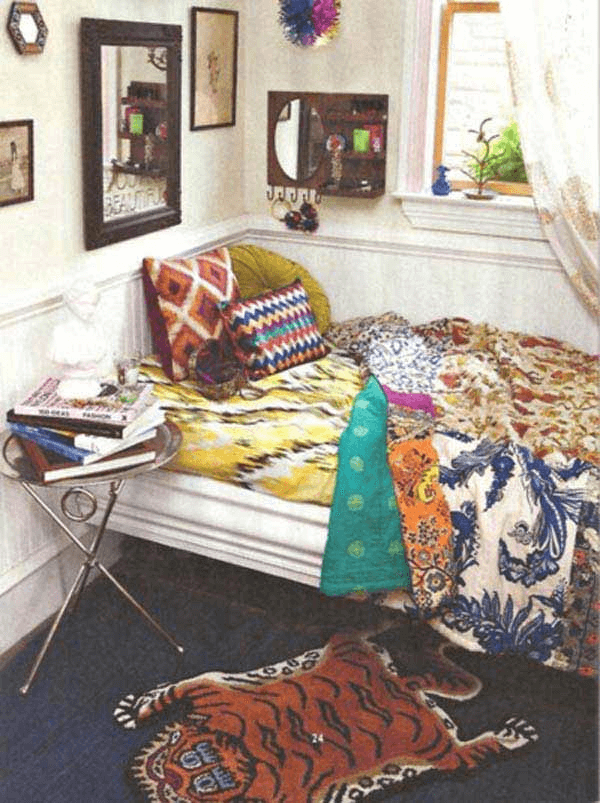
    Pillow boho bed bohemian style on a budget

    9. Hang on the Wall

    You should consider hanging some decorations on your wall. Rather than decorating like other styles, think about creating decorated forest. Choose something that uses neutral color and earty tones like branches.

    Wooden pieces, lights, and earth toned dream catcher are good ideas to add. It makes the wall looks more sophisticated while you are staying low on budget. Don’t worry. Cheap decors can look expensive too. You only need to make sure they are well placed.

    DIY boho wall decor bedroom bohemian urban style

    10. Use Bed Canopy

    This is also one of the look signatures for boho bedroom. You should consider using canopy above your bed. It adds the comfort and you don’t need to go expensive for this. If you want cheap, you can buy the all put together kind. In alternative, translucent curtain with twinkling lights will be dreamy.

    Be creative on how you hang the canopy. Budget way doesn’t affect the look. Boho looks will be achieved anyway.

    Bed canopy boho bedroom ideas

    11. Add Fringe Curtains

    Fringe curtain is something you need to consider adding. You don’t have to by this. Instead, you can use your old blanket that has fringes in it. Then, hang it. You have boho looking curtain already.

    Of course, you can always buy a new one and there are many alternatives you will find. Most of them aren’t expensive as well. Hang on doorway or window or just your wall. It will work greatly.

    Fringe Curtains bedroom boho decoration ideas

    12. Use Bright Blanket

    There are many old blankets that come with curious pattern. Today, these patterns are considered fun. You can ask your mom or grandma for this. Use the blanket and simply lay it down on top of your neutral colored bed sheet.

    While it adds comfort and coziness, and it will be useful during the cold nights, the bright colors and fun pattern will add seriously deep boho looks.

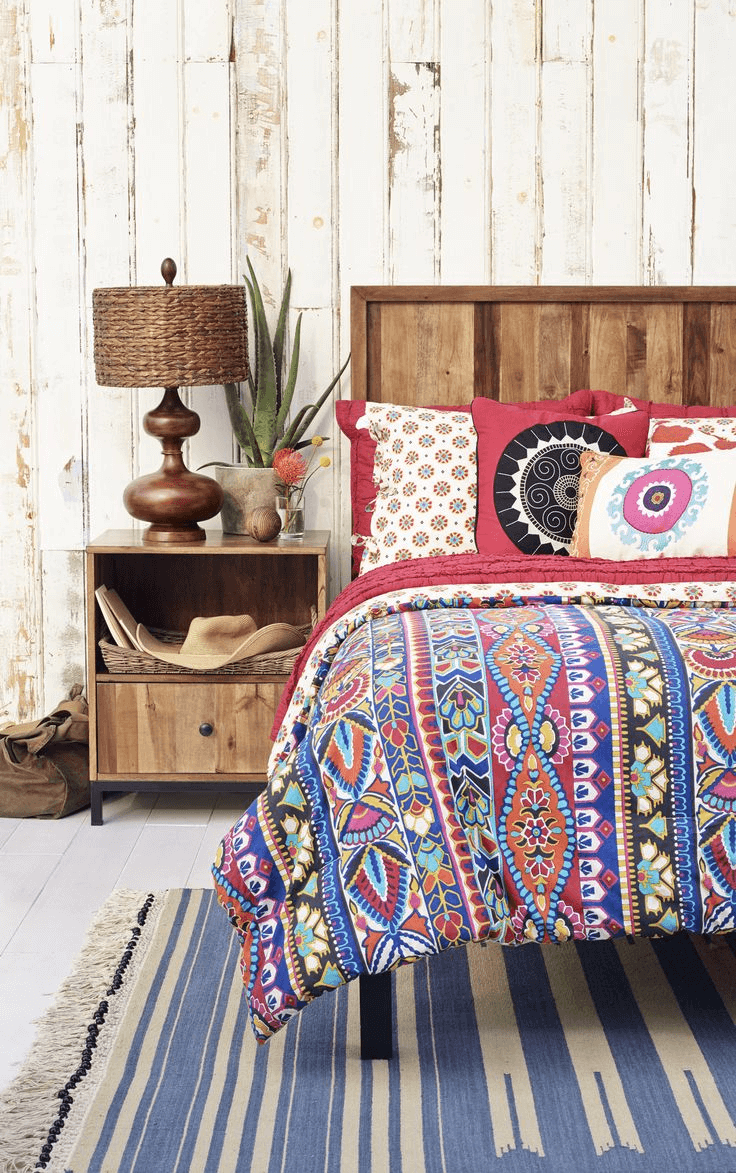
    Bright blanket boho bedroom style decor ideas

    Originally posted 2021-01-26 23:42:00.

  • 12 Rustic Wooden Bedroom Décor Ideas You Must Adopt Now!

    12 Rustic Wooden Bedroom Décor Ideas You Must Adopt Now!

    Rustic feeling and reclaimed wood are more and more in demand today. They seem to blend right away especially for those with modern taste in urban area.

    It reminds us on simplicity and simple style of life while it still represents class and elegance at the same time.

    If you plan to adopt the style, here are several ideas you will like.

    Read also: Amazing Farmhouse Bedroom Décor Ideas

    12 RUSTIC WOODEN BEDROOM DECOR IDEAS TO ADOPT

    1. Log Candle Holder

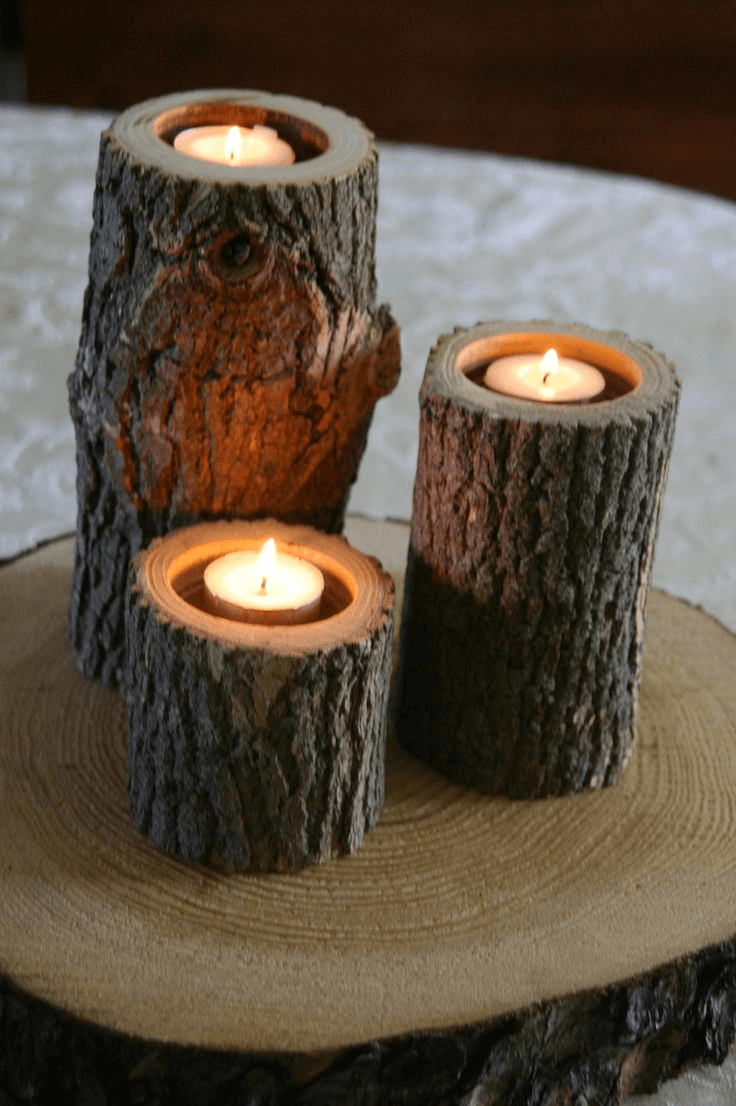
    Adding candle in the bedroom can never fail. Instead of using the usual holder, you can try one made of wooden log. It commonly has a little hole in the middle in which you can place your candle.

    This candle holder is bigger than usual, so it makes decent addition to an empty side table or on a corner of your bedroom. It looks stylish and it adds rustic feeling instantly while it is romantic at the same time too.

    Log candle holder for wooden rustic bedroom decor ideas

    2. Door Headboard

    The main idea of rustic decoration is to use things that are or that look like they are old and they are reused. In this case, you can try using a pair of old doors as your new headboard. Choose a pair that fit your bed size.

    The best thing about this idea is you don’t need to refinish the door. You are supposed to keep the old and used look. You can attach it or not, but the old house makes the rustic style.

    Creative door headboard ideas diy for wooden rustic bedroom decoration

    3. Old Window Frame for Side Table Accessory

    Similar to using the old doors, you can also use old window frame as a rustic decoration in your bedroom. Instead of using it as the real function, you can try to lean it to the wall with the bottom is on the side table.

    Just the same with the previous idea, you don’t have to refinish the window frame. Leave it as how it looks right now and use it to replace the painting.

    Old window frame decor rustic bedroom ideas

    4. Tufted Bedroom Wall

    Instead of remaking the entire room, you can try adding wooden panel on one of your bedroom walls. One of the most recommended idea is to panel your headboard wall. It instantly draws the attention to it. You still can hang other things like painting and photo, but it looks just great this way too.

    It looks just as great with modern bedroom furniture or other styles as well. You don’t need additional décor with this idea.

    Wooden wall panels bedroom headboard

    5. Floating Wall Shelves

    If you have a vacant wall in your bedroom, you can add rustic décor by adding floating wall shelves on it. To meet your need for rustic feeling, you can use the 2×4 wood for it. Attach several pieces so you have layers of shelf.

    Don’t refinish the shelves and leave the original look. It allows you to get the old look while it is fully functional as well. Add some greenery for deeper look.

    Rustic Wooden Floating Wall Shelves Bedroom Decoration Ideas

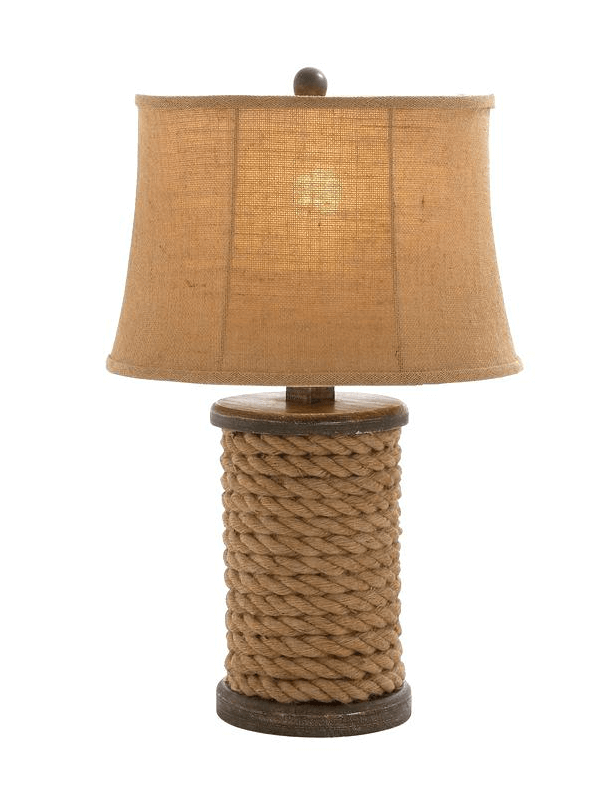
    6. Rope Wrapped Night Lamp

    You don’t need to go expensive to reach the rustic style. Instead of purchasing new décor item, you can use your recent things. The night lamp for example is a great item that can be modified easily.

    Wrap the body part with rope and don’t forget to use the right glue to prevent it from falling off. It is cheap and easy enough to do and you will love how it changes the look of your bedroom instantly.

    Rope wrapped night lamp bedroom decoration ideas

    7. Headboard Barn Lighting

    This idea is actually smart and very convenient. If you already have a wooden headboard, especially, and you look for a new way to enhance the look, try this idea. Take a pair of barn lights and attach it on each end of the headboard.

    It makes practical reading light that eats a small space, while it instantly gives you the rustic look. Make these lights functional and you get the best rustic décor that works for real.

    Wooden headboard bedroom with light

    8. Wooden Crate Bedside Tables

    If you want to add rustic décor in your bedroom, changing your bedside tables choice will be a great idea. First, you are going to need several wooden crates. Then, stack several of the crates to form a bedside table.

    You can stain the crates but it is totally okay if you don’t refinish them at all. It looks great with modern stuffs, and it looks extremely great with small plants with green leaves.

    Wooden rustic bedroom decoration with crate bedside table

    9. Wooden Wall Hooks

    A bedroom deserves several wall hooks. You need them to hang coats, hats, scarf, and more things too. If you already have a place for it, you still can add this in your bedroom. Instead of hanging those stuffs, you can hang mason jars or lights as décor.

    For best look, use wooden board and add metal hook for it. Then hang contrastive things on it like white mason jars, and green leaves in it.

    Wooden wall hooks coat racks for rustic bedroom decor ideas

    10. Distressed Wooden Frame for Mirror

    Distressed frame is one of the most effective ways to add rustic décor in your bedroom. It has the rustic and used look while it still looks charming and incredibly stylish. The idea is to replace your recent mirror frame with it.

    For more dramatic result, you can replace your oversized mirror frame with this distressed frame. It looks as if it is inherited or something and you’ll love how it changes your room.

    Distressed Wooden Frames rustic mirror bedroom decoration ideas

    11. Barn Sliding Door

    Let’s get a little creative. Your elegant bedroom may need something rather big to get the real feeling of rustic style. Instead adding small decoration items in this style, you can try replacing your bathroom door with barn door.

    The door needs to be wooden. For more efficient space using, make it a sliding door instead. It gives you the chance to use metal slider and knob. While it is a great addition in the room, it look totally stylish.

    Barn sliding door bedrooms wooden rustic decoration ideas

    12. Pallet Bed Frame

    Wooden pallets make a great material for a bed. You only need to stack them together in the right proportion and make sure they stick just right. Next, you can add your mattress on it and you have stylishly rustic bed.

    The best thing about this bed is that you have a lot of shelves. You can store shoes, magazines, and whatever things you want to store. It is stylish while it is fully functional at the same time.

    Pallet Bed Frame diy storage ana white
    Image: ana-white.com

    Originally posted 2021-01-24 10:29:00.

  • 5 Simple Steps on How to Decorate a Bohemian Living Room Easily

    5 Simple Steps on How to Decorate a Bohemian Living Room Easily

    Do you want to make your living room being an amazing place to gather around with your friends and family? Have you ever tried to decorate it with a very bold and colorful decoration?

    You probably want to try to decorate it with a bohemian style if you know how easy it is to set inside your house.

    But, what is a bohemian style décor? You can say that it is a kind of a free style décor. This style of décor is inspired from a bohemian yet carefree mystique in a traveler world.

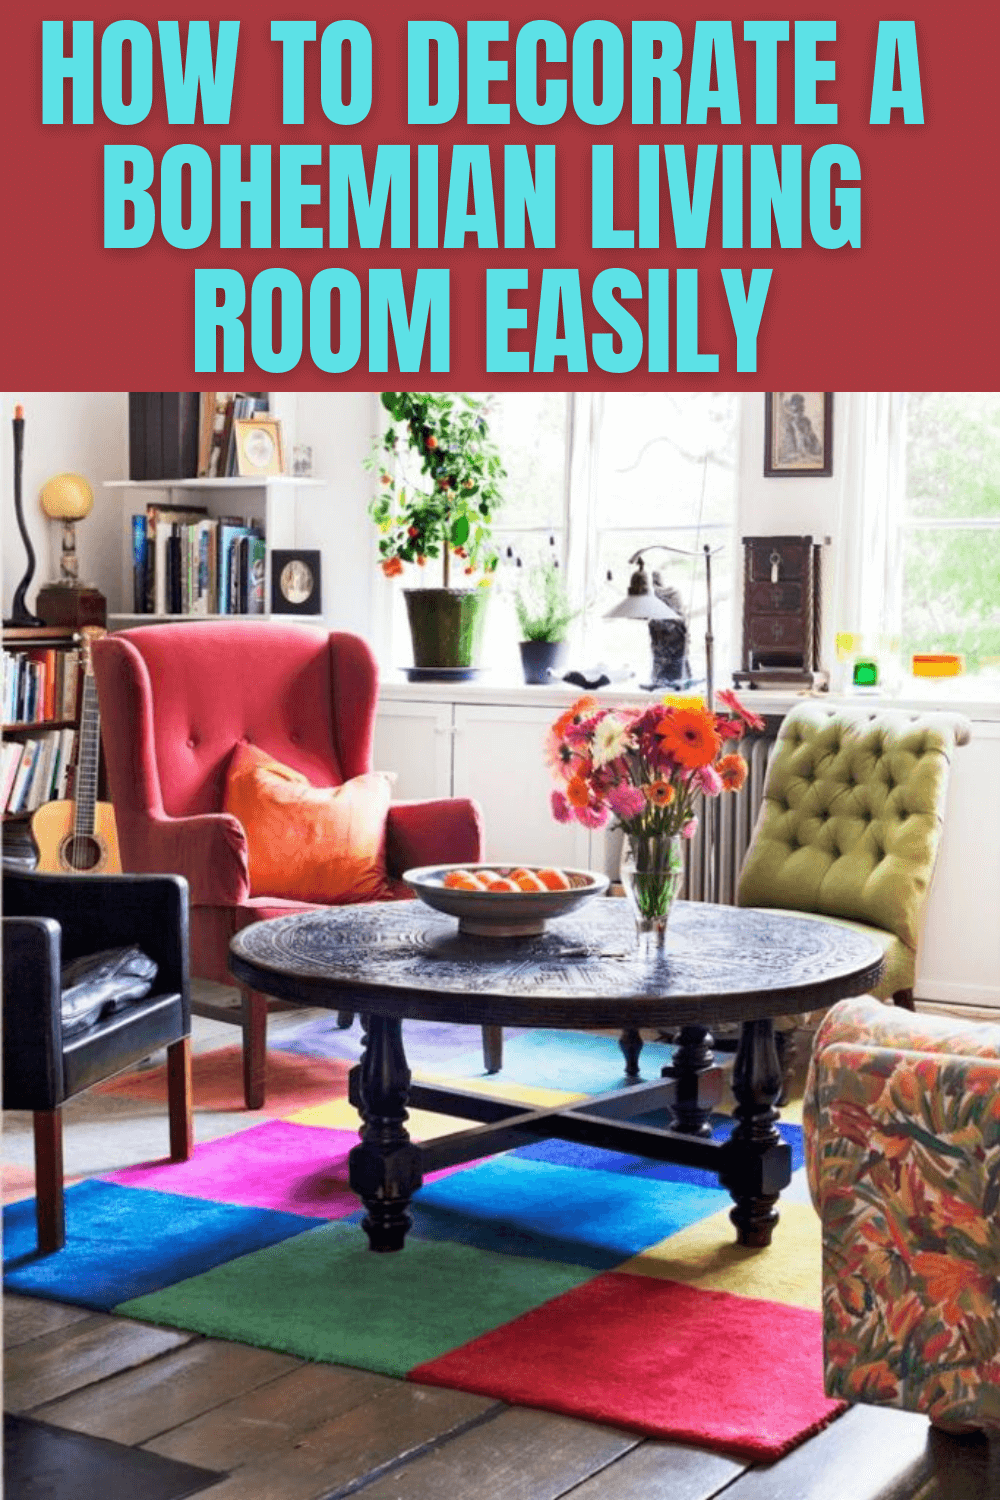
    HOW TO DECORATE A BOHEMIAN LIVING ROOM EASILY

    It reflects the free strong-willed behavior which spreads energetic, lively, and bold characteristics.

    When you apply this unique style in your living room, you can create an aesthetic yet dynamic looks which can be really inspiring. You can mix and match anything based on your décor taste.

    You can even choose colorful ornaments or furniture to be placed in your living room even if the colors are unmatched. You can choose any colors, any patterns, any motifs, any texture, anything! Isn’t it great?

    A bohemian style, or a boho style, is very famous in the décor style world nowadays. It becomes really well-known as it allows you to show a bright, colorful and bold décor.

    This kind of style is suitable for people who like to make experiments or exploration or reinvention on interior decoration. If you look for a change in your living room atmosphere, you can try this distinctive décor style.

    You can also decorate the living room according to your personality, your life interest, inspiring patterns and colors. Generally, make your own living room as a character reflecting your liveliness. Try to capture various kinds of décor styles, patterns and colors. Be brave and confident to put everything to decorate the living room.

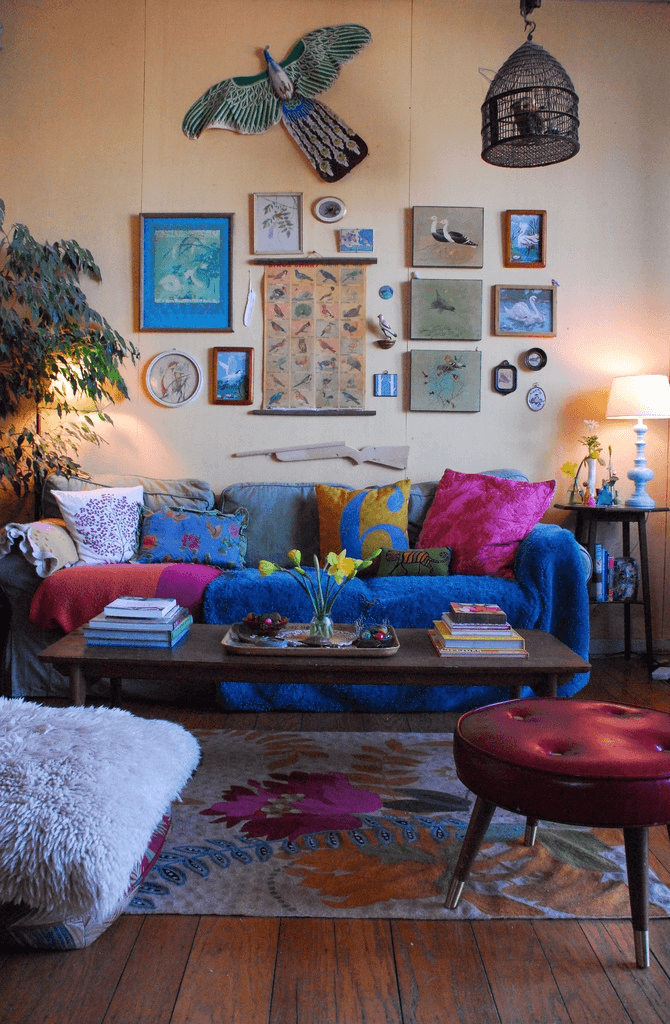
    Bohemian Living room Home Decor Ideas

    If you are ready to give some bohemian décor style inside your house, first thing to do is try to define you. Look deeply into your heart and soul, how you describe yourself as a human being. Then, after you got the answer, try to implement it into your décor style. Remember! This boho style isn’t intended for an organized person.

    Besides, fancy décor rules are not applicable in the boho style. Don’t block your creativity when you decorate the room. Don’t be discouraged when you see that your living room becomes really chaotic. It may seem a bit chaotic, you think, but it is not. You are considered to be successful in creating a bohemian style if you can show rich patterns, textures, details and colors. Then, the result is a colorful yet relaxed look.

    So, are you ready to do a bit experiment for your house? Here are 7 great steps that you can follow when you want to give a bohemian touch in your living room. There are 7 a-must-have features that you need to put when you decorate with the bohemian interiors.

    Read also:

    1. Add Lots of Cute Items

    Keep in mind! Bohemian style is basically about lots of adorable ornaments. And decorating your living room with them everywhere is what you must do. Ornaments like charms, tassels or pom poms are what you need to put all over the place in the living room. Hang lots of them everywhere to bring the bohemian vibe out.

    2. Decorate with Lots of Greenery

    Bohemian style also means natural décor style. To create the natural style for the room, you can put lots of green plants. Put as many plants as you want. You can put them near the windows, or at every corner of the room, or you can even hang them. For smaller plants, you can put them on the table. To make the plants more colorful and fun, choose attractive planters. Or, you can DIY your own planters suited with your personal style.

    3. Decorate with Multi-colored Rugs

    As you already know, bohemian represents colorful idea. Then, choose carpets or rugs with rich details to give a boho touch on the floor. Choose rugs with lots of colors and patterns which are really eye-catching. This choice of décor can make your room become more eclectic.

    4. Throw Lots of Pillows

    To bring a bohemian vibe in your living room in an instant way, just put lots of pillows on the sofa. Choose pillows in different motifs. Don’t forget to choose the ones with energetic colors and remarkable patters to give the bohemian look. Besides the sofa, you can also place some pillows on the rugs. You may also choose the pillows of different sizes as the décor. The sizes, the patterns, the textures, the colors, and also the motifs can be different for each pillow. No fixed rules!

    5. Decorate with Hammocks

    It can’t be denied that hammocks have become relaxing and pleasant bohemian décor style that everyone must have in their house. You can add one interior hammock to make your living room warm and cozy. The additional of hammock as the décor is also resulted in the excellent look.

    6. Add Wall Decoration

    To bring a bit of boho aura in the room, you can add a little bit of gipsy touch. You can decorate your wall with some gipsy ornaments. You can hang lots of flying bird decorations, colorful pictures, vibrant house signs, etc.

    7. Pay Attention to the Lighting

    One important thing to create a bohemian décor style is about details and one of them is about the space lighting in your house. To make it radiant and bright, you can mix different sources of lights for the room. Combine the natural light from the sun, pendants and also candles altogether. These combinations can set the bohemian mood as well as create great interest of everybody visiting your house.

    It is easy to set up a chic bohemian style, isn’t it? So, what are you waiting for? Get yourself some of those decorations now and change your house into some colorful yet lively boho house. Don’t be discouraged when some of your fiends don’t like it. What matters the most is your feelings. Don’t hold yourself and be creative!

    How to Decorate a Bohemian Living Room Easily

    Originally posted 2021-01-21 04:24:00.

  • How to Clean Flooring Laminate?

    How to Clean Flooring Laminate?

    How to clean flooring laminate? This question must have been lingering all the times, especially for those who have beautiful flooring laminate in their house.

    For your information, more and more people adore such flooring because it combines the beauty of natural wood with completely easy maintenance.

    Unfortunately, despite the completely easy maintenance many people still do not have any idea about to clean it properly. What should you do then?

    Read also: How to Clean Ceramic Tile Floors and Grout?

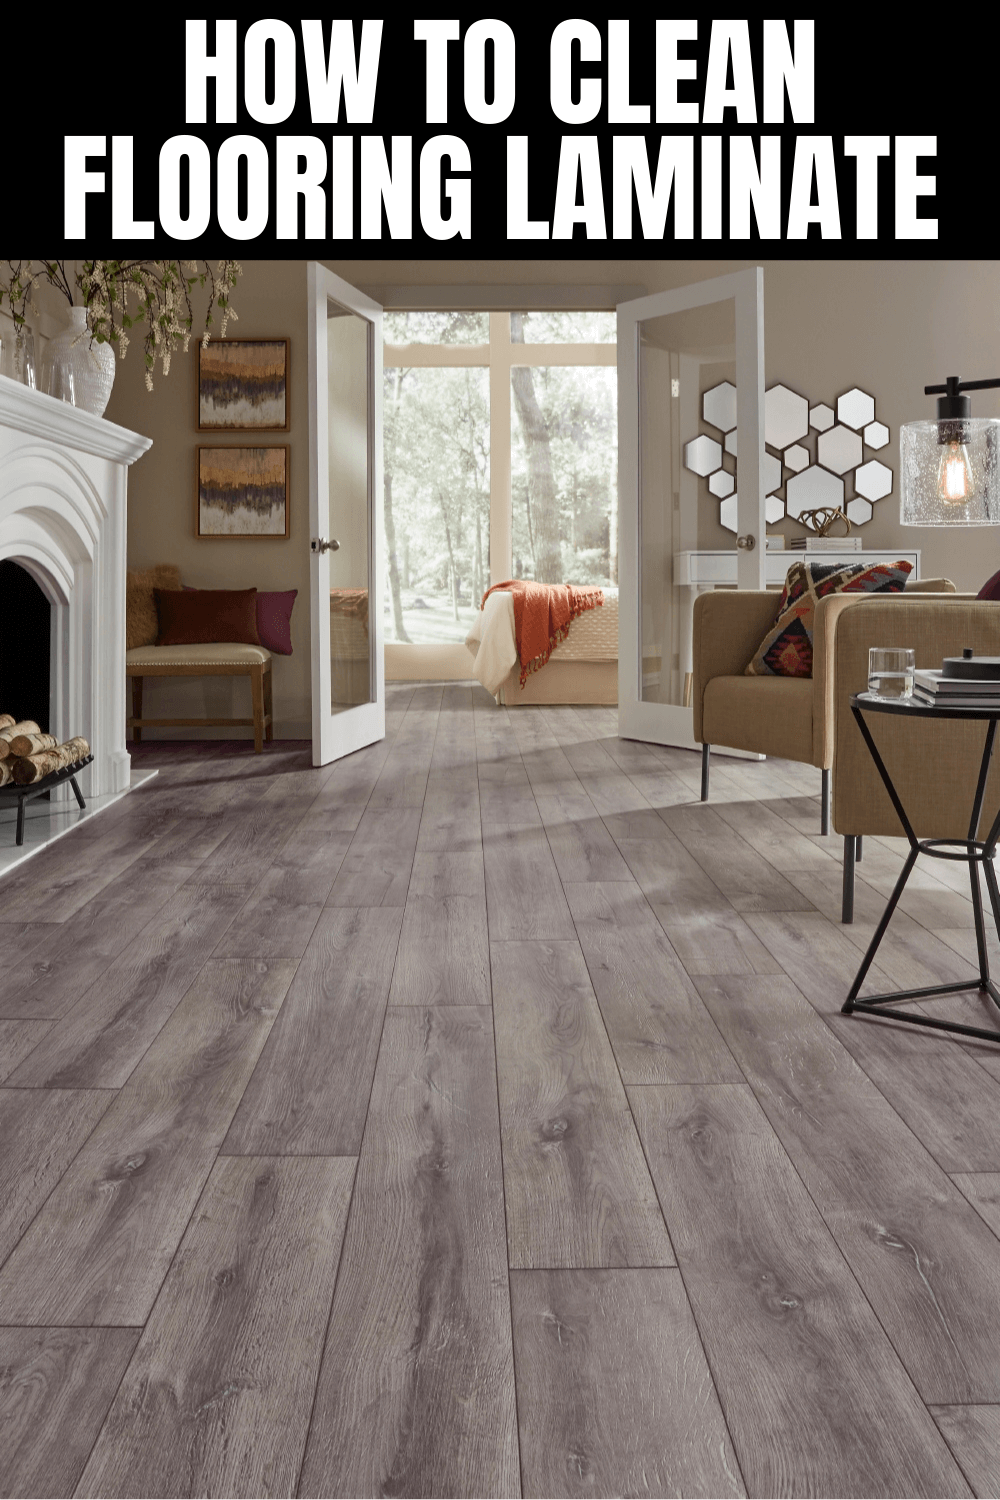
    HOW TO CLEAN FLOORING LAMINATE

    Instructions

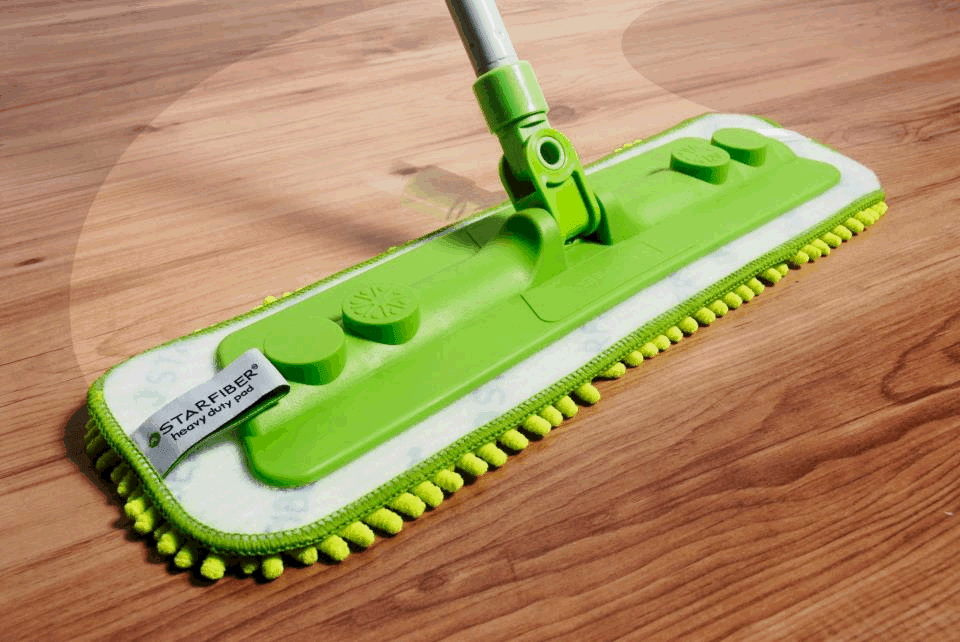
    As having been mentioned above, cleaning flooring laminate is completely easy. With the right preparation and appropriate procedures, you can keep the beauty of your flooring laminate for such a long time. For a start, you need to have the following two things: microfiber mops and cleaning solution.

    This microfiber mop can glide across your flooring laminate and it easily picks up any types of dirt and hair. Its swivel head can cover huge areas so you can your flooring, laminate easily without any effort. The cleaning solution, then, will help you a lot in bringing back your bright and shiny flooring laminate.

    In cleaning your flooring laminate, you may pay attention to the following steps:

    1. Vacuum your flooring laminate in order to get rid of dust and tumbleweeds
    2. Dampen the pad of your microfiber mop with warm water and spray your cleaning solution all over your laminate flooring
    3. Mop your floor
    4. When the pad gets too dirty, you have to rinse and replace the pad; then, you may continue cleaning your floor
    5. When you have done your job, you can rinse your microfiber pad and put it in either your wash machine or your sanitary wash

    You should not clean your laminate flooring with a string mop or sponge mop because both mops take more efforts and longer time. Plus, they might leave streaky spot and they also use lots of water. As a result, moisture from water might fall into and fill the cracks left over the flooring laminate.

    Best mop for laminate floor cleaning

    Instructions on General Cleaning

    In order to maintain the beauty of your flooring laminate, you should perform the daily maintenance. For this purpose, there are some steps that you can take. These steps will be explained as follows:

    1. Sweep the floor regularly in order to remove any dirt

    • Although laminate flooring is scratch-resistant, accumulating dirt, hair and debris might cause scratches over time. Sweeping the floor regularly can prevent such accumulation.
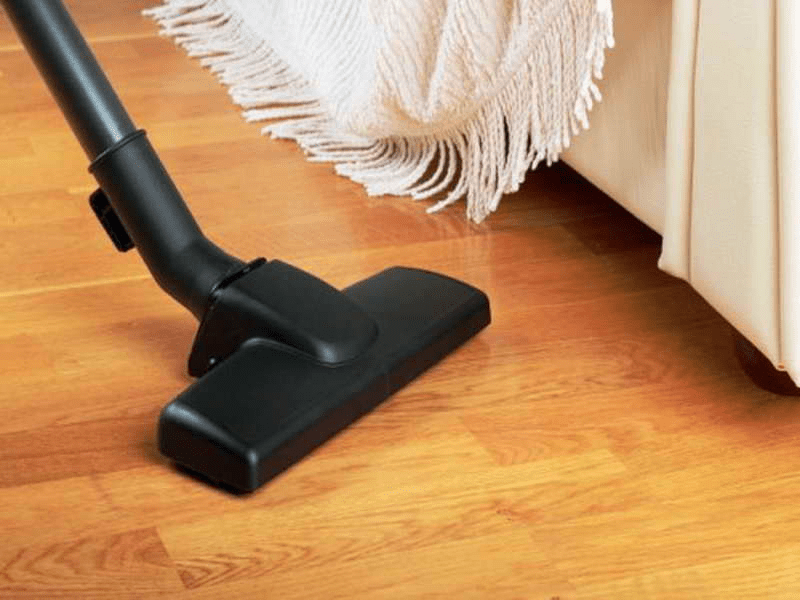
    • In order to get maximum result, you may consider using any vacuum cleaners with soft-brush attachment.Laminate wood floor vacuum cleaners
    • Do not clean your laminate flooring with a standard floor brush. Such brush can damage the surface through stiff and straw-like bristles.
    • Sweep the floor according to the direction where the floor has been laid. This will allow you to pick up any debris that falls all around your flooring laminate.

    2. Clean up spills immediately by using a cloth or a sponge

    • You should never allow any types of liquid to sit on the floor for such a long time. Liquid certainly can damage the protective layer of your flooring.
    • Soak up the excess liquid with a dry cloth
    • Make sure to make the cloth wet first or the sponge before cleaning the spill in order to completely clean any residue that is left.
    • Wipe the spot with a dry and if possible soft-texture cloth and do not let the spilled area stay wet.

    Cleaning laminate floors with white vinegar

    Alternative Cleaning Solutions

    In “Instruction” section, we used to discuss about cleaning solution for your laminate flooring. Such cleaning solutions are available anywhere in the market. However, since they are chemicals, they might not be environmentally friendly. As an alternative, you can create your own cleaning solution. What you need is only vinegar and water.

    1. Create a solution of vinegar and water. Pour ¼ cup or 60 ml of vinegar into 30-32 Oz or 940-1000 ml spray bottle. Then, fill the rest of the spray bottle with plain water and shake it well so that the solution might be perfectly combined.
    • Diluted vinegar is very useful for cleaning hard-to-remove stain that usually causes your flooring laminate to fade or dull
    • Vinegar, by the way, is too abrasive in its pure form. That’s the reason why vinegar should be combined with water.
    • There is another recipe for this vinegar solution: you can combine 1/3 Cup or 80 ml of vinegar, 3 squirts of liquid dish detergent and 1 gallon or 4 liters of warm water.
    1. Spray the solution over your flooring laminate a little bit at one time. The coverage area should be around 1 foot or 30.5 cm.
    • Don’t spray the vinegar solution all at once. Otherwise, you won’t have a chance to clean your flooring laminate in overall.
    1. Wipe the solution with damp mop or cloth. After you have sprayed the vinegar solution, you should clean the sprayed area quickly.
    • Remember not to use abrasive cloths. As an alternative, you may use a soft microfiber cloth.
    • Wring out your mop before you use and, remember, you should not soak the floor with water. Otherwise, you will cause warping all over your laminate flooring due to the moisture.
    1. Dry the laminate. If you feel that a lot of water still stays in your flooring laminate, then you should soak it up and dry it with a microfiber cloth. On the other hand, if the amount of water is very low, then you may let it dry by itself.Mop with microfiber cloth

    Hard to Remove Stains

    Some stains are indeed hard to remove. As a consequence, these stains need special treatment. The stains that have been quite hard to remove, by the way, are as follows:

    1. Blood

    For cleaning this stain, you should use window cleaner. Spray the blood stain with a small amount of window cleaner and clean it with non-abrasive microfiber damp cloth. The quicker you handle this stain, the sooner the stain will be removed.

    1. Chewing gum

    In this situation, you should use a plastic knife to take out the chewing gum. Then, you should spray mineral spirits in order to remove any leftover. Remember not to use a metal knife since it might scratch your floor. You may also use damp cloth for cleaning the leftover.

    1. Soda, wine, crayon marks and ink

    For this situation, you wipe them with a damp microfiber cloth. Similar to the previous stain, you will also need to use mineral spirits for removing the stain. If you find that some stains are harder to remove, you can add a little detergent or ink. Then, you have to make sure clean again the spilled area with warm and clean water.

    1. Polish, shoe polish and tar

    In this case, you have to add a little nail polish removal to your damp cloth and scrub the stain until it is totally removed. Then, you should wipe the spilled area clean with clean and warm water.

    1. Heel marks and scuff

    This type is stain is quite easy to remove. You just need to simply rub the stain with an eraser until they are totally off.

    1. Grease

    This one might be quite tough. You should freeze it by applying an ice pack or frozen vegetables. Then, you can scrape the frozen grease with a plastic knife. The remaining grease might be wiped out by a small amount of window cleaner sprayed on the spot and a damp cloth. Remember not to use a metal knife.

    In order to maintain its beauty, you may apply protective pad all over your laminate flooring. You may also place doormats and floor mats; they will certainly trap dirt long before it steps into your house. By doing so, and of course by following the above instructions, you will not only bring back the beauty of your flooring laminate but also make it last longer. This is the end of the discussion related to how to clean flooring laminate and hopefully this discussion will be useful.

    Laminate flooring design patterns for bedroom

    Originally posted 2021-01-20 20:54:00.