Category: Home tips

  • Tips How to Clean Flagstone Floor

    Tips How to Clean Flagstone Floor

    How to clean flagstone floor is needed to know by those who apply flagstone floor on their home. Indeed, flagstone floor is a very unique and it can last long.

    In addition to it, it can be used for any room. A well maintained flagstone floor will enhance the beauty of rooms. However, it is quite hard to get cleaned up.

    So, how to keep it clean? Here are several guides to follow:

    Read also: How to Clean Ceramic Tile Floors and Grout?

    TIPS HOW TO CLEAN FLAGSTONE FLOOR

    1. Preparing What You Will Need

    Before clearing flagstone, some preparations are needed. Here are some things needed to prepare:

    1. Broom
    2. Bucket
    3. Water
    4. Dustpan
    5. Floor sealer
    6. Mop
    7. Removing Any Debris

    Debris on flagstone floor is very dangerous as it can destroy flagstone floor layer due to the abrasive action. It happens especially when there is a lot of sand and grit on the surface that may scratch floor.

    Removing debris can be done by sweeping floor. Make sure that it is done before mopping the floor.

    If there is still some dirt, it will leave more stain on flagstone floor after mopping. Do not forget to use broom and dust pan to clean any loose particles. Make sure it is squeaky clean before we can continue to the next step.

    2. Mopping the Floor

    After debris is removed, it is a high time for mopping floor. How to mop correctly to get maximum result? Here is what needs to do:

    1. Fill bucket with water and some soap. Make sure that the soap has around 7 pH. A neutral cleaner is the best for cleaning flagstone floor. Mix it by stirring water. Make sure it is mixed well.
    2. Dip mop until it is damp.
    3. Place the mop on the floor. Move it right to left or up and down. Repeat it until it is clean enough. If it is not clean enough, re-apply water to mop and place mop to floor again.
    4. If it is still not clean, use sponge to remove stain and dirt. It is also possible to use organic stain removers to remove organic stains. Due to its porous characteristic, stains on flagstone may be hard to clean while removing it using non-organic cleaners can cause discoloration on floor.
    5. Wash floor with water once again. Make sure there is no soak left because it leaves some stains on floor. If it is needed, clean floor using sponge or unused but clean cloth to clean floor.
    6. Dry up flagstone floor until it is really dried up.
    7. After it is dried, seal floor with any floor sealers. It will last for 2 up to 3 years. It will prevent stains and it will keep the beauty of the floor.
    8. Mats can also be applied on high traffic areas. It will prevent from any scratches caused by sand and grit. In addition, it also helps to capture debris and dust.

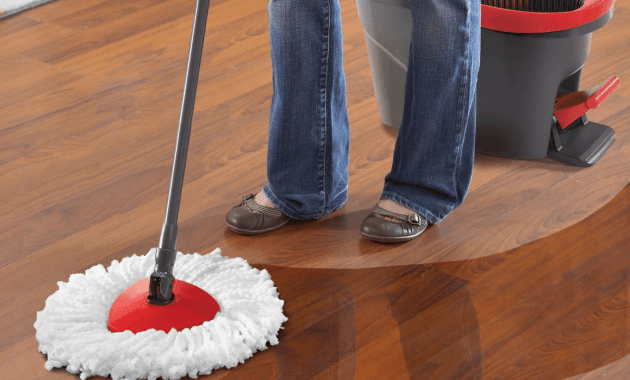
    bucket mop floor cleaner

    There are some causes that potentially make flagstone floor looks dirty, but mostly,  it is caused by debris or even scratches. To prevent any scratch, do not ever push heavy things across floor and always wipe away all liquid spills as soon as possible.

    In addition, always prepare a dish or anything that can capture water from any potted plants. It is best to avoid acid or citrus based cleaners and products with ammonia. It has abrasive action and it will make floor looks dull.

    3. Additional Tips for Your Flagstone Floor

    Not only cleaning your flagstone floor, you also need to care your floor in other ways. Here are probably a few things you need to do.

    a). Remove Stains

    Main tips: You should use organic stain removers to remove organic stains on your flagstone floor. For non organic stains you can use mild bleach.

    Another important tips: You have to clean evenly. Be careful with residual stains, because it can leave your flagstone floor surface color changing.

    b). Seal your Flagstone Floor

    Liquid spills on your flagstone floor can cause stain easily. Sealing your floor for solution. This way keep your floor still clean and beauty. You can add acrylic floor after the sealer to keep floor still dry.

    c). The Mats for More Protection

    Some areas in your home floor are vulnerable to friction with the sand and grit carried into the house. Here you can add mats or rugs.

    Besides that, this is also good for decorating your home, right! The small mats or rugs can be easily moved. Also still does not cover the entire floor surface. So, it still show the beauty of your artistic flagstone floor.

    d). Avoid These Cleaning Products

    Don’t let your flagstone floor dull. Don’t use cleaning products that contain ammonia, because the floor glow will disappear.

    Also avoid grout cleaners, bathroom tub cleaners, and scouring powders for your flagstone floor. These products can cause abrasive effects that give damage to your flagstone floor.

    Basically, cleaning flagstone floor is the same as cleaning other floors. Its pore might make it hard to clean so it needs special treatments. Hence, use how to clean flagstone floor guide above to give regular cleaning and maintenance to your flagstone floor.

    Originally posted 2020-01-11 02:15:00.

  • How to Clean Rubber Floor Mats

    How to Clean Rubber Floor Mats

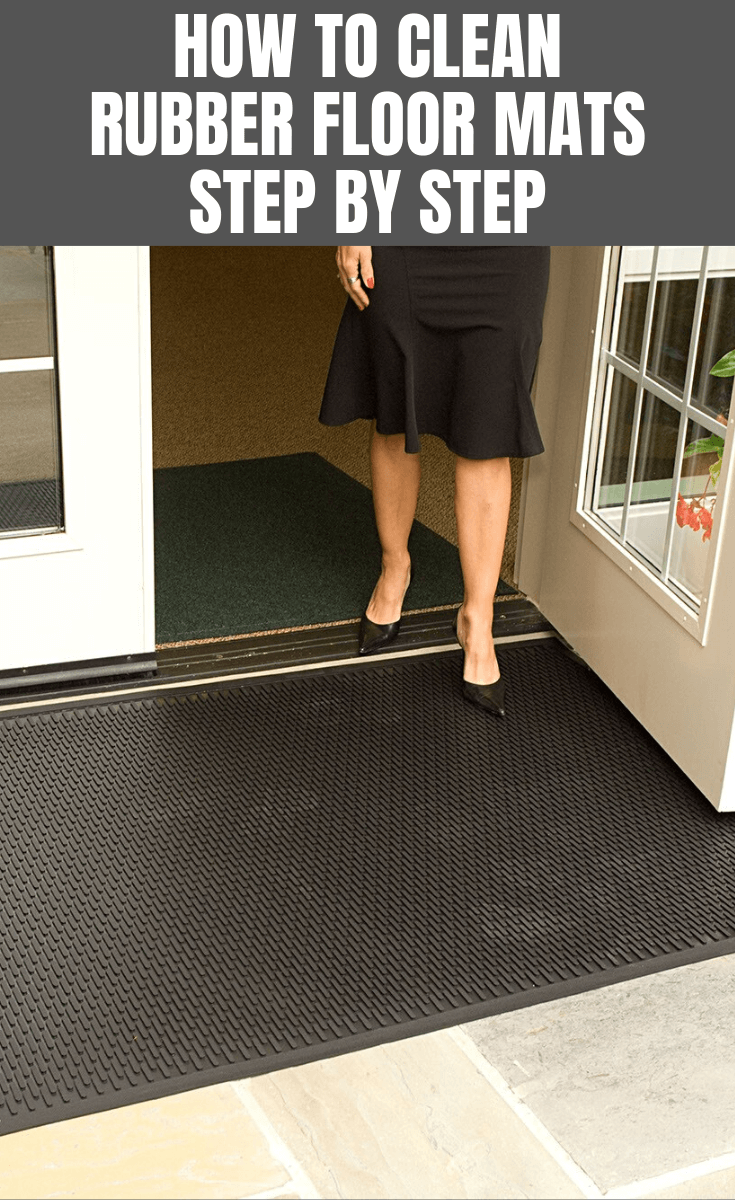
    Rubber floor mats are usually used in buildings or cars. Cleaning up the rubber floor mats is very easy.

    By using a simple way and tools that are easily to be obtained in your house or nearest store, your rubber floor mats will return as it was when purchased.

    Here is the following list on how to clean rubber floor mats in simple way.

    Read also: How to clean flooring laminate?

    HOW TO CLEAN RUBBER FLOOR MATS STEP BY STEP

    Cleaning Rubber Floor Mats

    As mentioned earlier, rubber floor mats can be used in buildings (commercial rubber floor mat) and cars (automobile rubber floor mat).

    The difference between these two rubber floor mats is only the size used, in which commercial rubber floor mat is usually larger than the automobile one.

    The way to clean between them is not much different. Here are the steps to clean it.

    1. Shake off dirt and debris from rubber floor mats. You must beat them outside the house or car for a few times. If they have large size, you can sweep or vacuum them to make it clean.
    2. Hose the mat in moderate to high pressure. Do not use pressure washers to spray it because it will make the rubber mat broken.
    3. Scrub the whole of the mat by using a brush and soap. If there are stains that are difficult to clean, give more pressure to clean it until the stains are removed. However, do not go too harsh while brushing it to minimize the occurrence of damage to the mat. You shouldn’t use cleaners that are made from solvent-based too because it can weaken the rubber material.
    4. Rinse the mat by water. You can use the hose to rinse it or just splash it by the water. Use the broom to clean the excess soapsuds, water, and debris from the mat.
    5. The last thing to do is letting the mat dry. Hang the mat at the outside of the house up to dry. Make sure that the mat is dry enough so it will not start to mold.

    Read also: How to clean marble floor stains.

    Rubber floor mats for kitchen

    Maintaining Rubber Floor Mats

    In addition to cleaning it properly, maintaining rubber floor mats is also important to consider. This is important to do, so that the mat stays durable and always looks clean.

    Here are the steps to maintain the rubber floor mats correctly.

    1. Clean the floor beneath the rubber mats. Rubber is known to be easily broken if the room humidity is high. Remove the mats and sweep the floor to make it clean from any stains or debris. Mopping is also important to keep the floor clean.
    2. If there is any spill, clean it immediately. Use soft cloth or towel to wipe up the spills so it can be cleaned easily. Cleaning the mats often, such as every few days, is also important to make the mats clean and durable.

    In conclusion, cleaning and maintaining this kind of mat is quite easy. You need to clean it immediately when it get some spills on it. Those steps above should be easy to do to keep your rubber mat clean all the time.

    Brown rubber floor mats with holes

    Originally posted 2019-12-08 11:57:47.

  • How to Clean Epoxy Floor

    How to Clean Epoxy Floor

    Epoxy is a kind of floor that is known for its smooth finish and resilience. It is usually used in the garages or industrial settings.

    Because of its usefulness, epoxy floor gets dirty very easily. Fortunately, maintaining epoxy floor is quite simple.

    Here is the following list of methods in cleaning the epoxy floor.

    Read also: How to Clean Flagstone Floor.

    STEP BY STEP HOW TO CLEAN EPOXY FLOOR EASILY

    1. Cleaning Up Spills

    This method is useful to clean up spills in some spots in the epoxy floor. You can use paper towels or soft cloth to clean up.

    It can suffice for all stains except the greasiest ones. Clean up the stains as soon as possible to make it easy to remove. If stains are difficult to remove, you may use another way.

    Mix two gallons of hot water with one cup (237 ml) of vinegar in the bucket. Then, use brush or kitchen sponge to rub the stains. The floor will be clean and shiny as usual.

    Epoxy floor materials

    2. Cleaning the Whole Floor

    Cleaning the whole floor from any tenacious stains is not difficult as thought. By following these instructions, you may clean the epoxy floor with ease.

    1. Remove any obstructions, such as furniture, tools, vehicles, and other objects on the floor that you want to clean.
    2. Sweep the whole floor by a dust mop. Make sure that the floor is ust mop. and other objectsnstructions, you may clean the epoxy floor easily. as possible to make itclean from any dirt, dust, etc.
    3. Mix a gallon of hot water with four ounces (118 ml) of ammonia in the bucket. If it has already mixed properly, pour it into the spray bottle.
    4. Spray the whole floor with the ammonia mixture and mop it by using hard foam mop (do not use string mops because it is not effective to clean up the stains).
    5. After several minutes, rinse the floor by using water. You can hose down the floor or use a bucket of water to splash the floor. Mop once more to make sure the stains on the floor are gone.

    3. Keeping the Floors Pristine

    The final step in maintaining the epoxy floor is keeping the floors pristine. This is important to prevent tenacious stains that are difficult to clean back in soiling the floor in the house.

    The common thing to do is keeping a walk-off mat near the entrance. It will allow people to scrub off shoes and boots before entering the house.

    If it happens on the floors in your garage, you can place a cardboard under each tire of your vehicles or put a mouse pad under the motorcycle’s kickstand.

    These two things will help you in protecting floors from stains that are attached to tires or the motorcycle’s kickstand. Moreover, it will also keep the floor from any damage that is caused by them.

    Read also: How to Clean Granite Table Top Easily.

    Cleaning up the epoxy floor is simple and easy to do. By using the common stuffs that are available at your house or that can be obtained easily at nearest store, epoxy floors will be clean and shiny again. Follow these steps above correctly to attain the best results.

    Platinum metallic Epoxy Floor colors

    Originally posted 2019-12-07 08:12:02.

  • How to Decorate a Stairway Wall passionately

    How to Decorate a Stairway Wall passionately

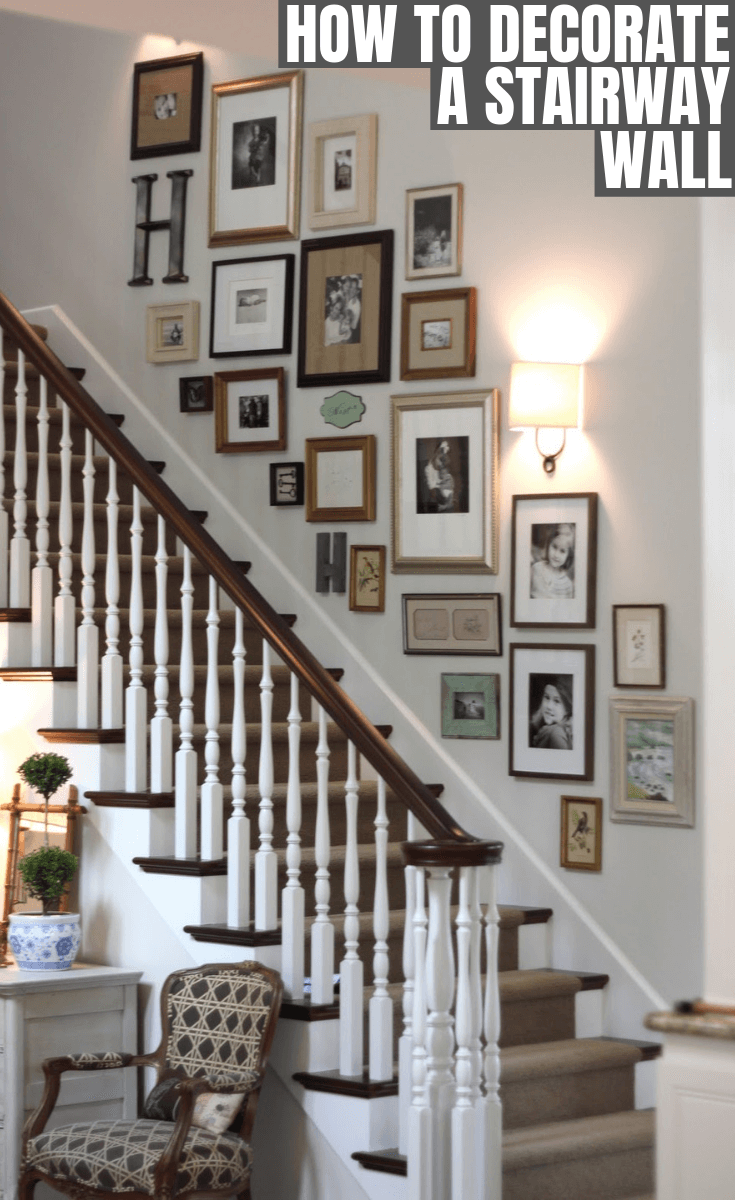
    Stairs is the bridge to connect one room to another. The Stairway wall becomes the perfect way to place and show off the displays.

    People will see what you want to express while they hit the stairs. Deliver the massage and do the decor like never before.

    Read also: How to Decorate Stairs and Landing for Upgraded Look.

    HOW TO DECORATE A STAIRWAY WALL PASSIONATELY

    1. Arrange the Art

    You have to choose what your interest is before going further to design the stairway wall. The first step is making a list, what do you want to show first.

    What are the most important things to put in the wall. If you have the ideas of put the first things first, your guest will impress on how the art orderly place.

    Read also: Most Popular Rustic Italian Decor Ideas.

    2. Backdrop First

    The second step is beginning with the backdrop. The background color of your wall is the things that can emphasize the art.

    Choose the concept and paint the wall base on it. If you like simple things just paint it white, monochrome ideas is the best.

    If you like cheerful concepts for your kids, use some bright colors to enlighten the day. Blue is the right colors convey the meaning of trust and piece.

    You can use orange if you want to spread the optimism signal. Contrasting the color will be great too, therefore you can paint the stairway wall different from the other wall.

    3. Use Ornaments to the Fullest

    After paint the backdrop, the next step is setting up an ornament. It is the matter of the style, you have to choose what kinds of ornaments that you want to put there.

    If you want to tell the story about your life, you can use photos. Photos are not a new display to put in the wall, but you can make it taste more passionately by arranging the pattern.

    Begin with the vertical concepts; put the beginning of your family. You can arrange it in order from the childhood.

    Make sure that your memory and make the wall as a witness of your life. In other hand, if you like nature. Grasp the power of the nature and bring it home.

    Add something organic in the walls. You can add homemade wood frames with the wild barriers inside. Try something artistically like flower garland and organza butterflies from the papers. Those pretty stuff will bring the spring inside your home

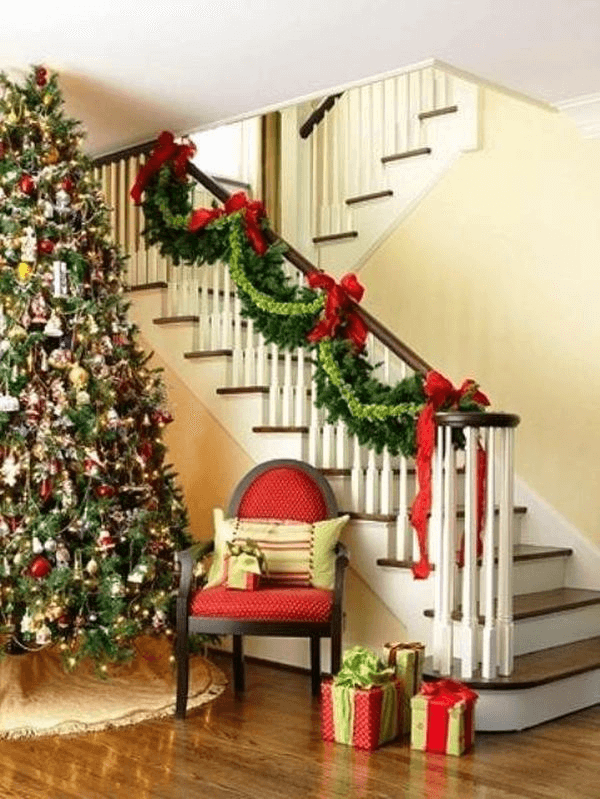
    Stairway wall decor for christmas
    Image: homedit.com

    4. Usable Space

    The last step is to use the free space. If you have a free space, put some furniture in it. This approach blends with the stairs well.

    Try to make the bookshelves as displays. Build the storage on your wall, if you like to read, the stairs will be the new place to spend the time.

    Use your passion to decorate the small things like stairway wall. If it tastes good it will be the long-term way to bring the light inside your house. Balancing everything start from the simplest things right next to you. Begin with the place that you through all day and feel the sensation of the new inspiration.

    Staircase wall decorating ideas
    Image: plushemisphere.com

    HOW TO DECORATE A STAIRWAY WALL PASSIONATELY

    Originally posted 2019-12-05 01:03:39.

  • Varnishing Wood Floors without Sanding Tips

    Varnishing Wood Floors without Sanding Tips

    Varnishing is the important thing to make the wood floors in the house look fresh and new. The damages and scratches can be covered with the varnish.

    However, many people like to use the simple way in varnishing. It means there are no dents or deep scratches in the surface of the wood. In other word, there is no sanding step.

    So, can this be done? Here are the steps for you to varnish wood floors without sanding.

    Read also: How to Clean Marble Floor Stains?.

    HOW TO VARNISHING WOOD FLOOR WITHOUT SANDING

    1. Clean the Floor

    The first thing you need to do is to clean the floor. You can use floor cleaner that has a pH neutral or maybe just warm water. Use damp rag or mop to wipe the wood floor.

    Do not ever drench the floor directly because there is a possibility of causing damage to the wood by water.

    re varnish wood floor

    2. Find Out Whether the Floor Has Been Done with a Lacquer or an Oil Based Product

    It may be difficult to distinguish between a lacquered floor and an oiled floor for the amateur. You should know when the floor was fitted in your house.

    To make it easier, here are the differences between them. Lacquered floor has a lighter color and shinier than the oiled based. Then, its surface is easier to clean from any stains.

    Meanwhile, the oiled based color tends to be darker with a prominent orange color. The surface is also easily to be stained and it often leaves marks afterwards.

    If the floor is lacquer based finish, varnish it with Polyurethane lacquer. For the oil based finish, you should consider using a Hardwax oil.

    wood floor varnish


    3. Lightly Abrade the Surface of the Wood Floor

    You can use either a buffing machine (120-grit mesh) or just sand paper it using your hand (120 bit) to rub the surface of the floor. It is important to make the floor flat and not wavy.

    Rub the floor methodically from up to down to make sure that there is no spot left not abraded. Don’t give too much pressure down and don’t go too thoroughly.

    4. Vacuum the Floor

    After the surface of the floor has already abraded, clean the remnants of dust and dirt by vacuuming. This way is better than sweeping it using broom because the dust will just keep coming back.

    Make sure that the floor is free of dust slowly and methodically. In the end, the surface will be completely flat after varnished.

    5. Lacquer or Oil the Floor

    Finally, varnish the floor. Read the instructions before you varnish the surface with lacquer or oil. For the best results, if you use the lacquer, use a medium pile roller to varnish the floor for correct coverage.

    Meanwhile, if you use the oil one, take a short pile roller. Varnish it carefully and methodically so there is no spot that remains uncovered.

    Wood floor varnish finish
    Image: diynetwork.com

    It is simple, right! Moreover, it will not cost much money to make your wood floors look good again. Make sure the varnish is already dry before you use it or place the furniture on it. It is a great solution for you to varnish the wood floor without sanding.

    Home flooring image gallery:

    Originally posted 2019-10-01 05:01:20.

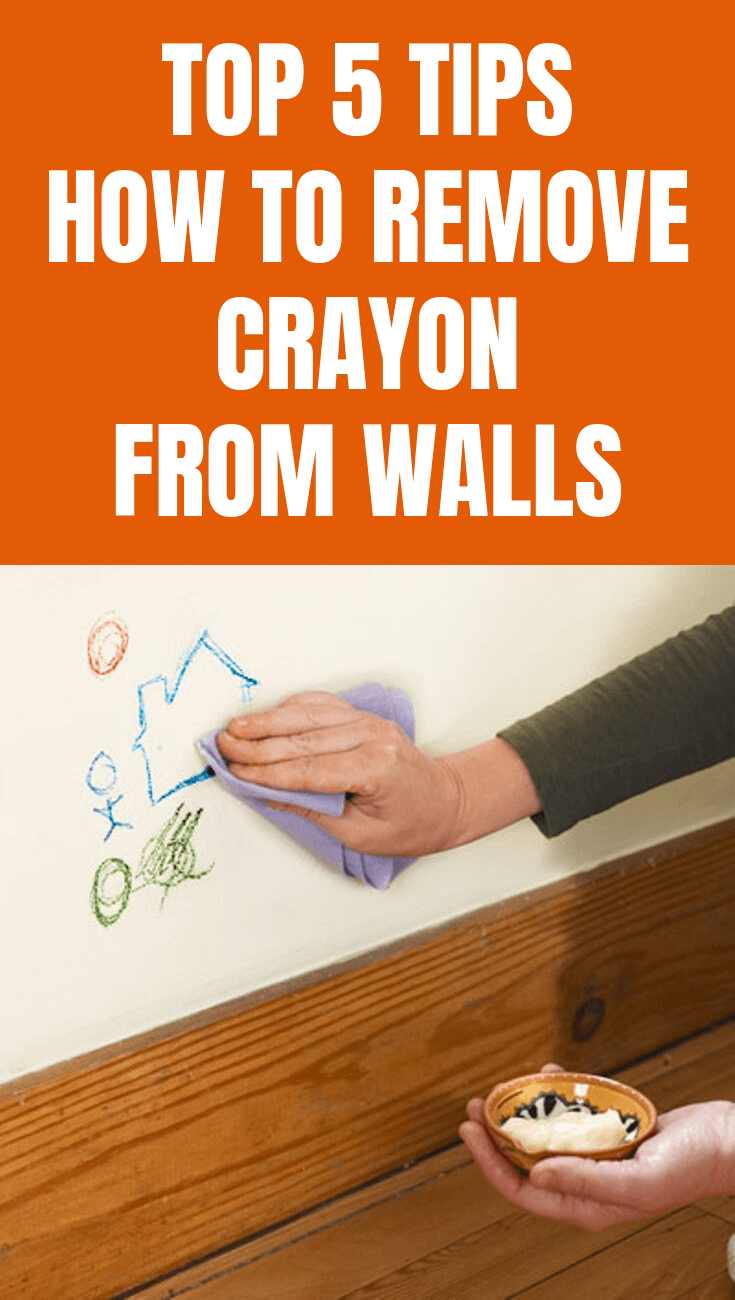
  • Top 5 Tricks on How to Remove Crayon from Walls

    Top 5 Tricks on How to Remove Crayon from Walls

    At first, it is adorable to see your children developing their talent as artists at home.

    The bad news is you need to clean what’s left on the wall. Will you take it easy and ask your browser to find out how?

    The tips might work, but not all could give you the cleanest result. Find out the ones that perform the best job.

    Read also: How to Clean Smoky Walls or from Cigarette Smoke Only With Few Minutes.

    TOP 5 TIPS HOW TO REMOVE CRAYON FROM WALLS

    1. Blow Dryer and Dish Soap Solution

    First, you need to make a dish soap solution. Squeeze the bottle for a few drops of the dish and mix them with two cups of water.

    Soak the cleaning cloth in it. Now here comes the scientific part. Crayon is made from wax. Thus, the best way to ease your cleaning is by heating it.

    The max will melt and automatically drip from the wall. The next thing to do is wipe clean the melted crayon by using wet clothes you have prepared before.

    2. Commercial Adhesive Removal

    If you to the store and ask for this product, the staff might offer several options: the original, the gel spray, and the wipes. For crayon marks, the original works best. Get your paper towel and pour a few drops of the product.

    Use the wet paper towel to wipe the marks. Repeat the process until the wall is clean. Usually after cleaning, you will get oily surface. Eliminate the grease with a wet clothes, dipped in dish soap solution.

    Commercial Adhesive Removal

    3. Ammonia-based Glass Cleaner

    When you have this product in your stock, make use of it. Not only glass, your wall could also get its bright color back. Spray the cleaner to the walls and let it sit for several minutes. Scrub the wall with dry cloth.

    Do it gently, otherwise the wall color will fade. Repeat the process if your first try is not clean enough. You can also do immediate cleaning after spreading the glass cleaner. However, it will require more time.

    4. Bicycle Lubricant

    There is one famous brand of bicycle lubricant which surprisingly does double function as a cleaner. Usually it is equipped with tiny long straw to reach difficult part in the chain.

    While cleaning the wall, this tool helps to control the liquid amount. Grab the handle and apply the liquid on the crayon mark. Wipe it with paper towel. You can also put the liquid on the paper first.

    The bad news is this product stinks and leave greasier surface than the adhesive removal. If you are not bothered with the smell, then there should be no problem to clean the grease with dish soap liquid.

    5. Baking Soda and Water Paste

    To make the mixture, keep in mind that the proportion should be 1:1. It means one spoon of baking soda should be mixed with one spoon of water. Take the sponge and dab it to the paste. Rub the crayon marks. Baking soda residue on the wall could be cleaned with soapy water.

    Almost all parents have this one problem with toddlers: doodle! It happens in minutes. Although the activity makes them happy, you have to do the hardest part: cleaning the wall. Now you don’t need to worry about this matter. At least you know what to grab. Happy scrubbing!

    Toddler room wall decor

    Originally posted 2019-09-29 02:40:13.

  • 10 Essential DIY Home Repair Tips for Beginners 🛠️

    10 Essential DIY Home Repair Tips for Beginners 🛠️

    Everyone loves the idea of saving some cash by tackling home repairs on their own. While it’s great to be self-reliant, DIY home repair, especially for beginners, can be tricky. But fear not! Whether you’ve just bought your first home or simply want to take on some minor home improvements, this guide offers some essential DIY home repair tips for beginners.

    10 Essential DIY Home Repair Tips for Beginners

    1. Know Your Limits 🚫

    It’s essential to understand what you can and cannot do. If a job requires specialized skills or is potentially hazardous, consider hiring a professional.

    Important Note: Always turn off the main power when working with electricity to prevent potential accidents.

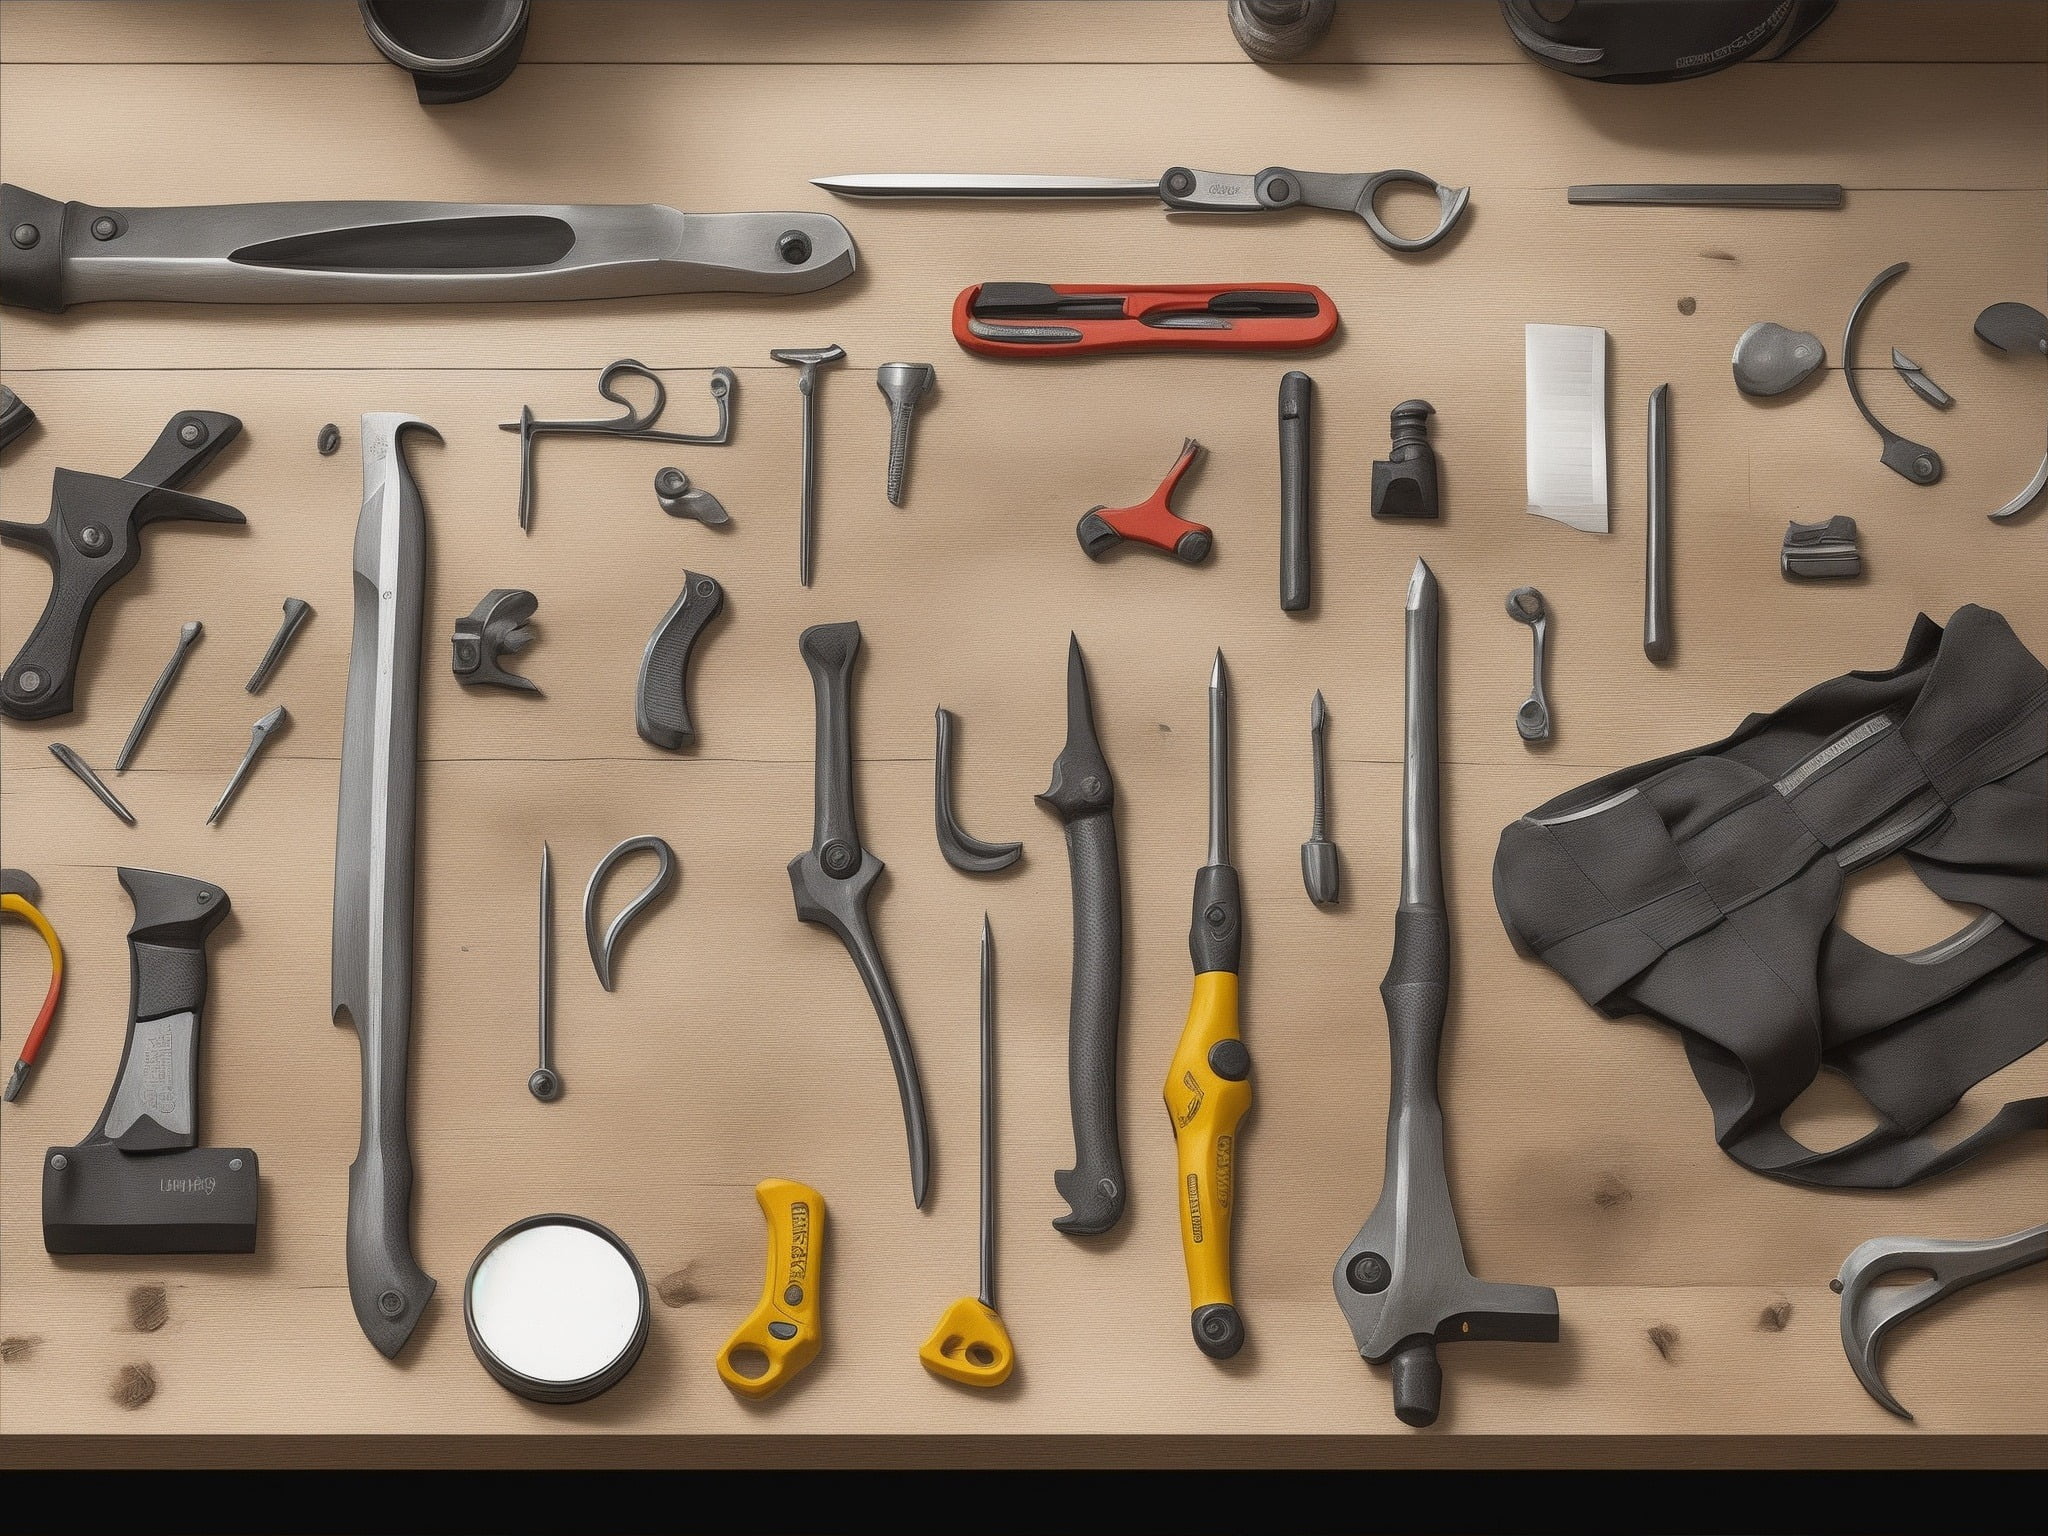
    2. Invest in Quality Tools 🛠️

    Your tools can make or break your project. Invest in a basic set of high-quality tools. They’ll last longer and make the job easier.

    Essential Tools for BeginnersUse
    Hammer 🔨For nails, fittings, and small demolitions
    Tape Measure 📏Measuring spaces accurately
    Screwdrivers (Flat & Phillips) 🔩Tightening or loosening screws
    Adjustable Wrench 🔧Loosening and tightening bolts
    Pliers 🔗Gripping, bending, or cutting wires

    3. Stay Safe ⛑️

    Safety should be your top priority. Always wear safety glasses, gloves, and ear protection when necessary. Ensure your workspace is well-lit and free from potential hazards.

    4. Research and Learn 📚

    Thanks to the internet, there are countless resources available. From videos to how-to guides, take advantage of these resources and educate yourself before diving into a project.

    5. Start Small 🏠

    For many beginners, the enthusiasm to engage in DIY home repairs can sometimes overshadow the necessary foundational experiences. It’s easy to get inspired by extensive renovation shows or ambitious online tutorials, but it’s crucial to remember that every expert started with the basics. Starting with smaller, more manageable tasks allows you to learn, make mistakes without significant consequences, and steadily build confidence. Here’s how you can navigate your initial DIY journey:

    a. Identify Simple Repairs

    Before jumping into a wall demolition or complete room makeover, consider tasks like:

    • Fixing a leaky faucet or replacing a showerhead 🚿
    • Painting a single room or wall 🖌️
    • Replacing old door knobs or cabinet handles 🚪
    • Sealing small cracks or holes in walls 🧱

    b. Practice Makes Perfect

    Repeatedly practicing small tasks helps cement the foundational skills you’ll need for more extensive projects. For instance, before wallpapering an entire room, practice applying and smoothing wallpaper on a smaller section or a mock-up board.

    Tip: Many local community centers or hardware stores offer workshops for beginners. These can be a great place to hone your skills and get hands-on experience.

    c. Document Your Progress

    Maintaining a journal or photo diary of your DIY tasks can be incredibly rewarding. By tracking your progress, you can visibly see how much you’ve improved, which can be a great motivation booster.

    d. Celebrate Small Wins

    Every completed task, no matter how minor, is a step forward. Don’t dismiss your achievements just because they seem trivial. Celebrate them! Whether it’s the perfectly painted wall without streaks or the newly installed shelf that’s level, each success adds to your DIY prowess.

    e. Learn From Mistakes

    Mistakes are inevitable, especially when starting out. Instead of feeling discouraged, treat them as valuable learning opportunities. If that shelf isn’t perfectly straight or the paint dripped in a few spots, assess what went wrong and keep those lessons in mind for next time.


    Embarking on your DIY journey with smaller tasks creates a foundation of skills and confidence that you’ll draw upon as you tackle more ambitious projects. So, embrace the learning curve, celebrate every milestone, and remember that every expert was once a beginner too! 💪🏡

    Tip: Fixing a leaky faucet or patching up a small hole can be a great starting point.

    6. Plan Ahead 📆

    Every successful DIY project starts with a well-thought-out plan. Planning not only ensures that you have all the materials and tools you need, but it also helps you understand the steps you need to take, anticipate potential challenges, and set realistic expectations. Here’s how you can effectively plan your home repair tasks:

    a. Understand the Problem

    Before diving in, make sure you’ve correctly identified the issue. Whether it’s a leak, a crack, or a malfunctioning appliance, understanding the root of the problem will guide your repair process and determine which materials and tools you’ll need.

    b. Gather Materials and Tools

    Once you’ve determined the problem, list down all the tools and materials you’ll need. Visit your local hardware store with this list in hand. Being well-prepared reduces the chances of unnecessary interruptions mid-repair because you forgot a crucial item.

    Note: When buying materials, it might be wise to purchase a little extra, especially for things like paint or tiles, to ensure you have enough in case of mistakes or for future touch-ups.

    c. Set a Timeline

    Estimate how long the repair might take and then add some buffer time. This way, you won’t feel rushed. For more extensive repairs, breaking the task down into smaller steps and setting milestones can help make the process more manageable.

    d. Prepare Your Workspace

    Clear the area where you’ll be working. Remove any furniture, decorations, or other items that might be in the way. Lay down protective sheets if you’re painting or doing anything that might get messy.

    e. Have a Backup Plan

    Despite our best efforts, things don’t always go as planned. Maybe the repair is more complicated than you thought, or you discover another underlying issue. Having a backup plan means knowing when to call in a professional or being prepared to adapt your strategy if things go awry.


    By meticulously planning ahead, you set yourself up for success and reduce the chances of encountering unexpected hurdles during your DIY home repair journey. Remember, preparation is key! 🗝️

    7. Avoid Shortcut Methods 🚫

    Although it might be tempting to find a quicker solution, shortcuts can lead to bigger problems in the long run. Always follow the recommended procedures.

    8. Always Measure Twice 📏

    This old adage is gold: “Measure twice, cut once.” This helps prevent wasting materials and ensures accuracy in your projects.

    9. Seek Advice 💡

    If you’re uncertain about something, ask! Whether it’s a friend, family member, or a professional, getting a second opinion can be invaluable.

    10. Clean as You Go 🧹

    Keep your workspace tidy. Not only does it make the process more enjoyable, but it also helps prevent accidents and misplacing tools.


    In conclusion, DIY home repair for beginners doesn’t have to be a daunting task. With the right preparation, tools, and mindset, you can tackle many home repair projects on your own. Remember, it’s okay to seek help when needed, and most importantly, enjoy the process and the satisfaction of a job well done!

    Originally posted 2023-08-29 02:22:15.

  • Energy Efficiency Unleashed: Essential Home Tips for a Cooler Summer ☀️🌡️

    Energy Efficiency Unleashed: Essential Home Tips for a Cooler Summer ☀️🌡️

    In the summer, many homeowners face the challenge of keeping their homes cool without inflating their energy bills. But fear not, because a combination of smart practices and technology can help you achieve that perfect balance. Here, we discuss the ultimate home tips for energy efficiency in summer. Whether you’re planning a small change or an extensive home project, these tips will guide you through the journey of making your home more energy-efficient.

    Home tips for energy efficiency in summer

    🌬️ Understanding the Basics of Energy Efficiency 💡

    Before diving into the tips, it’s essential to understand what energy efficiency means and why it’s vital.

    Note: Energy efficiency refers to using less energy to perform the same function, saving both the environment and money in the process.

    🏠 Home Tips for Energy Efficiency in Summer 🌞

    1. Insulation: Your Home’s Shield 🛡️

    One of the most effective ways to maintain a consistent indoor temperature is by ensuring your home is well-insulated. Insulation acts as a barrier to heat gain and loss.

    • Walls and Roof: If your insulation is old or inadequate, consider upgrading. Good insulation can significantly reduce the need for air conditioning.
    • Windows: Double or triple-pane windows with low-emissivity (low-E) glass can effectively reduce heat transfer.

    2. Optimize Your Air Conditioning 🌬️

    A well-maintained air conditioner can operate more efficiently, consuming less energy and providing better cooling.

    • Regular Maintenance: Clean filters and ensure no blockages.
    • Temperature Settings: Raise your thermostat by a few degrees. Each degree can lead to noticeable energy savings.

    3. Ceiling Fans: The Old Faithful 🌀

    Ceiling fans might seem outdated, but they can play a significant role in improving home energy efficiency.

    Important: Ceiling fans don’t cool rooms; they cool people. So, remember to turn them off when leaving the room.

    4. Natural Ventilation: Mother Nature’s AC 🍃

    Maximize natural ventilation by opening windows during cooler parts of the day and closing them when it gets warmer.

    5. Appliances and Electronics: The Hidden Culprits 🖥️🔌

    Your home appliances can generate heat. Using them wisely can play a role in maintaining a cooler home.

    • Ovens and Stoves: Cook during cooler parts of the day or consider alternatives like grilling.
    • Electronics: Turn off and unplug electronics when not in use.

    6. Landscaping: Nature’s Shade 🌳

    Planting trees or shrubs can shield your home from direct sunlight, leading to natural cooling.

    📊 Breakdown of Potential Savings

    Here’s a table to understand how each change can impact your energy bills.

    Energy Efficiency TipsPotential Savings (%)
    Improved Insulation10-30
    Optimized Air Conditioning5-20
    Use of Ceiling Fans1-5
    Natural Ventilation2-10
    Wise Use of Appliances and Electronics2-15
    Landscaping5-15

    🌟 Conclusion

    Summer doesn’t have to mean skyrocketing energy bills. With these home tips for energy efficiency in summer, you can enjoy a cool, comfortable environment without breaking the bank. Embrace these strategies and become a steward of both your wallet and our planet. 🌍❤️

    Originally posted 2023-08-29 02:00:18.

  • How to Decorate Stairs and Landing for Upgraded Look

    How to Decorate Stairs and Landing for Upgraded Look

    Stairs serve as the connector of floors. It usually consumes only small spaces at the corner, unless you have the huge stairway.

    While having a cosmopolitan look for your living room and family room, it would be monotonous if you do not spice up the stairs. Upgrade the tread with these ideas.

    Read also: Fabulous Simple Stairway Wall Decorating Ideas.

    1. Crafty Look

    This concept sets out the possibility to be creative. Your stairs would have more functions than it does now.

    However, it does not lose the grip of appealing look. Install some hidden cabinets in the stairs. Be careful while choosing the handle. Small size handle is preferred than the protruding one.

    If you don’t favor this idea, do simpler transformation by writing numbers or quotes. Do not forget to paint the stair with dark tone first. Take out the wooden handrail. Replace it with nautical rope or thin old stem.

    Stairs with landing and round wall mirror
    Image: homedit.com

    2. Dark Concept

    Live up the spooky atmosphere on the way to the upper floor. Paint the stairs with black spectrum. Take one or two lighter tone to guide the guests’ steps.

    Here is a clear blueprint for you: dark magenta for the wall, glossy black for the handrail, navy blue for the riser and dark brown for the nosing.

    To make it look like a cartoon, you can add Halloween icons on one side of the stair. If you look it from the first floor, it will create the whole picture from the bottom to the top.

    Read also: How to Decorate a Stairway Wall Passionately?

    3. Pottery Gallery

    Some stairs go straight to the next floor and some others have a turn in the middle. This space is usually big enough to keep some artistic ornament. For a vintage look, take some white floral potteries and place them at the corner.

    Putting the similar height vases will make them look like clutter. Put the taller pottery at the back and the shorter one in front.

    To match the gallery concept, put another vase near the bottom stair. It could lend a hand to be umbrella storage.

    HOW TO DECORATE STAIRS AND LANDING FOR UPGRADED LOOK

    4. Family Art Display

    For families with children, this concept would be a great chance to show off the kids’ creativity. Pick some frames with similar color to the trade. You do not have to waste time if you could not find one.

    Just pick any frame of similar size and paint them! The stringer would make a great place to hang some drawing with landscape setting. The wall then would be the area of potrait oriented doodle.

    To make the picture stand out, pick plain tone for the wall.

    5. Elegant Classic Touch

    If you do not like mix matching things, then this concept is meant for you. Paint the riser and trade white. Then put a stripes runner on it.

    The runner covers the center line of the stairs. It will add the accent and infuse a lively atmosphere. You could also make individual runner.

    Still utilizing the colorful stripes, cover the trade with a special glue for fabric. This way, you could remove and clean it. By applying this trick, you could show the color of the risers.

    The decoration for houses should be coherent and unified. That way, the guests will have a hint about the host’s hospitality as well as personality.

    Plan your is upgrading stair look project as soon as possible. Bring one of the presented ideas into reality. Embrace the “small but beautiful” concept in your house.

    Decorate Stairs and Landing with shelves for photo frames
    Image: David bixel – houzz.com

    Additional tips on how to decorate stairs and landing:

    1. Choose the style of stairs you want to use

    2. Consider how much space is available for decorating and where it will be placed

    3. Decide what type of paint or stain you want to use, as well as whether you’ll need any special tools or supplies

    4. Take into account the weight limit on your stairs

    5. Clean the surface of your stairs and landing

    6. Apply a primer if necessary

    7. Paint or stain your stairs and landing according to your chosen color scheme

    8. Apply a sealant to protect the finish

    9. Add any final touches, such as new hardware or trim work

    Originally posted 2022-03-30 12:07:00.